Home Studio Bass Trap Placement Strategies That Help Improve Low Frequency Response in Small Listening Rooms
If your home studio sounds boomy in one chair and thin in the next, your speakers are probably not the problem. In a small room, bass waves bounce between the walls, floor, and ceiling and collide with themselves, creating loud peaks and dead nulls that shift as you move your head. This guide covers smart bass trap placement: why bass misbehaves in small rooms, where to put corner bass traps first, how to build affordable DIY bass traps, and how to measure the improvement.
The direct answer: Put bass traps in the vertical corners first, stacked floor to ceiling. Then treat the wall-ceiling and wall-floor junctions, then the front wall behind the speakers, and finally the rear wall behind the listening position. This order targets the spots where low-frequency pressure builds up most, giving the biggest improvement per trap.
Why Bass Trap Placement Matters in Small Rooms
A 50 Hz note is roughly 6.8 metres long, so low frequencies interact with every boundary in a small room at once. The same trap does serious work in a corner and almost nothing on a flat wall — so positions matter more than quantity.
Room Modes Explained Simply
Room modes are resonances from sound waves bouncing between parallel surfaces. The main kind, the axial mode, forms when a wave reflects between two opposite walls — the longer the dimension, the lower the frequency. A 4-metre room length gives a first axial mode near 43 Hz; a 3-metre width near 57 Hz. When a played note matches a mode, the room resonates and that frequency sounds far louder than it is.
Why Small Rooms Suffer the Most
Small rooms concentrate their modes where music lives. Below roughly 200 Hz, modes are sparse and widely spaced, so each peak and null stands out — booming at 70 Hz, notes vanishing at 90 Hz. Your seat decides what you hear: sit in a null and you will keep turning the bass up, then wonder why the mix sounds bass-heavy everywhere else.
Where Bass Builds Up in a Room
Low-frequency pressure peaks where boundaries meet, because waves reflecting off two or three surfaces reinforce each other there. An absorber in a high-pressure zone removes far more energy than on a flat wall — the physical reason bass trap placement is a corner game.
Tri-Corners: Where Three Surfaces Meet
The strongest pressure zones are the tri-corners: where two walls meet the floor or the ceiling. A rectangular room has eight, and modal energy accumulates there most intensely — the best absorption per unit of material on a limited budget.
Vertical Corners and Wall Junctions
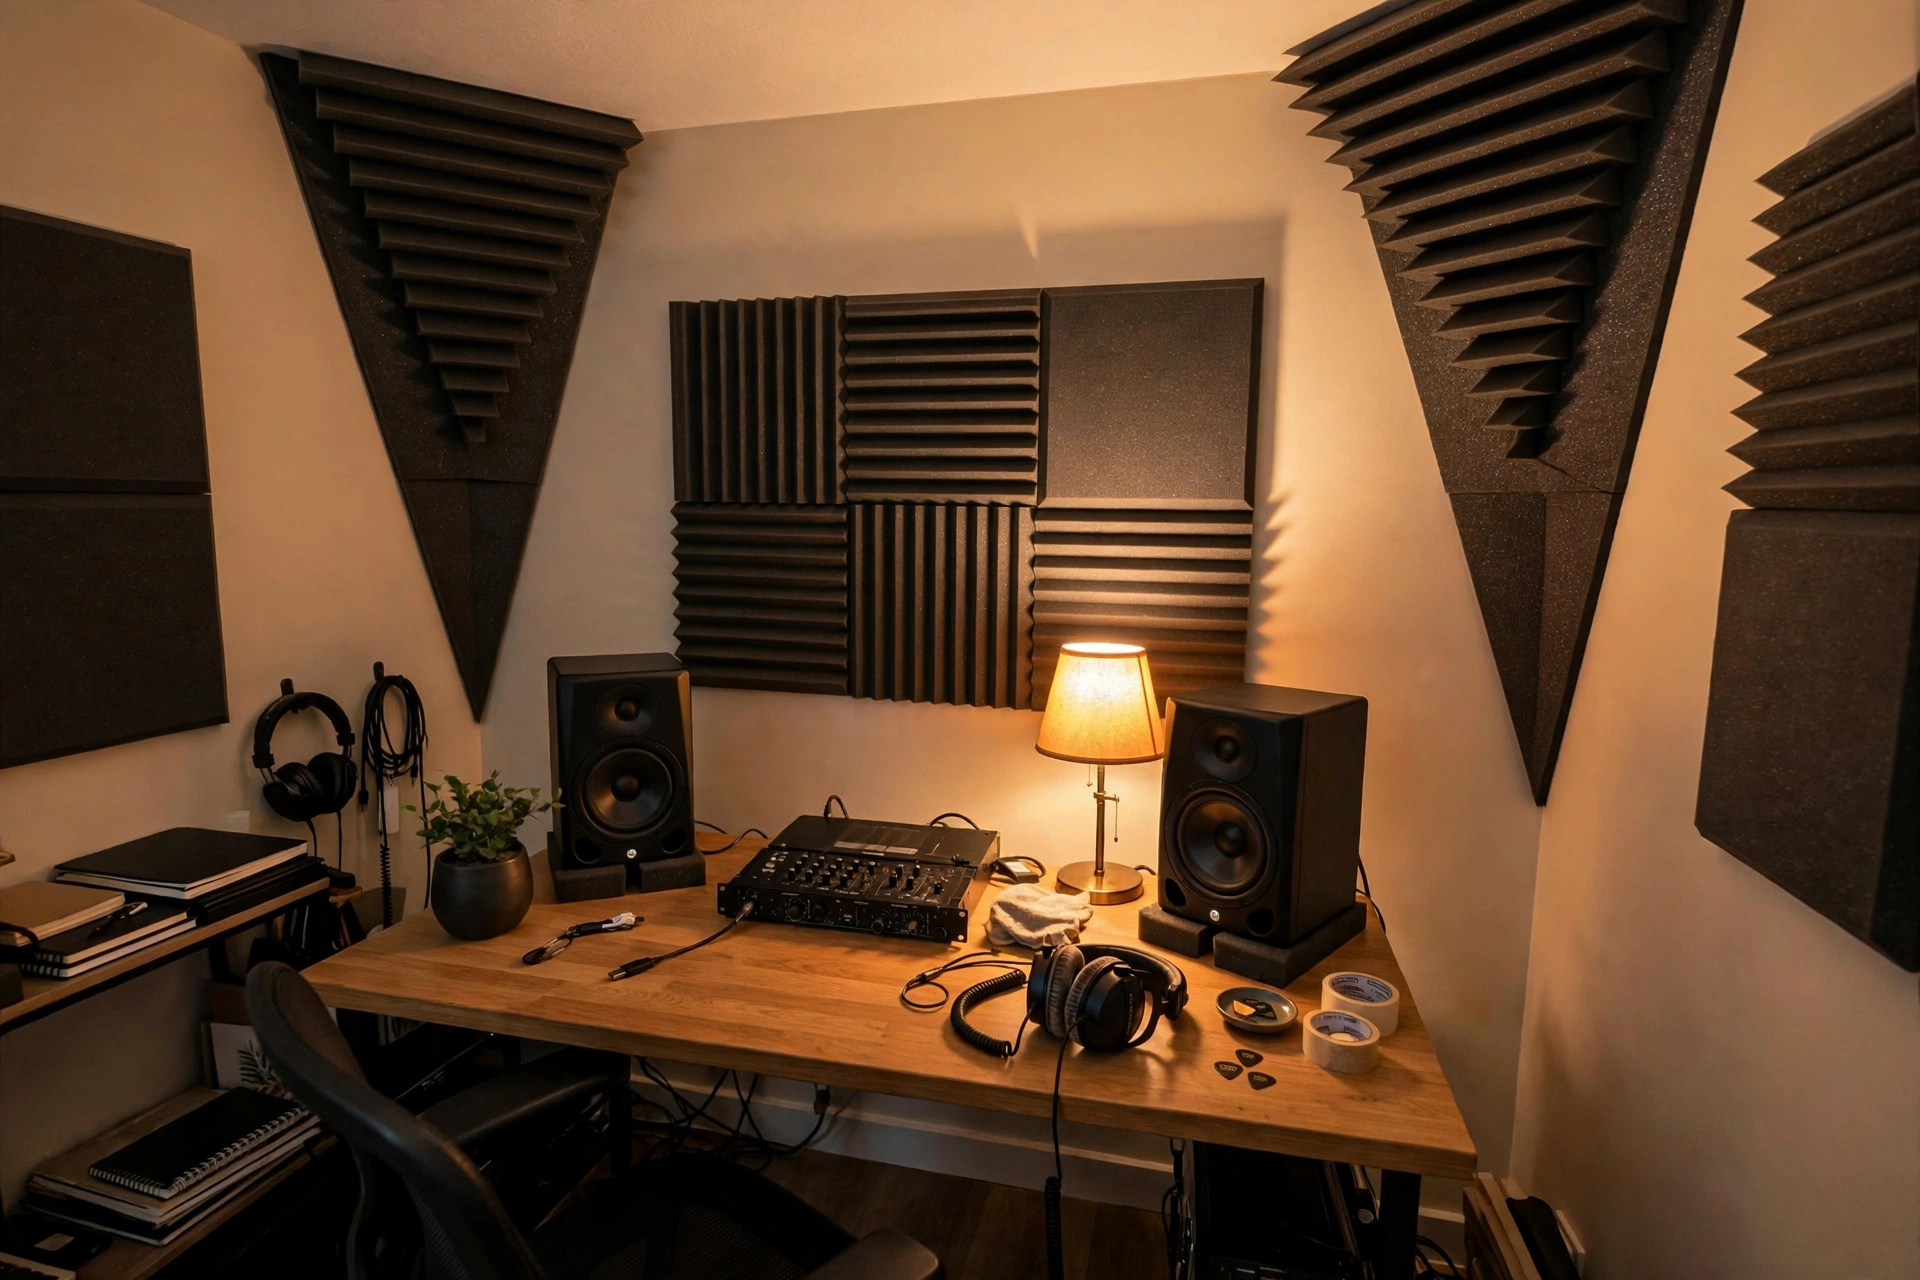
Next are the vertical corners where two walls meet — the classic corner bass trap spots for tall stacked units. Then the dihedral junctions where a wall meets the ceiling or floor in a line; these long edges collect significant bass energy and suit panels mounted along them.
The Priority Order for Bass Trap Placement
Work through this sequence and stop when measurements and listening say the room behaves — extra treatment wastes money and can deaden mids and highs.
Priority 1: Vertical Corners, Floor to Ceiling
Treat all four vertical corners first, starting with the two behind the speakers. They capture axial modes from every room axis at once, and full-height coverage leaves no energy escaping above or below. Most home studios get their biggest measurable gain from this step alone.
Priority 2: Wall-Ceiling and Wall-Floor Junctions
Extend along the wall-ceiling and wall-floor junctions next, especially above the listening position and behind the speakers. Panels here catch tangential modes that corner traps only partly address — and they are the practical answer when doors or windows block a vertical corner.
Priority 3: The Front Wall Behind the Speakers
Bass radiating backward from your monitors reflects off the front wall and interferes with the direct sound, causing cancellation where you sit. Thick absorption behind the speakers calms this. Keep monitors a short distance off the wall rather than flush against it.
Priority 4: The Rear Wall Behind the Listening Position
The rear wall reflects bass back at your seat, and in small rooms it often sits close behind you. Treating it tightens the low end you hear and tames peaks from that delayed reflection — rear-corner traps cover this and the tri-corners together.
Bass Trap Types Compared
Match the trap type to your problem range — the wrong type wastes money.
Broadband Porous Absorbers
The workhorses: thick panels or triangular stacks of dense mineral wool absorbing a wide range. A 100–200 mm panel of 45–60 kg/m³ mineral wool in a corner, with a 50–100 mm air gap behind it, works from roughly 80–100 Hz upward — thicker always reaches lower, and corner placement extends the range about one octave versus a flat wall.
Membrane Bass Traps
A sealed box whose flexible front panel vibrates with a narrow band of low frequencies, converting motion to heat. A membrane bass trap reaches deeper than a porous trap of similar size — useful below 80 Hz — but each unit covers only a limited band, ideal when one stubborn mode survives broadband treatment.
Helmholtz Resonators
Like blowing across a bottle neck: a rigid cavity with a port resonates at one frequency set by cavity volume and port size, absorbing strongly there and almost nothing elsewhere. A Helmholtz resonator is a surgical tool for one or two problem modes, but correct tuning takes real calculation — the point where most DIY builders should call a professional.
DIY Bass Traps vs Commercial Bass Traps
*Cost figures are rough estimates; prices vary by region and supplier.* DIY wins when you need many traps; commercial wins for predictable performance or a clean look without woodworking.
How to Build a DIY Superchunk Bass Trap
The superchunk is the classic DIY corner bass trap: triangular wedges of insulation stacked floor to ceiling where pressure is highest. Simple, cheap, effective.
Per corner: rigid mineral wool batts (45–60 kg/m³), breathable fabric you can blow through (never vinyl), timber for an optional frame, staple gun, utility knife, tape measure, N95 mask, gloves, and eye protection.
Build steps:
Measure the corner height; choose the triangle face width (600 mm is practical).
Cut batts into right-angle triangles that fit snugly; fill gaps with offcuts.
Stack floor to ceiling, compressing slightly for a stable, gap-free column.
Optionally frame with timber and stretch fabric over it, stapling at the back.
Wrap the stack in taut, breathable fabric — heavy fabric blocks sound and ruins the trap.
Stand it in the corner facing the room; the natural gap behind a straddled trap extends low-frequency reach.
Repeat for remaining corners, starting behind the speakers.
Measuring Before and After Treatment
Ears adapt and deceive; measurements do not. Test before building and after installing to see exactly which frequencies improved.
Room EQ Wizard (REW) Basics
Room EQ Wizard is free measurement software — the standard DIY tool. With an affordable USB measurement mic: place it at your listening position at ear height; run REW’s sweep one speaker at a time with 1/24-octave smoothing; note peaks and nulls below 200 Hz; install traps and re-measure in the same spot; compare the waterfall plot for reduced peaks and faster bass decay. Save the “before” file — the baseline for every later decision.
Simple Listening Tests
Without a mic, play a slow 30–200 Hz sine sweep and note where the tone swells or vanishes. Then play familiar bass-heavy tracks: kicks should sound tight, not boomy; bass notes even; the low end consistent when you move your head slightly. Re-check after each stage.
Getting Your Listening Position Right
Traps work best when your seat is not fighting them. The 38% rule: sit at roughly 38% of the room’s length from the front wall (the wall your speakers face) to avoid the worst nulls, which cluster at the midpoint and boundaries — a starting point, so shift a few inches and listen. Then form an equilateral triangle between the two tweeters and your head: speaker-to-speaker distance equals speaker-to-listener distance, typically 3.5–4.5 feet per side. Set this geometry before finalizing trap positions.
What Bass Traps Cost
All figures are estimates and vary by country, supplier, and material quality.
- Budget DIY (stacked batts, no frame): roughly $15–$40 per corner.
- Finished DIY (framed superchunk): roughly $60–$150 per corner.
- Commercial corner traps: roughly $200–$500 each; four runs roughly $800–$2,000 (estimates).
- Tuned membrane or Helmholtz units: typically at or above the commercial range, often custom-built.
Start with the two front corners and measure before buying more.
Common Bass Trap Placement Mistakes
- Thin foam wedges as bass traps. Standard 50 mm foam barely touches anything below 200 Hz.
- Bass traps at first reflection points. Those carry mids/highs and need flat panels; corners are where bass collects.
- Treating only one corner. Modes involve the whole room; one treated corner gives lopsided results.
- Stopping at mid height. A waist-high trap leaves the floor and ceiling tri-corners untreated.
- No air gap. A 50–100 mm gap behind a corner panel extends low-frequency reach for free.
- Over-treating. Broadband absorbers soak up mids and highs too; if the room sounds dead, stop adding porous traps.
- Expecting miracles below 50 Hz. Porous traps alone cannot fully control the deepest bass.
Safety and When to Call a Professional
Mineral wool fibers irritate skin, eyes, and lungs — wear an N95 mask, gloves, long sleeves, and eye protection when cutting it, and wrap every trap fully so fibers cannot escape. Floor-to-ceiling stacks are heavy, so anchor tall frames into wall studs. Choose fire-rated insulation and flame-retardant fabric where possible, keep traps away from heat sources, and never block doors, windows, or escape routes.
Call an acoustic consultant when: a mode below ~60–80 Hz survives full corner treatment (tuned trap design is specialist work), the room shape defies standard corner rules, or you plan structural changes like a floating floor. One hour with your REW measurements costs far less than building the wrong treatment twice.
Frequently Asked Questions
How many bass traps do I need?
Four is a sensible minimum — one per vertical corner, front two first. Most serious home studios settle around eight; professional rooms run full floor-to-ceiling columns everywhere. Measure after each stage and stop when the low end is acceptably even.
Where should bass traps go first?
Vertical corners, floor to ceiling, starting behind the speakers — then wall junctions, the front wall, and the rear wall. This order hits the highest-pressure zones first so each trap does maximum work.
How thick should bass traps be?
For porous traps, 100–200 mm of 45–60 kg/m³ mineral wool in a corner with a 50–100 mm air gap works from roughly 80–100 Hz upward — thicker always reaches lower. Below ~80 Hz, tuned resonant traps become the practical option.
Can I build my own bass traps?
Yes — among the most proven home-studio DIY projects. A framed mineral-wool panel in breathable fabric, or a superchunk stack of wedges, costs a fraction of commercial units and performs comparably at the right density and thickness.
Do bass traps work below 50 Hz?
Porous broadband traps struggle there — useful 50 Hz absorption would need impractically thick treatment. Tuned resonant traps (membrane or Helmholtz) are designed for exactly this, and careful positioning helps. Expect big improvement, not the defeat of physics.
What’s the difference between a bass trap and an acoustic panel?
Thickness, density, and placement. A bass trap is thick and dense (100 mm+) and sits where bass pressure peaks — corners and junctions. A standard panel is thinner (often 50 mm), mounts on flat walls at reflection points, and mainly tames mids and highs.
Do I need bass traps behind my speakers?
The front wall is priority three, after the vertical corners and wall junctions. Backward-radiating bass reflects off it and interferes with the direct sound, so thick absorption there is genuinely useful — but corners come first.
Final Thoughts
Good bass trap placement is less about how many traps you own than where the first few go. Treat the vertical corners floor to ceiling, work outward in priority order, and measure before and after so every decision rests on evidence. Start with the two front corners and run a free REW sweep before and after.