Home Renovation Moisture Meter Reading Interpretation Tips for Assessing Suspected Damp Building Materials
A damp patch, a musty smell, or paint bubbling above a skirting board will send most renovators for a moisture meter — then leave them staring at a number that seems to explain everything and nothing. Good moisture meter reading interpretation is not about one magic threshold. It is about knowing which scale your meter uses, what material you are testing, and what pattern the readings form.
The direct answer: a single reading never diagnoses damp on its own. A high reading tells you the material at that spot responded more strongly than dry material would. It does not tell you how much water is in plaster or masonry, where it came from, or whether the cause is rising damp, condensation, or a leak. Interpret the scale, compare against a dry reference point in the same material, read the pattern, and combine meter evidence with what you can see in the room before deciding on any repair.
Pin vs Pinless Meters: How Each Type Actually Measures
Understanding how to read a moisture meter starts with the two measurement methods, because they do not measure the same thing.
Pin-Type Meters and Electrical Resistance
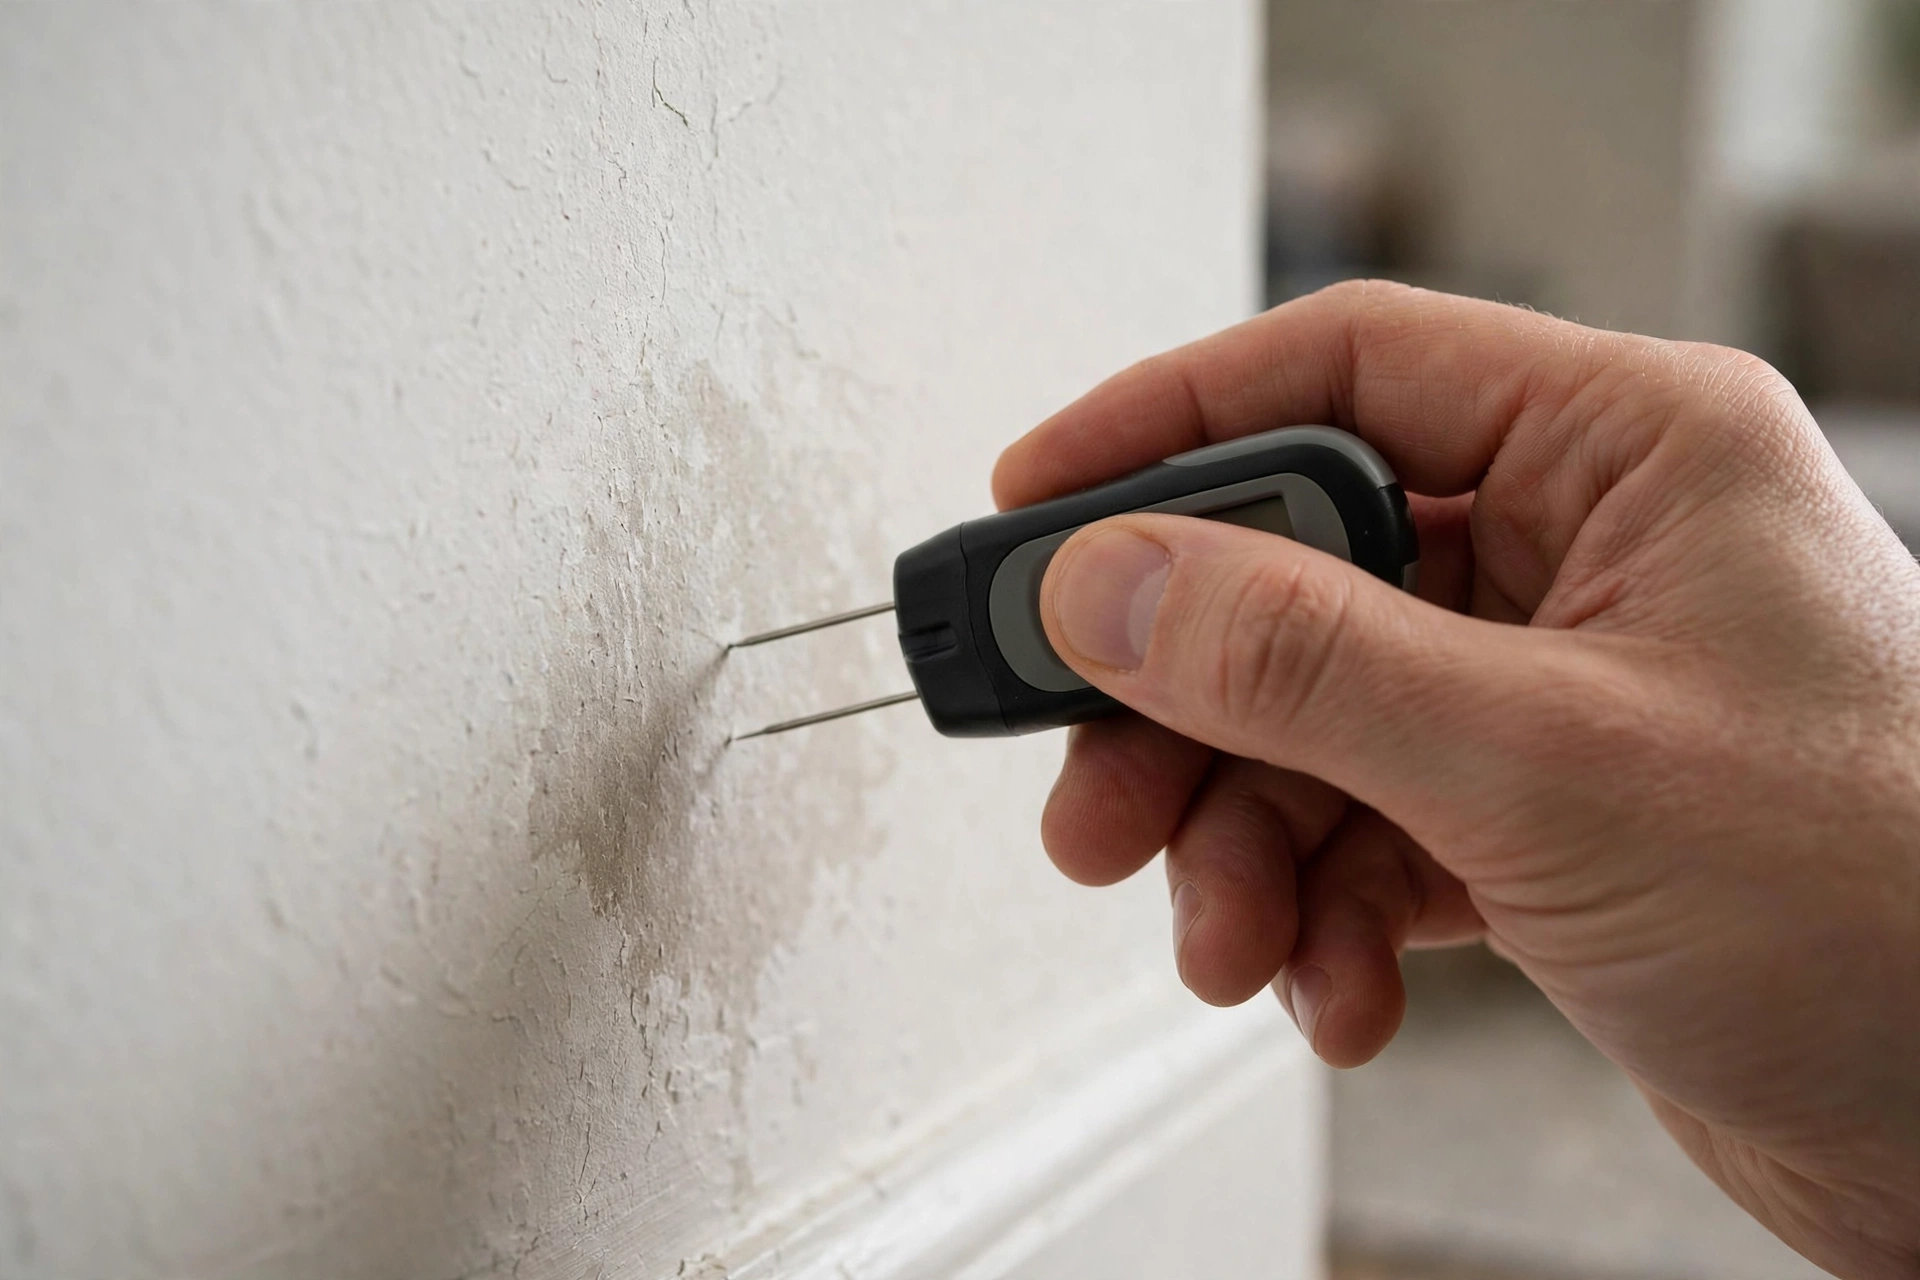
A pin-type, or resistance, meter pushes two pins into the material and passes a small current between them. Dry materials resist it; wetter materials conduct more easily, so resistance falls as moisture rises. On timber, where the meter is calibrated, the display is a real moisture content; on other materials it is a comparison value, explained below. Pin readings are the record readings — worth writing down and comparing on a return visit. Standard pins read near the surface, while insulated deep-wall probes, commonly around 127 mm and 230 mm long, check deeper in a thick wall.
Pinless Meters and Capacitance Scanning
A pinless, or capacitance, meter sits flat on the surface and sends an electromagnetic field into the material, typically effective to about 19–20 mm deep. It leaves no holes, so it suits finished surfaces, tiles, and rapid scanning. It averages everything in that shallow volume and reports a relative, unitless value. Use it to map hotspots quickly, then confirm important spots with pin readings. Never quote a pinless relative number as a moisture percentage.
A dual-mode meter gives the best of both: scan pinless first to find the problem, then switch to pins for decision readings.
Moisture Meter Reading Interpretation: The Three Scales Explained
Most confusion around damp meter readings comes from mixing up three scales. Check which one your display uses before interpreting anything.
Percentage Moisture Content (%MC)
%MC is the actual water content of timber, expressed against its dry weight — the only scale stating a true percentage of water in the material itself. Indoors, timber at about 8–12% MC is dry and normal. Readings from 12–20% are elevated, mould risk rises above roughly 16%, and sustained readings above 20% risk fungal decay.
Wood Moisture Equivalent (%WME)
WME answers a different question: if wood were in equilibrium with this plaster, brick, or masonry, what moisture content would it reach? Pin meters display WME automatically on non-timber materials. It is an excellent comparison scale, but not the material’s own water percentage.
Relative Scale (REL)
REL is the pinless scanning scale. Its numbers have no units and no universal meaning: 300 means little until you know the same wall’s dry area reads, say, 120. REL is for pattern-finding only — locating the wettest area and choosing where to take pin readings.
The widely used Protimeter colour bands follow the same logic: below 17% WME is dry, 17–19.9% is at risk, and 20% or more is wet. Treat every range as a guide, not a law — normal varies with construction, material mix, season, and heating and ventilation, which is why your own dry reference reading matters more than any printed table.
Why a Reading Alone Cannot Diagnose Damp
A meter measures conductivity or capacitance, not causes. Several common conditions distort readings and have led renovators to misdiagnose a wall.
- Hygroscopic salts and efflorescence: Salts drawn into plaster over years conduct electricity strongly, so salt-contaminated plaster can read high even when it holds little free water, and the salts attract moisture from humid air. A high reading may be recording salt, water, or both.
- Foil, metal, and hidden services: Foil-backed plasterboard, metal lath, metallic paint, copper strips, corner beads, wiring, and plumbing can all produce sudden high readings unrelated to water. A hotspot following a straight line or neat rectangle is suspect — check what is behind the surface first.
- Temperature and surface conditions: Warmer materials conduct slightly better, so readings edge higher when warm. Surface condensation, recent cleaning, or a fresh coating can also lift a surface pin reading while the wall beneath is dry — hence deep probes and repeat visits.
None of this makes meters useless; it makes them profiling instruments. British guidance agrees: electrical readings on masonry are qualitative, and surface readings alone cannot prove rising damp. Definitive moisture content comes from gravimetric (oven-dry) analysis or a carbide meter test on drilled samples, arranged by a qualified damp surveyor.
A Step-by-Step Investigation Workflow That Reads the Pattern
This workflow turns scattered numbers into a moisture profile — the shape of the damp — and the shape points to the cause.
Calibrate and check the meter first, and fit fresh batteries if readings drift.
Take a dry reference point: an area of the same material and construction with no signs of damp, ideally on the same wall. Record its reading and judge every later reading against this baseline, not a generic chart.
Scan with pinless mode, if you have it, to find the hotspot. Mark its boundary in pencil.
Build a grid with pin readings at about 300 mm centres, vertically and horizontally, across and beyond the suspect area. Record each reading on a sketch or photo, continuing until readings return to your dry reference level in every direction.
Test obvious suspects directly: skirting boards and timber beneath them, the wall-floor junction, below windows, behind radiators and pipe runs, and the same spot opposite.
Add the room evidence: staining, tide marks, salt deposits, mould position, and musty smells, plus room relative humidity and air and surface temperature if you can. Condensation is a room-climate problem as much as a wall problem.
Read the pattern, then re-test after a dry spell or a week or two later. A profile that is shrinking, stable, or growing tells you more than one visit can.
Reading the Classic Patterns
A rising damp moisture profile typically shows high readings at the base of a ground-floor wall that fall as you climb, often with a sudden cut-off, and salts near that upper edge. Condensation shows the reverse: high readings at the top of the wall, in cold corners, or behind furniture, declining downwards, with mould at the coldest points. A leak produces a localised blob centred on a pipe or fitting, while penetrating damp maps to an outside defect — cracked render, failed pointing, an overflowing gutter — at the same height. If your grid matches no pattern cleanly, say so rather than forcing a diagnosis.
Calibration and Technique: A Short Accuracy Checklist
Small errors compound. Work through this checklist before trusting damp meter readings.
- Check calibration every session: pin meters against the manufacturer’s moisture content standard or check block; pinless meters via their sensor calibration procedure. Do not use a meter that fails its check for decisions.
- Push pins in firmly, to the same depth each time, and hold them still until the display settles. In timber, align pins with the grain where advised.
- Keep the pinless sensor completely flat, lift it between points rather than dragging it, and wipe off surface water first.
- Avoid knots, fixings, and fingers bridging the pins, which skew resistance readings.
- Record material, scale, location, and date with every reading. ’18’ is useless a month later; ‘hall plaster, 18% WME, 300 mm above floor’ is evidence.
- Repeat borderline readings. If one point disagrees sharply with its neighbours, re-test it and check for hidden metal or salts before trusting it.
When Readings Point to a Professional Damp Survey
Book a qualified, independent damp surveyor — one who diagnoses rather than only sells a treatment — when pin readings stay at 20% WME or above across a wide area after repeat testing; when timber reads above 20% MC or feels soft; when mould keeps returning despite ventilation changes; when the property is being bought, sold, or disputed; or when your profile suggests rising damp, because confirming it may need drilled samples, salt analysis, or carbide or gravimetric testing.
What the Tools and Help Typically Cost (Estimates)
Costs vary by region and brand, so treat the following as estimates, not quotes. As an estimate, a basic pin meter typically costs about £20–£60. As an estimate, a dual-mode pin and pinless meter typically costs about £80–£250, with survey-grade instruments costing more. As an estimate, an independent professional damp survey typically costs about £150–£400 depending on property size and whether sample testing is included. Diagnosis first is cheaper than a damp-proof course a condensation problem never needed.
Safety and Knowing Your Limits
Moisture investigation is low-risk work, but not risk-free. Keep pins away from areas where live cables may sit behind the surface — use a cable detector first. Wear a dust mask and gloves when disturbing mouldy plaster or lifting floorboards, and ventilate the room. Do not drill probe holes into any material you suspect could contain asbestos; get specialist advice instead. If floors bounce, joists crumble at a probe touch, or a ceiling bulges with water weight, call a professional promptly.
Final Thoughts
A moisture meter is a profiling tool, not a verdict machine. Learn its three scales, trust pin readings for the record and pinless readings for the map, compare everything against a dry reference, and let the grid — not one beeping number — tell you whether you face rising damp, condensation, a leak, or salt contamination. Your next step: pick one suspect wall, take your dry reference, and draw your first 300 mm grid today.
Frequently Asked Questions
What is a normal moisture meter reading for an internal wall?
It depends on material and scale. Plaster commonly reads 0–15% WME when dry, plasterboard 0–12% WME, and masonry below about 17% WME. Your most reliable normal is a dry reference area of the same construction in the same house.
Does a reading of 20% mean my wall is 20% water?
No — unless you are testing timber on the %MC scale. On plaster or masonry, 20% is a WME value: wood in equilibrium with that wall would reach about 20%. It signals a wet condition needing investigation, but the plaster holds far less water by weight.
Can a moisture meter prove rising damp?
No. A meter can produce a profile consistent with rising damp — high at the base with a cut-off higher up — but salts can imitate that pattern, and surface readings alone cannot prove the source. Confirmation may need drilled samples tested by carbide or gravimetric methods, plus a surveyor’s assessment.
Why does my meter read high where there is no visible damp?
Common causes are hygroscopic salts, foil-backed plasterboard, metal lath or fixings, metallic paint, or hidden pipes and cables. Re-test nearby points, check what is behind the surface, and confirm with pin readings before concluding the wall is wet.
Should I buy a pin or pinless moisture meter?
For most renovation checks, a pin meter is the better first purchase because its readings can be recorded and compared over time. A pinless or dual-mode model earns its cost for scanning large or finished surfaces quickly.
How often should I re-check readings after a leak or flood?
Re-test the same grid points regularly — weekly is practical during active drying — and keep dated records. Drying is confirmed by readings trending down towards your dry reference across the whole grid, not by one dry surface reading while deeper points stay high.
Can condensation alone cause high moisture readings?
Yes. Condensation wets the surface and the material just beneath it, so pin readings on cold external walls, corners, and areas behind furniture can be genuinely high, especially in winter. The pattern — high at the top or in cold spots, with high room humidity — separates it from rising moisture.