How to Install Recessed Lighting in a Room With Low Ceilings – for Busy Families
A low ceiling does not have to mean a dim room, and it certainly does not have to mean giving up on recessed lighting. For a busy family, the appeal is obvious: lights that sit flush with the ceiling cannot be bumped by a tall teenager, knocked by a ladder during a weekend tidy-up, or pulled down by a curious toddler. The room keeps its full head height, the floor stays clear, and the light spreads evenly instead of pooling under a single central fitting. The trick is choosing fixtures made for tight ceiling spaces and placing them with a little more care than you would in a room with nine-foot ceilings.
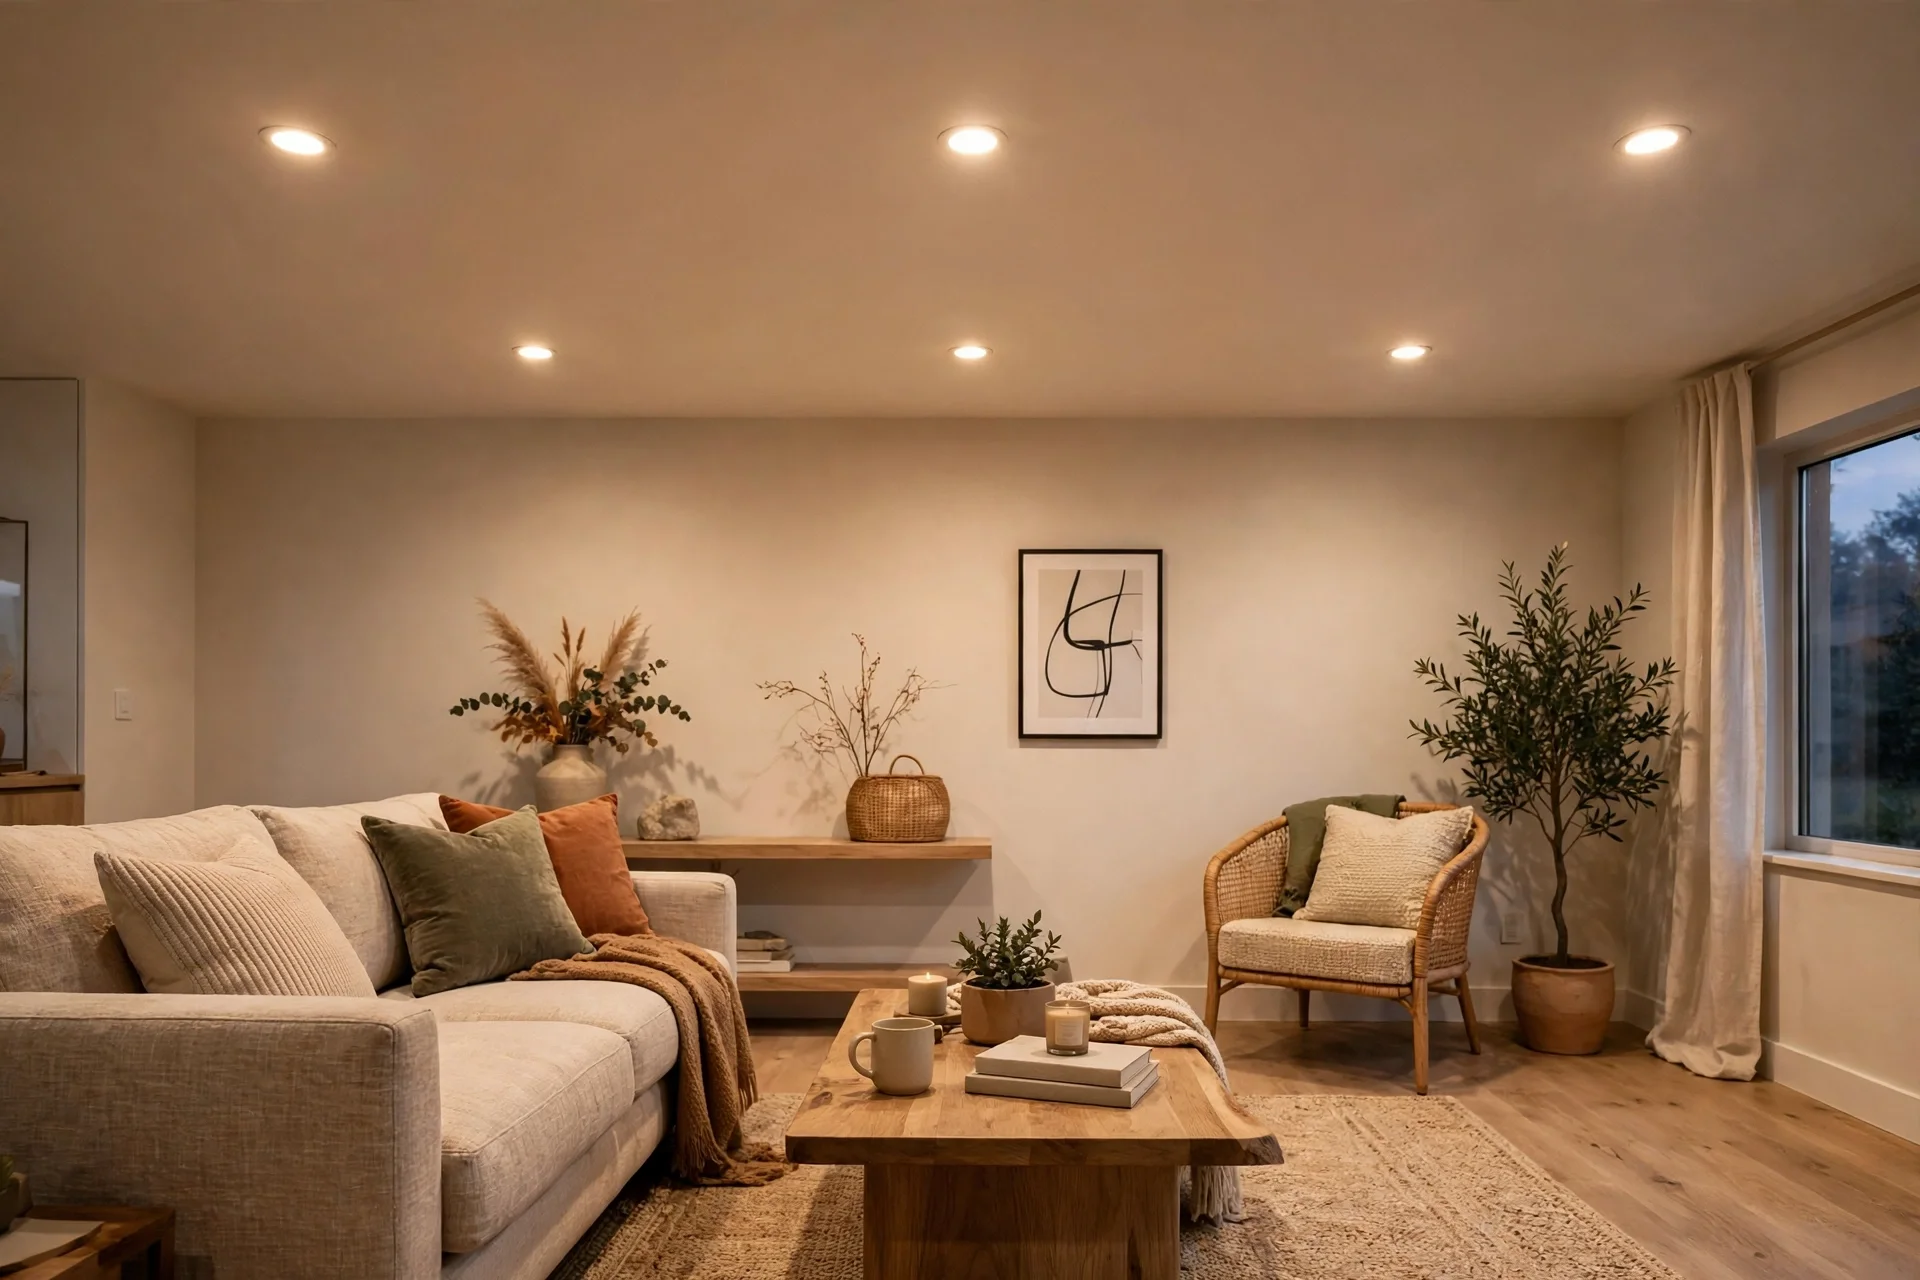
The short answer is this: use ultra-thin, canless LED downlights rather than old-style recessed cans, keep them a sensible distance from the walls, and plan the layout on paper before you cut a single hole. Canless wafer lights need only a small amount of space above the plasterboard, their driver box can often sit beside a joist, and they can be fitted from below the ceiling. That makes them practical in rooms where a traditional can would collide with joists, pipes, or insulation. Done well, the result feels brighter and taller, not lower and busier.
Why Low Ceilings Change the Recessed Lighting Rules
In a room with a standard or high ceiling, a recessed light has room to throw its beam downward and outward before it reaches eye level. In a low room, that distance shrinks, so the beam has less space to spread. Put the lights too close together and the ceiling can start to look like a dotted grid; space them too far apart and you get dark patches between pools of light. The aim, therefore, is a balanced layout with wider-beam fixtures, rather than a large number of narrow spotlights.
Head height matters just as much as brightness. A pendant or a low-hanging shade steals precious inches and can make a room feel smaller, while a flush recessed light steals nothing. For families, there is a practical benefit too: there is nothing hanging at head height in a hallway, nothing to dust above a dining table, and nothing that swings when a door slams. The ceiling itself becomes the light source, which keeps the room feeling open even when the ceiling is only seven or eight feet high.
Choosing Wafer Lights That Fit Above a Low Ceiling
The single most important choice is the fixture depth. Traditional recessed cans can need six inches or more of clearance above the ceiling, which many low-ceiling rooms simply do not have once joists, wiring, and insulation are taken into account. Ultra-thin LED wafer lights, by contrast, are often less than an inch thick, with a separate slim driver box that connects by a cable. That driver can usually be pushed through the ceiling hole and laid beside a joist, which is why these lights work in spaces where cans cannot.
Size and beam angle matter next. A four-inch wafer light suits smaller rooms, hallways, and bathrooms, while a six-inch version spreads light more broadly in a living room or kitchen. Look for a wide flood beam rather than a narrow spot beam, a colour temperature that suits the room — warm white for bedrooms and living areas, a cooler neutral white for kitchens and workspaces — and a dimmable model if you want evening light to feel softer. Check that the fixture is rated for contact with insulation if insulation will touch it, and confirm the driver is accessible for future replacement, as building rules generally require that access is maintained.
- Ultra-thin canless LED: best fit when ceiling space above the plasterboard is tight.
- Four-inch lights: neat in hallways, bathrooms, and small bedrooms.
- Six-inch lights: broader spread for living rooms, kitchens, and open-plan spaces.
- Wide flood beam: avoids harsh pools of light in a low room.
- Dimmable, insulation-rated models: the safest default for most family homes.
Mapping a Low-Ceiling Layout Without the Swiss-Cheese Look
Start by sketching the room and marking anything that must be lit well: a kitchen worktop, a reading chair, a dining table, a hallway route. Then mark anything to avoid: ceiling joists, which you will find with a stud finder, and any obvious pipes or ductwork. A useful starting point is to keep the first light roughly two to three feet from the wall, then space the rest evenly, often four to five feet apart in a low room. That spacing keeps corners bright without turning the ceiling into a grid of holes.
Mark the planned positions with painter's tape and check them from doorways and normal seating positions before cutting. In a low room, glare is more noticeable because the light is closer to eye level, so wider spacing and a frosted trim help, and a light near a wall should be placed deliberately to wash artwork or shelving rather than creating scallops on a bare wall.
What to Check Above the Ceiling Before You Cut
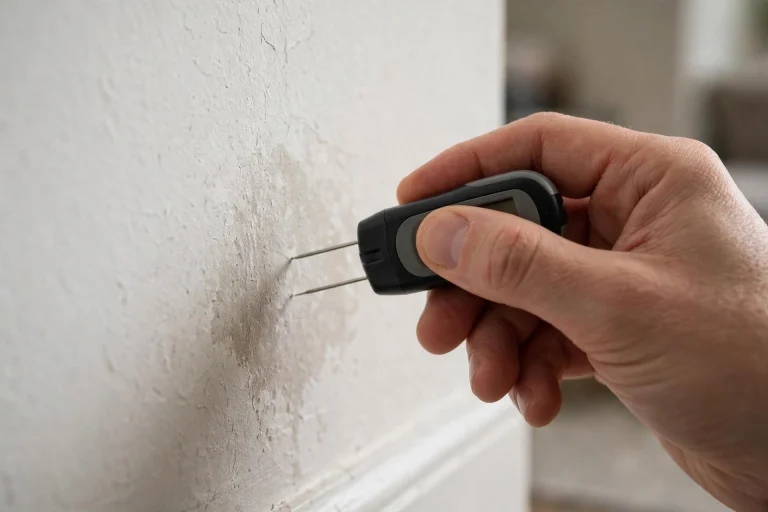
Before cutting, check three things: joist direction, obstructions, and wiring route. Joists run in one direction, so a row of lights will usually follow the gaps between them; a light that lands on a joist has to move, and it is far better to discover that with a stud finder than with a hole saw. A small inspection hole or a careful probe can reveal pipes, cables, and ductwork, and it is worth taking the time, especially in older homes where earlier work may not follow a neat pattern.
Also check insulation: if it sits directly on the ceiling, you need fixtures rated for that contact, and you should not remove large areas without a plan to restore them. No attic access is not a deal-breaker, as canless lights are fitted from below, though wiring may need a small plasterboard opening.
A Step-by-Step Low-Ceiling Recessed Light Installation
Turn off the power at the breaker for the circuit you will work on, and test the wires with a voltage tester before touching anything. This is not a step to rush, particularly in a busy household where someone else might switch a breaker back on; tell everyone in the house what you are doing, and keep the breaker area clear. Mark each light position, check it against the joist layout one more time, and cut the hole with the correct size of hole saw, keeping the cut clean so the trim sits flush.
Feed the cable to the driver box, make the connections exactly as the manufacturer's instructions describe, and tuck the driver beside a joist where it remains accessible. Push the wafer light into the hole until its spring clips hold it flat against the ceiling, then restore power and test each light before moving on to the next one. If a light flickers, sits unevenly, or will not dim smoothly, switch the power off again and check the connections and the dimmer compatibility before assuming the fixture is faulty. A tidy finish comes from patience at this stage, not from forcing a fitting into a hole that is slightly too small.
- Switch off at the breaker and test with a voltage tester — every time, not just the first time.
- Cut one hole, fit one light, and test it before cutting the next.
- Keep driver boxes accessible; do not bury them where they cannot be reached later.
- Match the dimmer to the LED model to avoid flicker and buzzing.
Brightness, Colour, and Glare in a Room the Family Actually Lives In
Brightness in a low room is less about raw lumens and more about evenness. A room that is evenly lit at a moderate level feels brighter than a room with a few very bright spots and dark corners, and it is kinder on the eyes during homework, cooking, and evening television. Dimmable lights help here, because a family room needs different light at breakfast, at homework time, and at film time. Set the dimmer so the brightest setting is comfortable, not dazzling, and use the lower settings in the evening.
Colour temperature changes how a low room feels. Warm white, around 2700 to 3000 kelvin, suits bedrooms and living rooms, while neutral white, around 3500 to 4000 kelvin, suits kitchens and homework areas. Keep one temperature for the main lights in a space, and use a wider beam and frosted lens if glare is a problem when seated.
Low-Ceiling Recessed Lighting Costs, Timelines, and When to Call an Electrician
Costs vary widely with the number of lights, the wiring route, and whether new circuits are needed, so treat any single figure as a broad estimate rather than a quote. As a general guide, wafer lights themselves are modestly priced, and the larger cost is usually labour where new wiring has to be fished through a finished ceiling. A single room with straightforward access can often be done in a day, while a whole floor with difficult wiring can take several days, especially if plasterboard repairs and repainting are needed afterwards.
Some of this work suits a confident DIYer, but call a qualified electrician for a new circuit, a new breaker, bathroom work, panel changes, old wiring, or anything you do not understand once the ceiling is open. A professional will also know local rules on insulation contact, fire-rated ceilings, and bathroom zones.
A simple comparison can help you decide which route suits your room, your budget, and your comfort with electrical work.
Low-Ceiling Recessed Lighting Mistakes That Make a Room Feel Smaller
The most common mistake is installing too many lights. In a low room, more lights do not automatically mean more brightness; they mean more holes, more glare, and a ceiling that draws the eye upward for the wrong reason. A second mistake is placing lights too close to the walls, which creates harsh scallops and shadows in the corners. A third is choosing a colour temperature that fights the room: very cool white in a bedroom can feel clinical, while very warm white in a kitchen can make food preparation feel dim.
Also consider the rest of the room: a couple of lamps or under-cabinet lights soften the scheme, and a trim that does not sit flush will catch the eye, so seat each fitting properly.
Final Thoughts: Recessed Lighting That Keeps a Low Room Feeling Open – for Busy Families
For a busy family, the best low-ceiling lighting is the kind you stop noticing: flush, even, dimmable, and out of the way. Choose wafer lights that fit the space you have, map the layout before you cut, and respect DIY electrical limits.
Recessed Lighting in Low Ceilings FAQs – for Busy Families
Can you install recessed lighting in a ceiling that is only seven feet high?
Yes, with ultra-thin canless lights and careful layout. Seven-foot ceilings leave little room above the plasterboard, so traditional cans are often unsuitable, but wafer lights need far less depth. Keep beams wide and use dimmers to control glare.
Do recessed lights make a low ceiling feel lower?
Not when they are flush and well spaced. Because nothing hangs below the ceiling, head height is preserved, and lowness usually comes from too many lights, harsh glare, or dark corners.
How far apart should recessed lights be in a low room?
A practical starting point is four to five feet apart, with the first light two to three feet from the wall, but the right spacing depends on the room size, the beam angle, and the brightness of the fixtures. Mark the positions with tape and check them from normal seating positions before cutting.
Are canless wafer lights safe with insulation touching them?
Only if the model is rated for insulation contact. Check the manufacturer's rating before buying, and do not assume every wafer light is suitable. If insulation will touch the fixture or the driver, choose an insulation-rated model and follow its installation instructions exactly.
Can I install recessed lights without attic access?
Yes, in many cases. Canless lights are designed to be fitted from below the ceiling, with wiring fished through the cavity. The work is slower, and you may need to open a small section of plasterboard to route a cable, but lack of attic access does not automatically rule the project out.
Why do my new LED recessed lights flicker when dimmed?
Flicker usually points to a dimmer that is not compatible with the LED model, a dimmer loaded below its minimum, or a loose connection. Check the manufacturer's dimmer compatibility list, confirm the connections with the power off, and replace the dimmer with a compatible LED dimmer before replacing the lights.