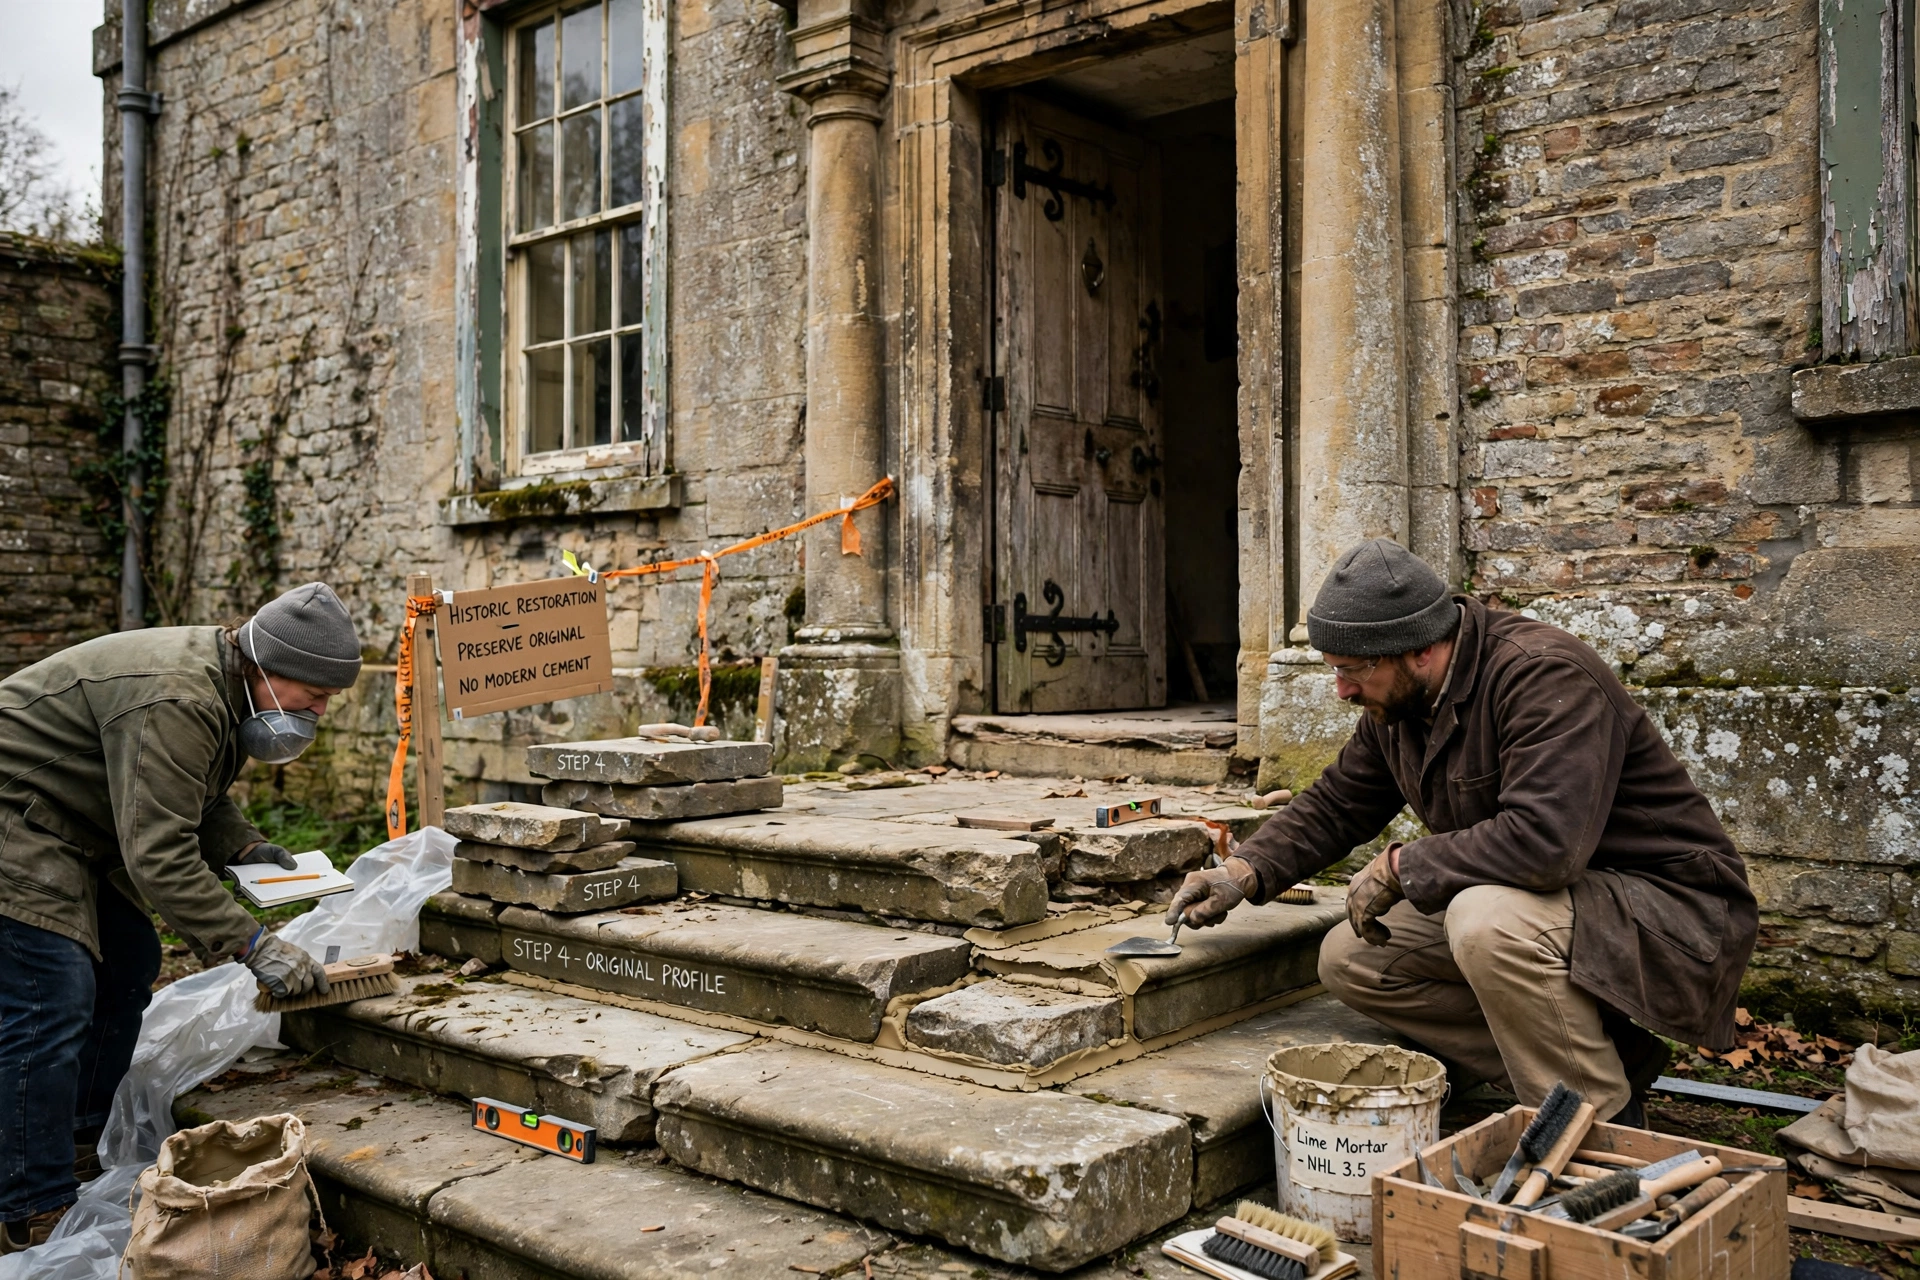
How to Repair Historic Stone Steps While Preserving Original Profiles and Improving Surface Safety
Worn, cracked, or slippery stone steps are among the most common problems on older properties, and also among the easiest to get wrong. To repair historic stone steps properly, follow one guiding rule: keep as much original material as possible, use compatible lime-based materials, rebuild damaged edges to match the original profile, and improve grip with reversible methods rather than grinding the stone flat. Done this way, repairs last for decades while the steps keep their historic character and become safer underfoot.
The Short Answer
Clean the steps gently and record the original edge profiles before touching anything. Repoint failed joints with lime mortar, never modern cement. Repair chipped nosings with indent (dutchman) repairs cut from matching stone, anchored with stainless steel dowels and bonded with lime grout, finished by hand to replicate the original tool marks. Stitch cracked treads with stainless pins and resin injection instead of replacing them. For safety, keep the worn historic surface and add adhesive anti-slip strips, which are effective, discreet, and completely reversible. Call a conservation mason for structural movement, cantilevered stairs, or listed-building work.
Why Historic Stone Steps Deteriorate
Most decay comes from water: it enters through failed joints, then freeze-thaw cycles prise saturated stone apart and dissolved salts crystallize inside the pores. Decades of feet dish the nosings, especially on soft sandstone, while moss traps moisture against the surface. Old repairs in hard cement mortar are a frequent human-caused problem, trapping moisture so the stone face fails around the repair. Settlement or structural movement is different: it opens joints and cracks treads, and needs an engineer, not a cosmetic patch.
Assessing Your Stone Steps Before You Start
Walk the flight slowly and record every defect: loose treads, open joints, cracked stones, spalling faces, dished nosings, and spots slippery when damp. Tap each tread with a mallet handle; a hollow ring suggests voids beneath, a dull thud means sound bedding. Check the flight is level and has not pulled away from the building, which points to settlement. Photograph everything in raking light, since low-angle light reveals wear that overhead light hides.
Surface Damage Versus Structural Problems
Worn nosings, weathered faces, open joints, and isolated chips are surface problems you can repair in place. Rocking or dropped treads, full-depth cracks, a settled or rotated flight, and cracked cantilevered stairs signal movement or overload. Patching over structural movement guarantees the repair will fail, so get a structural engineer or conservation mason involved first.
Recording the Original Profiles First
Replacement pieces should follow the original profile as far as it can be determined. Find the least weathered area, often a tread end sheltered by a wall, and make a permanent template from thin zinc sheet or stiff card. Photograph it with a ruler for scale. Every repair piece gets cut to this template, which stops the profile drifting into a generic rounded edge.
Conservation Principles for Repairing Historic Stone Steps
Minimal intervention: repair rather than replace, and replace only what is beyond saving.
Like-for-like materials: matching stone and breathable lime mortar, never hard cement.
Reversibility: prefer repairs a future conservator could undo. This is why adhesive anti-slip strips beat grinding.
Hand finishing: dress repair faces to replicate original tool marks. Mechanical saw marks are considered completely out of character.
Follow the joints: repairs must respect original masonry joints, or they risk fracturing along the joint lines.
Listed buildings: check whether consent is required before altering the steps; rules vary by location.
Repair Methods That Preserve the Original Profile
Work from least to most invasive. Most flights need a combination: cleaning and repointing everywhere, indent repairs on the worst nosings, and perhaps stitching on one or two cracked treads.
Gentle Cleaning
Clean before repairing, since grime hides the true condition. Start with soft brushing and water, then low-pressure washing only if needed, keeping the lance well back. Avoid aggressive pressure washing, which drives water deep into the stone, and skip acidic cleaners on limestone and marble. Remove moss by hand on soft stone, and let everything dry fully before judging the damage.
Repointing Joints With Lime Mortar
Open joints let water into the heart of the flight, so repointing is often the most valuable repair. Rake out failed mortar without damaging the stone edges, flush out dust, and dampen the joint. Repoint with lime mortar matched to the original in composition and colour. Lime is breathable and flexible, letting moisture escape; hard cement traps moisture and usually causes the stone face, not the joint, to fail. Tool joints to the existing profile and protect fresh work from frost while it cures.
Indent (Dutchman) Repairs for Damaged Nosings
An indent replaces only the damaged portion of a stone with a new piece cut to fit exactly. Cut out the defect with straight, smooth sides, removing as little historic material as possible, and extend cuts to the stone edge rather than leaving thin slivers. Cut the new piece from matching stone to your profile template. For exposed edges like nosings, dovetail the indent into place and anchor it with corrosion-resistant dowels, normally stainless steel or phosphor bronze, set in fine drillings with resin kept to the drillings only. Bond the interface with lime grout, filling it completely, and finish the face entirely by hand.
Stitching Cracked Treads
A cracked but otherwise sound tread can usually be saved: fine holes are drilled across the crack, stainless steel pins inserted, and resin injected around the pins and into the crack. This is the standard rescue for cracked cantilevered stair treads. Wide, displaced, or multiple intersecting cracks may mean the stone needs replacement.
Replacing a Stone Tread When Repair Is Not Enough
Replace when a tread is shattered, deeply delaminated, or compromised beyond stitching. Source stone matching the original in type, colour, and grain, cut it to your recorded template, bed it on lime mortar at the correct height, and point to match. Critical warning: on cantilevered stone stairs, never cut back existing treads to form a new nosing line. Each tread's cross-section is structurally significant, and thinning it can impair the stair's performance.
Improving Surface Safety Without Harming Historic Character
Old steps get slippery as traffic polishes the surface and damp lingers from poor drainage or shade. Choose the least invasive effective option first, and only consider permanent alterations if reversible methods cannot make the steps safe.
Reversible Anti-Slip Options to Try First
Adhesive anti-slip strips near each nosing: conservation specialists recommend these for worn historic nosings because they are non-invasive and completely reversible, and they come in discreet colours.
Contrasting nosing strips: high-visibility strips define each step edge in poor light and help meet accessibility expectations.
Better drainage and drying: clearing drainage, trimming overhanging vegetation, and improving airflow often reduce slipperiness noticeably.
Routine gentle cleaning: algae and silt are major contributors to slippery steps.
Permanent Treatments and Their Trade-Offs
Permanent methods alter the stone and deserve caution on historic fabric. Routed grooves or abrasive inlays are effective but irreversible. Bush-hammering, sandblasting, or flaming raises friction but erases historic tooling and patina, and flaming can discolour some limestones. Chemical etching changes the surface chemistry. Keep permanent treatments for replacement stones and use reversible solutions on original surfaces.
Step-by-Step: Repairing a Worn Stone Step Nosing
Survey and record: photograph in raking light, mark defects, and make a zinc template of the original nosing profile from the least worn area.
- Clean gently: soft-brush with water, remove growth by hand, and let the stone dry fully.
- Repoint failed joints around the repair area with lime mortar matched to the original.
- Mark the indent: the smallest area removing all unsound stone, with straight sides extended to the stone edge.
- Cut the cavity with hand tools, controlling dust and wearing respiratory protection against silica dust.
- Cut the new piece from matching stone to your template; dry-fit until joints are tight and even.
- Drill for stainless steel or phosphor bronze dowels, keeping resin to the drillings only.
- Butter the interface with lime grout, set the indent, and fill the joint completely.
- Finish the face entirely by hand, replicating the original tool marks.
- Protect from frost and heavy rain while the lime cures.
- Once cured, apply adhesive anti-slip strips set back slightly from the nosing edge.
- Log materials, mortar mix, and date in the property's maintenance records.
What Stone Step Repairs Typically Cost
Treat every figure here as a rough estimate; costs vary with region, stone type, and access, and conservation work commands a premium for hand skill. Published trade data puts straightforward stone step repairs in the US at roughly $240 to $470 for small jobs, with a specialist mason's labour typically $40 to $75 per hour.
Repair is almost always cheaper than rebuilding, and it preserves the historic character that replacement destroys. Get itemised quotes, insist on lime-based materials, and be wary of any quote proposing cement mortar or grinding the steps flat.
Common Mistakes That Damage Historic Stone Steps
Repointing with hard cement, which traps moisture and makes the stone face fail.
Grinding nosings flat or cutting back treads, destroying the original profile and possibly weakening cantilevered stairs.
- Aggressive pressure washing or acidic cleaners that strip or etch the surface.
- Non-breathable sealers that trap moisture inside historic masonry.
- Repairs that bridge original joints, risking cracks along the joint lines.
- Leaving thin slivers of stone beside an indent, which soon break off.
- Ignoring drainage and vegetation, so decay restarts immediately after repair.
- Skipping listed-building consent where required.
Safety and When to Call a Professional
Cutting stone produces respirable crystalline silica dust: wear a properly fitted respirator and use dust extraction or wet cutting. Treads are extremely heavy, so use mechanical lifting aids and never work beneath an unsupported stone. Wear eye protection, gloves, and steel-toe boots. Call a conservation mason or structural engineer for rocking treads, full-depth cracks, settlement, cantilevered stair damage, or extensive salt decay, and involve the conservation officer early on listed buildings.
Final Thoughts
Repairing historic stone steps is a craft of restraint: clean gently, repoint in lime, rebuild only damaged edges to your recorded profile, and improve safety with reversible anti-slip strips. Start with the survey and the zinc template. For anything structural, bring in a conservation mason before you pick up a chisel.
Frequently Asked Questions
Can I repair historic stone steps myself?
Cleaning, moss removal, and fitting anti-slip strips are reasonable DIY tasks, and small-scale lime repointing suits a careful DIYer. Indent cutting, crack stitching, and structural work belong to an experienced mason. Stone cutting mistakes are permanent.
Why not use cement mortar on old stone steps?
Cement is harder and less breathable than the lime mortars these steps were built with. It traps moisture, so freeze-thaw and salt damage attack the stone face instead of the joint. Lime mortar is sacrificial and breathable, protecting the stone.
What is an indent (dutchman) repair?
Only the damaged portion of a stone is cut out and replaced with a matching piece shaped to the original profile. It is dovetailed or doweled in with stainless steel or phosphor bronze fixings, bonded with lime grout, and finished by hand.
How do I make old stone steps less slippery without damage?
Use reversible measures first: adhesive anti-slip strips near each nosing, better drainage, trimmed vegetation, and regular gentle cleaning. Permanent options like grooves or blasting alter the historic surface.
Should I grind out the dip worn into the middle of the treads?
No. The dished wear is part of the steps' history, and grinding removes original material and the historic surface. Address water pooling with drainage, use reversible anti-slip measures, or discuss an indent repair with a mason.
Do I need permission to repair steps on a listed building?
It depends on location and scope. Like-for-like repairs in matching materials are often acceptable, but changes to profiles or appearance may need listed-building consent. Check with the local authority first; unauthorised work can lead to enforcement action.
How long do indent repairs and lime repointing last?
Done well with compatible materials and detailing that keeps water out, they can last many decades. Keep joints sound, drainage clear, and growth removed, and inspect yearly to catch small issues early.