How to Repair Crumbling Sandstone Window Sills Without Damaging the Original Exterior Stonework
You can repair a crumbling sandstone window sill without damaging the original exterior stonework, but only with materials that behave like the stone itself. Sandstone is porous: it constantly absorbs and releases water. Hard cement patches and epoxy fillers block that movement, trap moisture behind the repair, and make the crumbling worse within a few winters. The safe approach is to cut back to sound stone, consolidate any friable surface, and rebuild the profile with a lime-based stone repair mortar that stays softer and more vapour-permeable than the host stone. Equally important: fix the cause — a sill sloping inward, failed joints, or water dripping from above — or even the best repair will fail.
Why Sandstone Window Sills Crumble
Sandstone is a sedimentary rock — grains of quartz held together by a natural cement. That open, porous structure is what makes it beautiful and carveable, but it is also its weakness. Window sills sit in the harshest spot on a building: horizontal, fully exposed, catching every drop of rain.
The main destroyer is the freeze-thaw cycle. Water in the pores expands by roughly nine percent when it freezes, pressing against the pore walls until tiny fractures open. Each winter drives the damage deeper, and research shows deterioration climbing steeply once the stone passes about three-quarters saturation. Dissolved salts make it worse: sulphates and chlorides crystallise inside the pores as water evaporates, prising grains apart — the reason crumbling sills so often wear a white efflorescence bloom.
Two human-caused problems accelerate everything. Previous repairs in ordinary Portland cement are harder and far less permeable than sandstone, so moisture concentrates at the boundary and the stone decays behind the patch. And detailing failures — a sill sloping back toward the wall, a clogged drip groove, open joints letting water run behind the stone — keep the sill permanently wet. Repair the stone without fixing these and you are only resetting the clock.
Assess the Damage Before You Touch Anything
The depth and type of damage decide the repair method, so diagnose first on a dry day:
Scrape test: drag a stiff nylon brush across the surface. If the stone powders off in sugary grains, it is friable and needs consolidation first.
Sound test: tap with your knuckles. A clear ring means sound stone; a dull thud means the surface has delaminated.
Depth check: probe the worst spots gently with a screwdriver and note how deep the soft material goes.
Joints and fall: check the mortar joints for cracks, and lay a level on the sill — it should slope away from the building, never toward it.
Photograph everything from several angles before you start: your reference for rebuilding the profile.
How to Tell Whether the Stone Can Be Saved
Surface friability a few millimetres deep, with the sill's shape intact, can usually be saved with a stone consolidant. Profile loss between roughly 5 mm and 50 mm calls for rebuilding with a lime-based stone repair mortar. Damage deeper than about 50 mm, a lost moulded edge, or stone that keeps crumbling however far you cut back points to a stone indent or full replacement. A sill cracked right through, or one that moves when pressed, is structural — stop and get a professional assessment.
Choose the Right Repair Method for the Damage
Match the method to the damage — no single product fixes every crumbling sandstone sill:
Stone Consolidants: Strengthening Without Rebuilding
When the sill is dusty and sugaring but still the right shape, a consolidant can re-bond the grains. Conservation professionals use silicic acid ester treatments (the Remmers KSE range or the Prosoco Conservare OH100 class): they penetrate deeply, deposit silica where the natural binder has failed, and do not form a dense surface crust, so the stone keeps breathing. Consolidation is preservation, not reconstruction — it will not fill holes or rebuild an edge.
Lime-Based Repair Mortars: Rebuilding the Profile
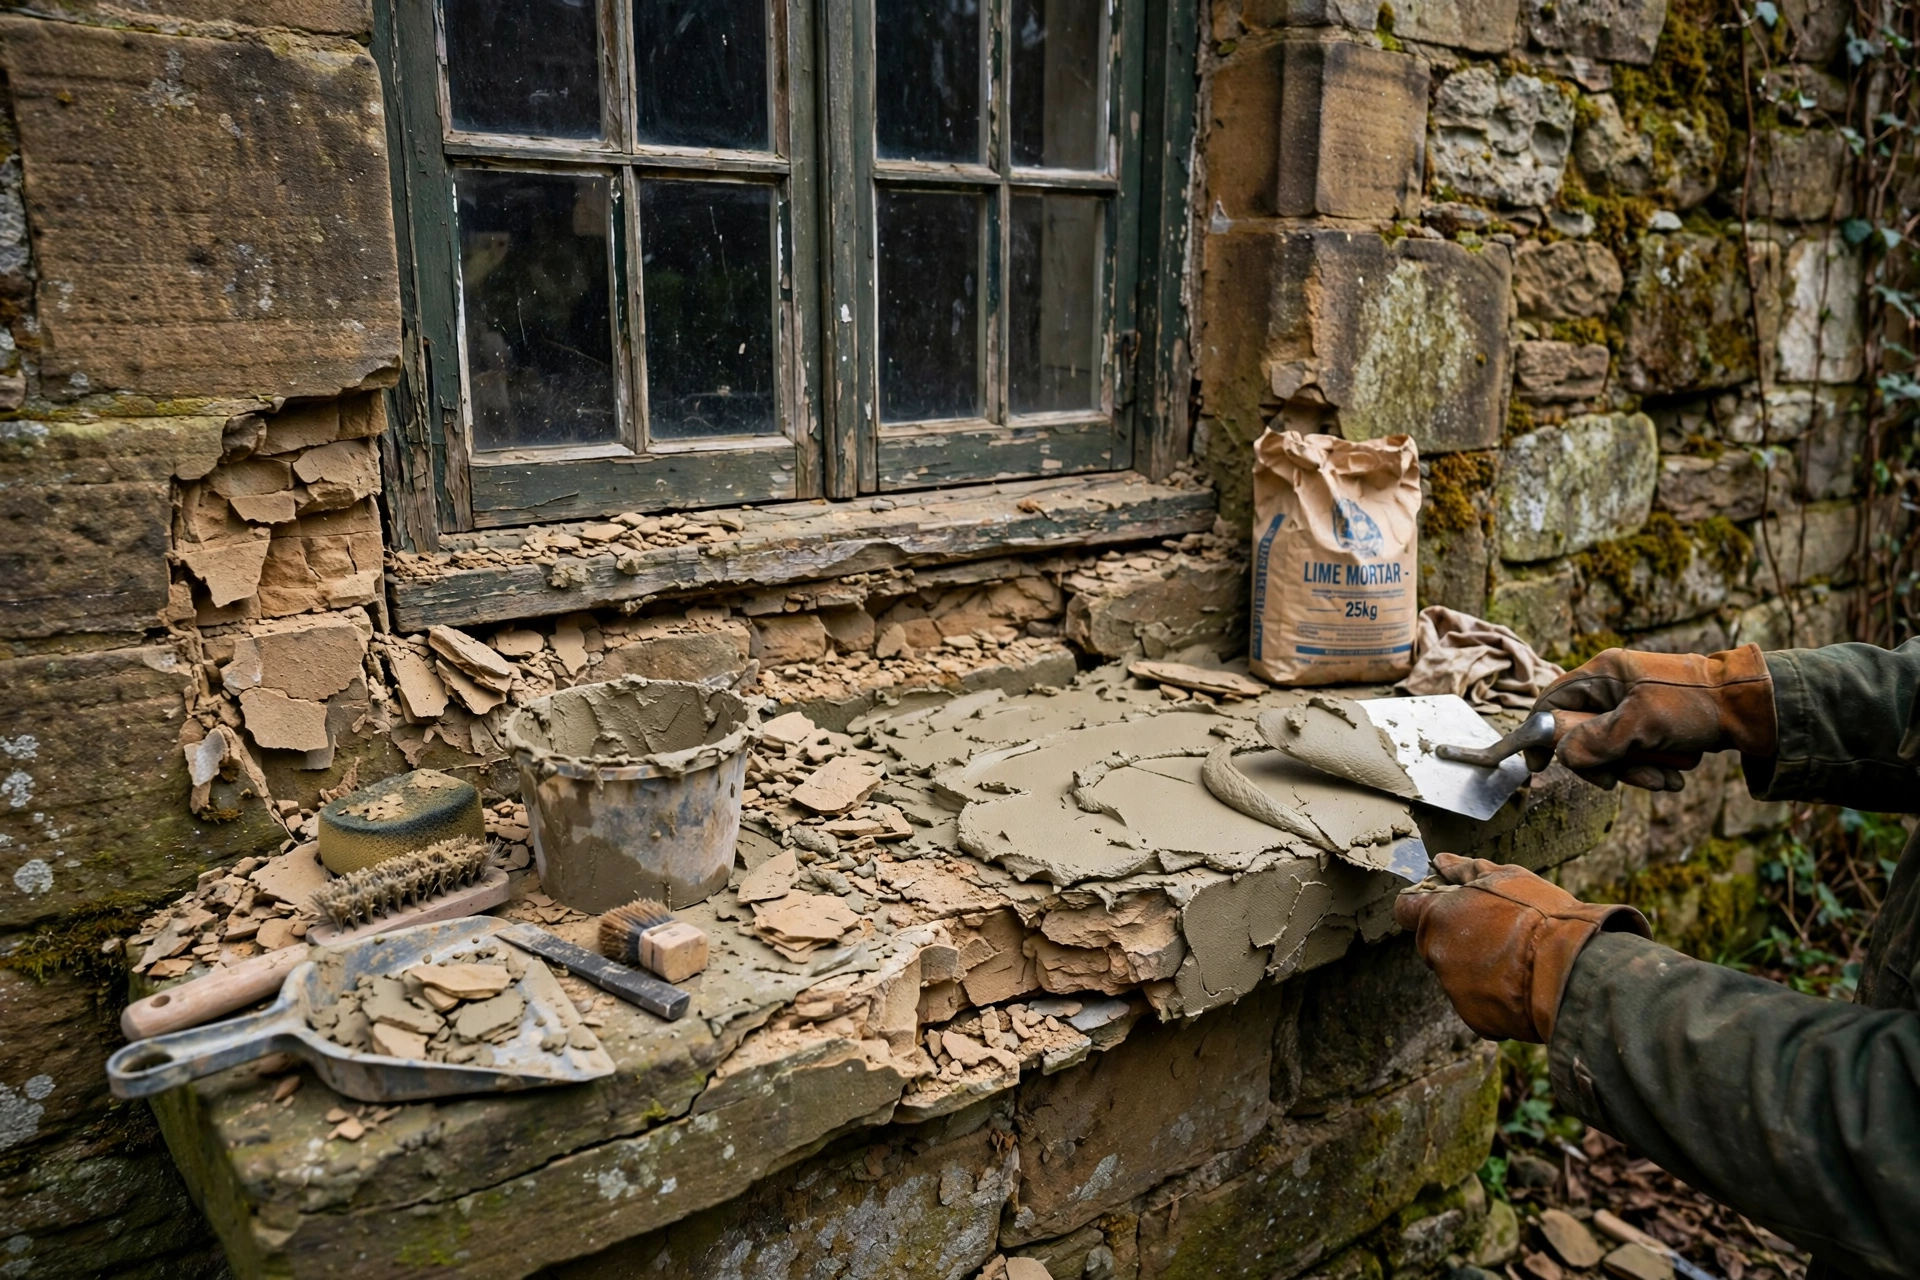
For most crumbling sandstone sills, the workhorse is a lime-based plastic restoration mortar such as Saint-Astier Lithomex: natural hydraulic lime blended with aggregates, designed to behave like stone rather than concrete. It stays softer than the host masonry, remains vapour-permeable, and can be colour-matched and tooled to replicate the original surface. Conservation architects routinely specify cutting failed repairs back to hard substrate and rebuilding with this class of product, pinning deeper build-outs with stainless steel dowels.
Stone Indents and Full Replacement
Where damage is deep or the building is listed, the gold standard is an indent: the decayed section is cut out squarely and a matching stone is bedded on lime mortar and dowelled back with stainless steel. Full replacement lets you correct the original sins too — proper outward fall and a working drip groove. As a rough UK trade guide, sawn replacement stone is sometimes quoted around £5,000 per cubic metre (estimate only), which is why mortar repairs and indents are preferred wherever viable.
How to Repair a Crumbling Sandstone Sill With Stone Repair Mortar
This is the method most competent DIYers can tackle for moderate damage. For listed buildings, conservation areas, or structural damage, see the professional section below first.
Tools and Materials Checklist
- Lime-based stone repair mortar, colour-matched to the stone
- Stiff nylon brush, chisels and club hammer for cutting back
- Spray bottle for dampening; drill mixer with paddle (or bucket and whisk)
- Pointing trowel, sponge or foam float for finishing
- Stainless steel dowels for deep build-outs; damp hessian for curing
- Masking tape, dust sheets, P3/N95 dust mask, gloves, eye protection
- Protect the area: mask the window frame and glass; lay dust sheets below.
Cut back to sound stone: remove all loose and powdery material until you reach hard stone that rings when tapped. Square the repair edges — never feather-edge, which curls and lifts.
Clean gently: brush out dust. No sandblasting; keep pressure washers well back on a fan setting.
Consolidate first if the exposed surface is still friable; let it cure fully.
Control suction: mist the substrate so it is damp but not saturated, and apply mortar before it dries. This is the most-skipped step in failed repairs.
Mix 3 to 5 minutes to a semi-dry, workable consistency, keeping water ratios identical between batches for uniform colour.
Build in layers: press mortar firmly in, slightly overfilling. Most restoration mortars go on up to about 50 mm per pass and can build to around 100 mm in a working day; bed stainless dowels into deeper projections.
Tool the profile after a few hours (roughly 5 hours normally, up to 24 in cold or damp weather), replicating the original moulding. Press a strip of render mesh into wide stone-to-mortar joints to stop cracking at the boundary.
Cure under damp hessian, protected from sun, rain and frost for several days. Frost in the first nights can destroy a lime-mortar repair.
Hand-rub the surface to blend with the surrounding stone and check the profile in daylight.
Fix the Cause, Not Just the Symptom
A rebuilt sill will crumble again if the water problem that killed the first one remains:
Fall: the sill top must slope gently away from the wall so rain runs off.
Drip groove: clear paint, mortar and debris from the underside channel so water drips clear of the wall; re-cut it if weathered away.
- Repoint joints with lime mortar matched to the original — never hard cement.
- Look above: fix leaking gutters, overflowing downpipes or missing flashing that dump water onto the sill.
- Keep paint and film-forming sealers off sandstone; they trap moisture in the stone.
What Never to Do on a Sandstone Sill
Portland cement patches: harder and less permeable than sandstone, they concentrate moisture at the boundary and the stone decays behind them.
- Epoxy fillers: an impermeable barrier with different thermal movement; nearly impossible to reverse.
- Sandblasting: strips the weathered face and opens fresh pores, accelerating decay.
- Film-forming sealers: trap moisture inside the stone.
- Thin cosmetic stone-dust smears: no depth or key, they tend to blow off within a season or two.
How Much Does It Cost?
Costs vary by region, access and extent of loss. Figures below are rough estimates only:
Common Mistakes That Ruin Sandstone Sill Repairs
- Patching over loose material — the repair bonds to dust and falls off.
- Using cement because it is on the shelf — the classic way to turn a small repair into a bigger one.
- Skipping suction control — the substrate must be damp, not dry or saturated.
- Feather-edging instead of square-cut edges.
- Letting frost hit the repair in its first days.
- Ignoring the cause — slope, joints and water from above decide whether the repair survives.
Safety and When to Call a Professional
Cutting back stone creates silica dust: work wet where possible and wear a P3/N95-rated dust mask, gloves and eye protection. Most sills are at height, so plan safe access — a properly footed ladder for inspection, a tower or scaffold for sustained work.
Call a stone mason or conservation professional if the sill is cracked through or moves, damage returns after a proper repair (possible rising damp or salt contamination), the building is listed or in a conservation area (consent is usually required), or the job needs deep indents and structural dowelling.
Final Thoughts
Repairing a crumbling sandstone window sill without damaging the original stonework comes down to two principles: use materials that behave like the stone, and fix the water problem that caused the damage. Cut back to sound material, rebuild with a lime-based restoration mortar, cure it patiently, and correct the fall, joints and drainage around it. Your next step: on the next dry day, run the assessment checklist on your sills — knowing which damage band you are in tells you exactly which repair to plan.
Frequently Asked Questions
Can you repair sandstone window sills without replacing them?
Yes, in most cases. Surface friability can be consolidated, and profile loss up to about 50 mm deep rebuilt with a lime-based stone repair mortar. Replacement is only needed when the sill is cracked through, more than half the stone is lost, or incompatible previous repairs destroyed the substrate.
Can I use regular cement or concrete to patch a sandstone sill?
No. Portland cement is harder and far less vapour-permeable than sandstone, so moisture concentrates behind the patch and the stone decays faster around it. Repair mortars must be no stronger than the host masonry and must let moisture pass — which is why lime-based restoration mortars are specified.
What is Lithomex and is it suitable for sandstone?
Lithomex is a widely used lime-based stone restoration mortar of natural hydraulic lime and aggregates, designed for sandstone, limestone, brick and terracotta. It bonds well, stays vapour-permeable, colour-matches, and tools to replicate original profiles — a standard specification choice of conservation architects for this kind of repair.
How long do sandstone sill repairs last?
A well-executed lime-mortar repair that also fixes the water problem can last decades. One that ignores the cause can fail within a few winters. Cement and epoxy patches on sandstone typically fail fastest, often worsening the original damage.
Why does my repaired sandstone sill keep crumbling?
Usually an incompatible material trapping moisture, poor suction control or curing, frost before the mortar set, feather-edged repairs, or an unfixed cause such as an inward slope, failed pointing, or water from a gutter above. The assessment step exists precisely to identify which of these is at work.
Should I seal a sandstone window sill after repairing it?
Generally no. Film-forming sealers trap moisture inside sandstone and accelerate decay. Compatible mortar, correct detailing and no paint protect the sill far better than any sealer.
Do I need permission to repair stonework on a listed building?
Often, yes. Repairs to listed buildings or conservation-area properties usually require listed building consent before you alter stonework, even like-for-like. Check with your local conservation officer first — unauthorised work on a listed building can be a criminal offence in the UK.