How to Integrate Thermally Broken Exterior Door Frames Into Existing Residential Building Openings
A new exterior door can still leave a home cold if the frame around it conducts heat straight through the wall. In older houses the door leaf is often replaced while the original metal or solid aluminium frame stays in place, and that frame becomes a thermal bridge: a continuous path of highly conductive material from the warm inside face to the cold outside air. The result is familiar to anyone who has touched a metal door frame on a winter morning — a cold strip, condensation, and sometimes frost or mould at the edges.
In short, integrating a thermally broken exterior door frame into an existing opening means measuring and preparing the old opening, removing the old frame without damaging the surrounding wall, setting a new frame with an insulated break in its profile, and sealing the joint so air and water cannot bypass it. This guide walks through the whole retrofit, from surveying the opening to the final weatherstrip adjustment.
Why Older Door Openings Leak Heat Even With a New Door
Homeowners are often surprised when a brand-new insulated door still leaves the hallway cold. The door leaf may carry a good U-value, but the frame is a separate component, and in older installations it is frequently the weak link. A solid steel or aluminium frame conducts heat many times faster than the insulated door panel or the surrounding wall, so the frame face on the inside of the house drops close to outdoor temperature. Warm indoor air meeting that cold surface deposits moisture, which shows up as condensation, peeling paint, and eventually mould growth in the corners.
Air leakage makes the problem worse. Older frames were often set with gaps packed loosely with mortar or foam that has shrunk over decades, and the weatherstrip has usually hardened or torn. Cold air enters around the frame, not just around the door, so even a perfectly adjusted door cannot fix the draught.
What a Thermal Break Does Inside an Exterior Door Frame
A thermal break is a strip of low-conductivity material, usually a reinforced polyamide plastic or an extruded vinyl section, bonded between the outer and inner faces of a metal frame profile. It splits the frame into two separate metal parts that are structurally joined by the plastic, so heat cannot travel directly from the outside face to the inside face.
The break only works as part of a system. A thermally broken frame still needs a proper perimeter weatherstrip to control air leakage at the door-to-frame gap, a thermally broken threshold at the sill so the floor joint does not become a new conduction path, and a sealed joint between the frame and the wall. Specifying a broken frame and then pairing it with a standard aluminium saddle threshold and no door bottom sweep leaves the sill as the weak link, and the condensation simply moves to the floor.
Surveying an Existing Opening Before You Order the Frame
Retrofit frames are made to order, so the survey decides everything. Measure the opening width at the top, middle, and bottom, and the height on both jambs, because older openings are rarely square and the smallest dimension governs the frame size. Check the head and jambs with a long level and a square, and note how far out of plumb each side is. A frame forced into a trapezoid opening will bind the door and leak no matter how good the unit is.
- Measure width at top, middle, and bottom; use the smallest reading.
- Measure height on both jambs and check the head for level.
- Check the wall build-up: brick, block, timber, or render changes the fixing method.
- Note the existing threshold height and floor levels inside and outside.
- Photograph hinge positions, lock height, and any alarm contacts before removal.
Thermally Broken Aluminum, Vinyl, and Composite Frames Compared
Three frame materials dominate retrofit work, and each suits a different opening. Thermally broken aluminium gives slim sightlines and strong, large panels, but it costs more and needs a well-engineered break to perform. Multi-chamber vinyl performs well thermally for its price and resists corrosion, though it can creep if poorly reinforced or installed out of square. Composite and timber-aluminium frames combine a warm interior face with a weatherproof exterior, at a higher price and with longer lead times.
| Frame material | Thermal performance | Strength and sightlines | Typical lead time |
|---|---|---|---|
| Thermally broken aluminium | Good with polyamide break | Slim, strong, large panels | 4 to 8 weeks |
| Multi-chamber vinyl | Very good per dollar spent | Bulkier sections, standard sizes | 2 to 5 weeks |
| Composite or timber-aluminium | Very good, warm inner face | Strong, moderate sightlines | 6 to 10 weeks |
Choose thermally broken aluminium when the design needs slim sightlines, very large panels, or structural spans. Choose multi-chamber vinyl when the priority is thermal performance per dollar on standard opening sizes. Choose a composite frame when the interior face must stay warm in a cold climate and the budget allows it.
Removing the Old Frame Without Damaging the Opening
Removal starts with protection: cover floors, remove interior trim carefully so it can be reused, and cut the paint and sealant lines around the frame so the surrounding plaster or render does not tear away with it. Cut through the old fixings with a reciprocating saw or an oscillating tool rather than levering the frame out, because prying against brick or blockwork cracks the reveals and creates a larger repair. Work one jamb at a time, supporting the head as the fixings release.
Once the frame is out, inspect the reveal thoroughly. Look for damp brickwork, crumbling mortar, rotten timber lintels, and any sign that the wall itself has moved. Repair the reveal before the new frame goes in: repoint loose mortar, replace rotten timber, and fill deep voids so the new frame has solid material to fix into.
Setting, Shimming, and Anchoring the New Frame Square
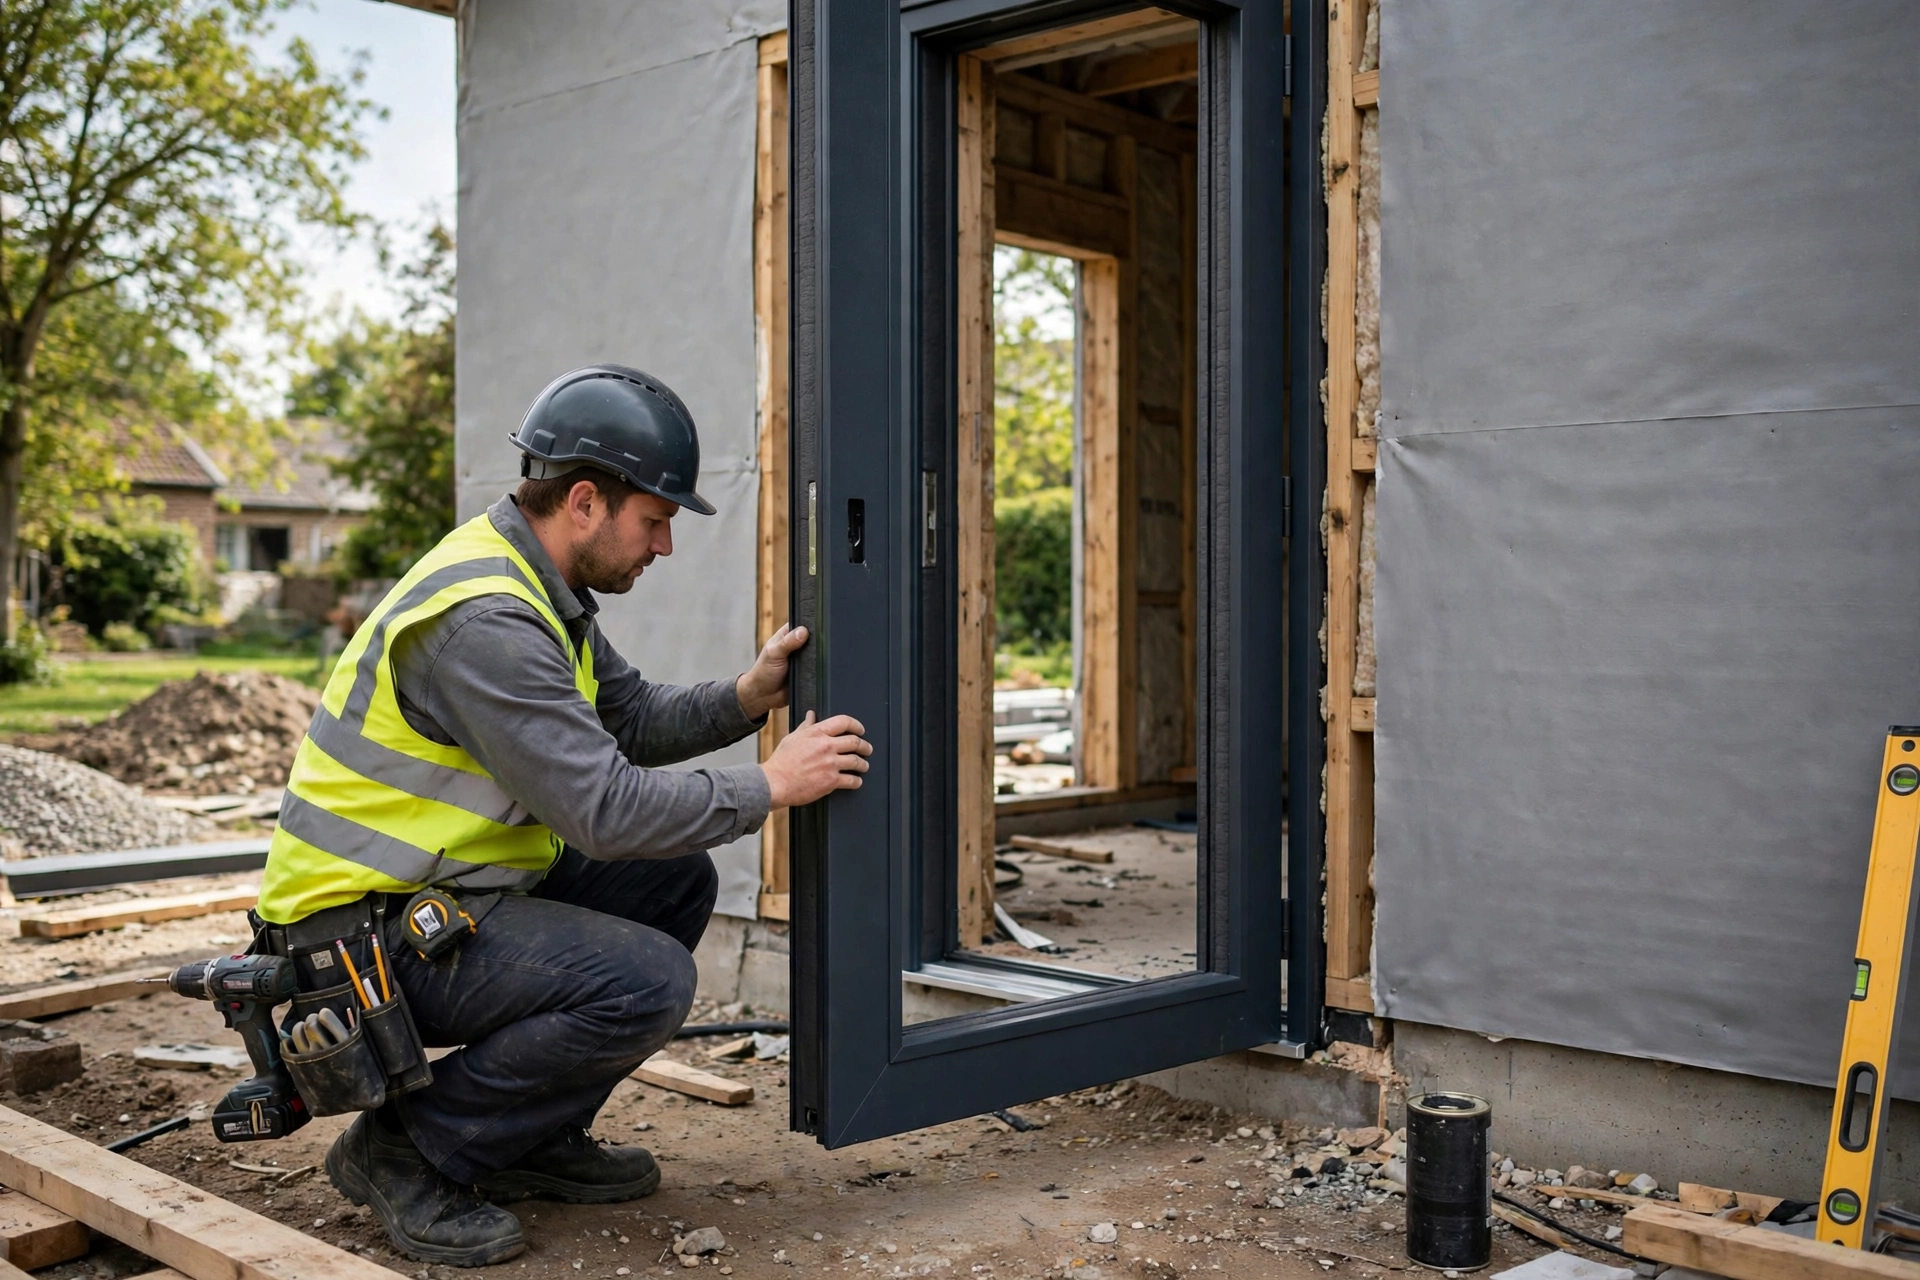
Dry-fit the new frame before any sealant or fixings go in. Set the sill on a continuous bed of sealant over a level sill pan, and shim only where the manufacturer allows, so the frame is fully supported rather than resting on a few high points. Check the frame with a six-foot level on both jambs and across the head, and use temporary spreaders to hold the opening square while the fixings go in.
Fix through the frame into solid structure using the manufacturer’s fixing schedule, working from the hinge side first so the door hangs true. Do not pull the frame tight against a bowed wall with the fixings; pack the gaps so the frame stays straight and the fixing only holds it, rather than bending it. Once fixed, hang the door and test the swing, the latch, and the gaps around the leaf before sealing anything, because adjustments are easy now and nearly impossible after the sealant cures.
Sealing the Frame-to-Wall Joint Against Air and Water
The joint between the frame and the wall is where most retrofits fail, and it needs three layers working together. On the outside, a flashing tape or membrane ties the frame into the weather-resistive barrier or existing cladding so wind-driven rain runs past the joint. In the middle, a low-expansion foam or compressible backer fills the gap and provides the air seal. On the inside, a continuous bead of sealant closes the joint against warm indoor air reaching the cold outer frame.
Apply the foam sparingly. High-expansion foam bows frames out of square, and foam alone is not a weather seal. Trim the cured foam flush, then apply the interior sealant in one continuous bead with no gaps at the corners. Pay special attention to the bottom corners, where water collects and where the sill meets the jambs, because a gap there lets water into the wall and air into the house at the same time.
- Tie exterior flashing into the existing cladding or weather barrier.
- Use low-expansion foam and trim it flush before sealing.
- Seal the interior joint in one continuous bead, corners included.
- Seal the sill-to-jamb corners first; they are the most common leak point.
Threshold and Weatherstrip Details That Make or Break the Retrofit
The threshold deserves the same attention as the frame. In a thermally broken assembly the threshold should itself be thermally broken, so the sill does not become a new conduction path at the floor. Set it on a continuous sealant bed with a slight fall to the outside, and confirm the interior floor level allows the door to clear rugs and flooring without a trip hazard. A threshold that is too high invites a stumble; one set too low lets wind-driven rain in under the door.
Weatherstripping is the final seal. Fit a compression seal around the full perimeter of the stop, and add a door bottom sweep or an automatic door bottom that drops to seal when the door closes and lifts clear when it opens. Test the seal with a sheet of paper closed in the door: it should grip firmly all the way around, with no loose spots at the corners. Adjust the strike plate and hinges until the compression is even, because a door that seals on three sides and leaks on the fourth is still a draughty door.
When a Thermally Broken Door Frame Retrofit Needs a Structural Engineer
Most door frame replacements are straightforward, but some openings hide structural work. If the lintel above the opening is cracked, sagging, or made of timber that has rotted, the load above the door needs a professional assessment before the new frame carries any of it. The same applies when the opening is being widened or when the wall shows diagonal cracking that suggests movement.
Bring in a structural engineer when the opening is wider than a standard single door, when the wall above supports a floor or a roof, or when the existing frame was doing structural work that the new frame is not designed to do. A permit and inspection are usually required when the opening size changes or the lintel is replaced, and the cost of the engineer’s visit is small compared with the cost of a door that binds, a wall that cracks, or a retrofit that fails inspection. Keep the engineer’s report with the building paperwork for a future sale.
Thermally Broken Exterior Door Frame FAQs: Costs, Codes, and Condensation
How much does a thermally broken door frame retrofit usually cost?
Prices vary widely by material, size, and region. As a broad guide, a quality vinyl door installed in an existing opening often falls in the low thousands of dollars, while thermally broken aluminium with narrow stiles can cost roughly double. Always get itemised quotes that separate the frame, the door leaf, and the installation.
Can I fit a thermally broken frame into any existing opening?
Almost any sound opening can take one, provided the wall is solid enough to fix into and the opening is close to square. Openings that are badly out of square, have a failed lintel, or are in a wall that has moved significantly need repair or structural input first.
Will a thermally broken frame stop condensation on my door?
It greatly reduces it by raising the interior frame temperature, but it cannot fix condensation caused by very high indoor humidity. If the house has poor ventilation or a lot of moisture from cooking and showers, the frame will still sweat in cold weather until the humidity is controlled.
Do I need a permit to replace an exterior door frame?
A like-for-like replacement in the same opening usually does not need a permit, but widening the opening, changing the lintel, or altering a load-bearing wall generally does. Check with the local building authority before cutting anything structural.
How long does a door frame retrofit take?
A straightforward replacement in a prepared opening usually takes a day, including sealing and trim. Ordering is the slow part: custom thermally broken aluminium typically takes four to eight weeks from survey to delivery, so plan the survey well ahead of the installation date.
Should the threshold be thermally broken too?
Yes. A standard metal threshold under a broken frame becomes the new cold bridge at the sill, and condensation will simply move to the floor. Specify a thermally broken threshold as part of the same assembly.
Can I keep my existing door leaf with a new thermally broken frame?
Sometimes, if the leaf is in good condition and its dimensions match the new frame exactly. In practice the leaf and frame are usually replaced together, because the hinges, lock, and weatherstrip are designed as a matched set.
Final Thoughts: Will a Thermally Broken Frame Fix Your Coldest Doorway?
For a doorway that sweats, frosts, or draughts despite a decent door, a thermally broken frame is usually the right fix, because it attacks the actual weak point rather than the visible one. Measure carefully, repair the reveal before the new frame goes in, set the frame square on a sealed sill, and seal the joint in three layers.