How to Repair Cracked Stucco Exteriors on Residential Homes Without Damaging Underlying Wall Structures
A crack in stucco looks like a cosmetic problem, but it is really an open door for water. Stucco is a rigid cement finish, and as a house settles and temperatures change, the finish cracks. Even a hairline crack lets rain reach the wall behind it, and once water gets into the wall cavity it can rot wood framing, grow mould, and stain the interior. Repairing stucco cracks promptly is one of the cheapest ways to protect a house, and most small repairs are well within the reach of a careful homeowner.
Why Stucco Cracks and What Each Crack Pattern Reveals
Stucco is traditionally a cementitious mix of cement, sand, lime, and water, applied in layers over a substrate such as wood framing with lath or masonry. Its rigidity is both its strength and its weakness: it resists impact and weather, but it cannot flex when the building moves. Normal settlement, thermal expansion and contraction, and drying shrinkage all create stress, and the stucco relieves that stress by cracking. Most cracks are harmless in themselves; the danger is the water they admit.
Location matters too. Cracks near the ground often point to moisture or drainage problems, cracks around windows and doors often point to missing or failed flashing, and cracks that appear after an earthquake or nearby construction usually point to movement. Before repairing any crack, it is worth spending ten minutes looking at where it is, how wide it is, and whether it has changed since you last looked, because that diagnosis decides the repair method.
How to Tell a Cosmetic Stucco Crack From a Structural Warning
The first test is width. Hairline cracks less than 1/16 of an inch wide are almost always cosmetic, confined to the finish coat, and safe to seal with a flexible caulk. Cracks between 1/16 and 1/8 of an inch are usually still cosmetic but need a proper patch rather than a surface seal. Cracks wider than 1/8 of an inch, cracks that are growing, and cracks that run vertically and horizontally across multiple stories usually indicate movement or structural distress, and they need a more involved repair, often with professional assessment.
| Crack width | Likely meaning | Repair method |
|---|---|---|
| Under 1/16 inch | Cosmetic, finish coat only | Elastomeric masonry caulk |
| 1/16 to 1/8 inch | Surface crack, may reach brown coat | V-groove and cement patch |
| Over 1/8 inch | Possible movement or structural issue | Professional assessment, then patch or injection |
| Soft or spongy area | Water damage behind the stucco | Open up, dry, repair wall, then re-stucco |
Tools and Materials for a Clean Stucco Repair
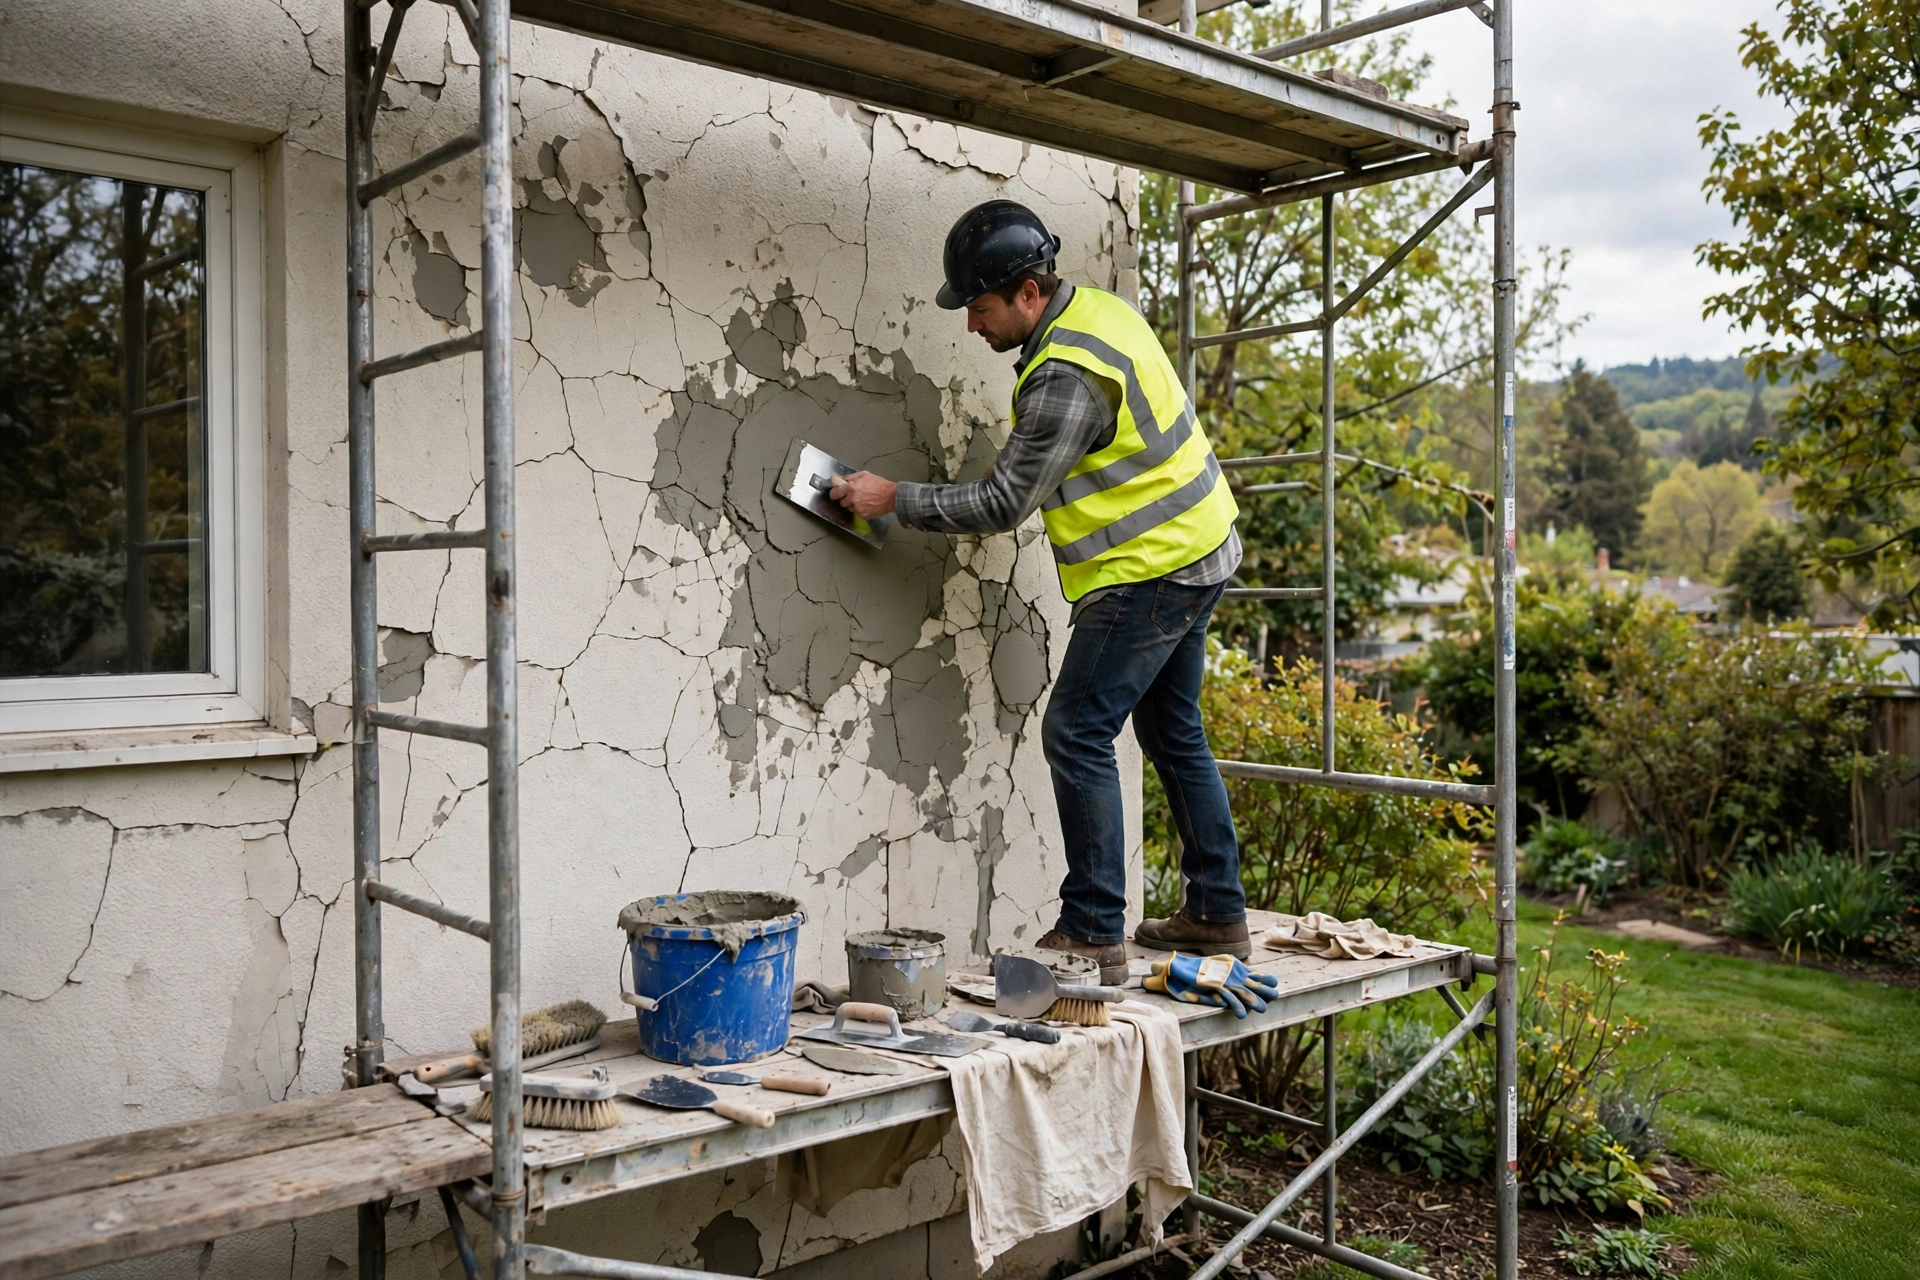
A stucco repair needs only a modest set of tools, and having them ready before starting makes the work far easier. The essentials are a utility knife, a wire brush, a masonry cutting wheel or a specialised V-grooving tool, a putty knife and a small trowel, a caulk gun, a spray bottle for misting, a damp sponge, and safety glasses and gloves. For texture matching, a float, a texture roller, or a stipple brush may be needed, depending on the finish of the existing wall.
- Utility knife, wire brush, and V-grooving tool for cleaning and widening cracks.
- Elastomeric caulk for hairline cracks; polymer-modified cement patch for wider ones.
- Putty knife, trowel, spray bottle, and damp sponge for applying and blending the patch.
- Fibreglass mesh and premixed stucco for larger damaged areas.
- Safety glasses, gloves, and a dust mask for cutting and mixing work.
Hairline Stucco Cracks: Sealing With Elastomeric Caulk
Hairline cracks are the simplest repair, and they are also the most common. Start by cleaning the crack thoroughly with a wire brush or a utility knife, removing loose debris, dirt, and flaking stucco. If the crack is dirty, lightly dampen it with water to loosen stubborn material, then let it dry before proceeding. A clean surface is essential, because caulk will not bond to dust or loose material.
Elastomeric caulk is the right material here because it stays flexible. Stucco continues to move slightly with temperature and settlement, and a rigid filler would crack again at the first change of season. A flexible seal moves with the wall and keeps water out. Once the caulk has cured, it can be painted to match the wall, and the repair should be checked after the first heavy rain to confirm that no water is getting through.
Widening and Patching Cracks With Cement Compound
Cracks wider than 1/16 of an inch need more than a surface seal, because a thin bead of caulk cannot bridge the gap or restore the moisture barrier. The first step is to widen the crack into a V-groove, using a utility knife, a masonry cutting wheel, or a V-grooving tool, cutting to approximately a quarter of an inch deep and wide. The groove should be wider at the base than at the surface, which gives the patching compound a mechanical key that holds it in place as it cures.
Rebuilding Larger Damaged Stucco Areas With Mesh and Coats
When stucco is crumbling, delaminating, or missing over an area larger than a few inches, a crack repair is not enough, and the damaged section must be rebuilt. The first step is to remove all loose, delaminated, or bubbling stucco, cutting back to sound material with clean edges. Applying new material over failing stucco guarantees the same failure within months, so this removal step cannot be skipped, even though it makes the job look worse before it looks better.
Each coat must be allowed to cure before the next is applied, and the whole repair should be misted lightly during curing in hot or dry weather. The most common mistake in large stucco repairs is rushing the coats, which leads to shrinkage cracks that repeat the original problem. A patient rebuild, with proper curing between coats, produces a repair that is as durable as the original wall.
Matching Texture and Colour So the Patch Disappears
A structurally perfect stucco repair can still look bad if the texture and colour do not match, and this is the part of the job that takes the most practice. The first step is to identify the existing finish: common textures include sand finish, dash, lace, smooth trowel, and skip trowel, and each is created with a different tool and technique. The patch should be finished with the same tool, whether that is a float, a texture roller, a stipple brush, or a trowel, and the technique should be practised on a scrap board before it is tried on the wall.
Patience matters more than skill here. A patch that is blended while it is still workable, feathered at the edges, and allowed to cure before painting will be far less visible than a patch that is rushed. Most homeowners find that their second or third stucco patch looks much better than their first, which is a good reason to practise on a less visible wall before tackling the front of the house.
Sealing and Painting Repaired Stucco for Lasting Protection
Sealing after a repair is generally a good idea, especially where new stucco material has been used. A breathable masonry sealer or an elastomeric coating protects the repaired area from moisture intrusion, evens out the appearance, and prevents future damage. The sealer must be breathable, because stucco needs to release water vapour; a non-breathable coating traps moisture inside the wall and causes the very damage the repair was meant to prevent.
Painting follows the same rule. Use a paint formulated for masonry, ideally a 100 percent acrylic latex paint, which flexes slightly with the stucco and resists water. The repaired area should be fully cured before painting, and a primer designed for masonry will improve adhesion and even out absorption between the old and new stucco. Two thin coats are better than one thick coat, because thick paint can bridge fine cracks and hide problems that should be visible.
Small hairline cracks sealed with caulk may not need a full-wall seal, but any patched or significantly repaired area benefits from it. The sealed surface should be inspected annually, and any new cracks sealed promptly. A stucco wall that is sealed and maintained can last decades without major work; a wall that is left unsealed after repair will often crack again in the same place within a few years.
Stopping the Next Stucco Cracks Before They Start
Most stucco problems start with moisture, and most future cracks can be prevented by controlling water around the house. Gutters and downspouts should direct water away from the foundation and walls, sprinklers should not spray the walls, and the ground should slope away from the house. Regular inspection of the exterior, ideally twice a year, catches small cracks while they are still hairline and cheap to seal.
Some causes are harder to control. Settlement cracks will slow as a house ages, but a house built on expansive soil may keep moving, and in that case a flexible elastomeric coating over the whole wall can accommodate movement better than a rigid finish. Poor original workmanship, such as a mix that was too wet or cured too quickly, cannot be fixed by maintenance alone, but a proper repair with the right materials will usually outlast the original work.
The most valuable habit is simply looking at the walls. A homeowner who walks around the house twice a year, notes new cracks, and seals them while they are small will spend very little on stucco over the life of the house. A homeowner who ignores cracks until water stains appear inside will pay for wall repairs, not just stucco repairs, and that is a far more expensive lesson.
Stucco Crack Repair FAQs for Homeowners
How do I know if a stucco crack is serious?
Width, feel, and growth are the tests. Cracks wider than 1/8 of an inch, cracks that are growing, cracks in stair-step or diagonal patterns, and any area that feels soft or spongy when pressed are serious and need professional investigation. Hairline cracks under 1/16 of an inch are almost always cosmetic.
Can I repair stucco cracks myself?
Yes, for hairline and moderate cracks. Sealing hairline cracks with elastomeric caulk and patching wider cracks with a cement compound are both reasonable DIY jobs. Large damaged areas, soft or spongy stucco, and cracks that suggest structural movement should be left to a professional.
What is the best filler for stucco cracks?
It depends on the width. For hairline cracks, a flexible elastomeric masonry caulk is best because it moves with the wall. For wider cracks, a polymer-modified cement patching compound is better, because it restores the moisture barrier and bonds to the existing stucco.
Why does my stucco keep cracking in the same place?
Usually because the cause was not addressed. An active crack caused by ongoing movement, a drainage problem, or a failed flashing detail will reopen no matter how well it is patched. Fix the underlying cause first, then repair the crack, and consider a flexible elastomeric coating over the area.
Do I need to seal stucco after repairs?
Generally, yes. Sealing protects the repaired area from moisture, evens out the appearance, and prevents future damage. Use a breathable masonry sealer or an elastomeric coating, and make sure the repair is fully cured before sealing or painting.
How long does a stucco repair last?
A well-executed repair using the right material for the crack size can last many years, often as long as the surrounding stucco. The main reasons repairs fail are patching over damp or loose material, using the wrong filler, and failing to address the water or movement that caused the crack.
Final Thoughts: A Stucco Repair That Protects the Wall Behind It
Repairing cracked stucco is not really about the stucco. It is about the wall behind it, the framing, the sheathing, and the interior that the stucco exists to protect. A hairline crack sealed with the right caulk, a wider crack patched into a proper V-groove, and a damaged area rebuilt with mesh and fresh coats all do the same job: they keep water out of the wall. The repairs that fail are the ones that skip the diagnosis, use the wrong material, or patch over damage that should have been opened up and dried. Take the time to read the crack, match the method to its size, and finish the job with a breathable seal, and the wall behind the stucco will stay dry for years to come.