Modern Residential Plumbing Isolation Zones That Make Emergency Pipe Repairs Faster and Less Disruptive
When a pipe bursts at two in the morning, the difference between a small mess and a ruined ceiling is measured in minutes — and in how many valves you have to find before the water stops. A plumbing isolation zone divides a home's water supply into sections, each with its own shutoff valve, so a leak in one bathroom can be stopped without cutting water to the whole house. This guide explains how to map your zones, choose the right valves, and set the system up so anyone in the home can stop the water in seconds.
Why a Single Main Shutoff Is Not Enough in an Emergency
Most homes have one main shutoff valve, and in an emergency it is often the wrong tool for the job. It may be hidden in a garage, buried in a meter box at the street, or seized shut after years without use, and finding it in the dark while water pours through a ceiling is nobody's idea of a plan. Even when it works, shutting off the main stops water to the entire house — the kitchen, the heating system, every bathroom — which turns a local repair into a whole-house outage that can last for days while a plumber is found.
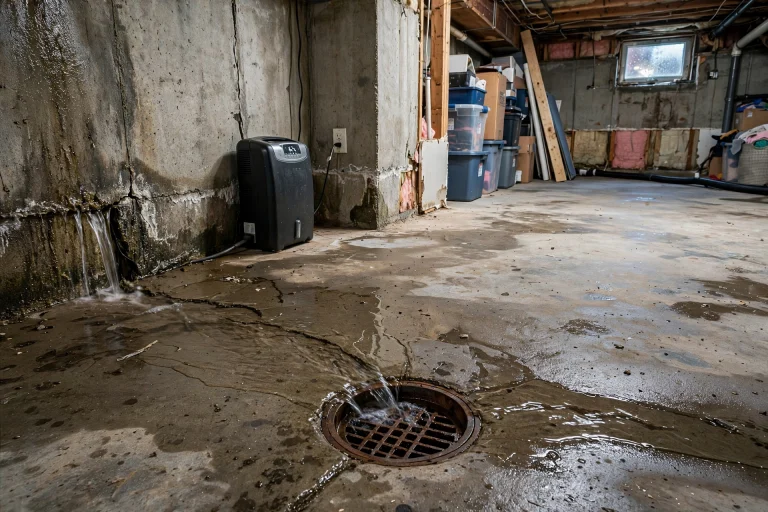
The deeper problem is time. A burst supply pipe can release many litres of water per minute, and every minute spent searching for the main valve is water soaking into framing, insulation, and ceilings. By the time the water stops, the repair bill is no longer about the pipe: it is about drying the structure, replacing drywall, and dealing with mould. Local isolation changes that arithmetic completely, because the valve you need is in the room next to the leak, not at the far end of the property.
What Plumbing Isolation Zones Change About Emergency Repairs
An isolation zone is a section of the plumbing system — a bathroom, a kitchen, an upstairs branch, or an outdoor line — that can be shut off independently of the rest of the house. Each zone has its own full-port ball valve on its supply line, placed where it can be reached quickly and labelled so anyone can identify it. When a pipe fails inside a zone, you close that zone's valve, the leak stops, and the rest of the house keeps running normally while the repair is arranged.
The change is as much about people as about pipes. A teenager, a guest, or a house-sitter can stop a leak if the valve is visible, labelled, and easy to turn, which means the home is protected even when the person who knows the plumbing is away. Plumbers benefit too: they can isolate, drain, and repair one zone without draining the whole system, which shortens the job and reduces the risk of airlocks and sediment being stirred up through the rest of the pipework.
Mapping Your Home Into Water Zones Room by Room
Start by tracing how water reaches each part of your home. Find the main incoming supply and follow it to the water heater, then to each branch that serves a room or a group of rooms. Most homes fall naturally into zones: the kitchen and laundry together, each bathroom separately, the upstairs branch, and the outdoor taps and irrigation. Draw the map on paper, marking the main valve, every branch, and the fixtures each branch serves, because the map becomes the guide for where valves belong.
| Zone | What it serves | Where its valve belongs |
|---|---|---|
| Kitchen and laundry | Sink, dishwasher, washing machine | Under the sink or in a nearby cupboard |
| Bathroom one | Basin, toilet, bath or shower | In the airing cupboard or behind an access panel |
| Bathroom two | Basin, toilet, bath or shower | In the airing cupboard or behind an access panel |
| Upstairs branch | All upstairs fixtures together | At the riser where it leaves the ground floor |
| Outdoor supply | Garden taps and irrigation | Inside, where the line exits the house |
Keep zones small enough to be useful and large enough to be practical. A zone per fixture is overkill and fills the house with valves nobody can remember, while a single zone for the whole upstairs is barely better than the main shutoff. One zone per bathroom, one for the kitchen and laundry, and one for outdoor supply is the right balance for most family homes, with a separate zone for any room that has a history of leaks or sits above expensive finishes.
Choosing Valves That Close Fast When It Matters
Valve choice decides whether isolation works in a real emergency, and not all valves are equal. Full-port ball valves are the standard for isolation zones: a quarter turn of the lever closes them completely, they rarely seize, and their open bore does not restrict flow. Older gate valves and multi-turn stopcocks are poor substitutes — they seize after years without use, they can fail when forced, and they often do not close fully even when they turn. If your home still has gate valves on its branches, replacing them with ball valves is the single most valuable upgrade in the whole zoning project.
- Use full-port ball valves with lever handles for every zone.
- Choose valves rated for your water pressure and pipe material.
- Fit isolating valves on both hot and cold feeds to each zone.
- Avoid gate valves and old multi-turn stopcocks for isolation duty.
- Use compression or press fittings so valves can be replaced later.
Place each valve where it can be reached without tools, without moving furniture, and without climbing. A valve behind a fixed panel is better than no valve, but a valve inside a labelled access panel at hand height is far better, because it will actually be used when the ceiling is leaking. Fit a small drain point downstream of each zone valve as well, so the isolated section can be drained before a repair without flooding the room.
Manifolds and Home-Run Lines That Make Zoning Simple
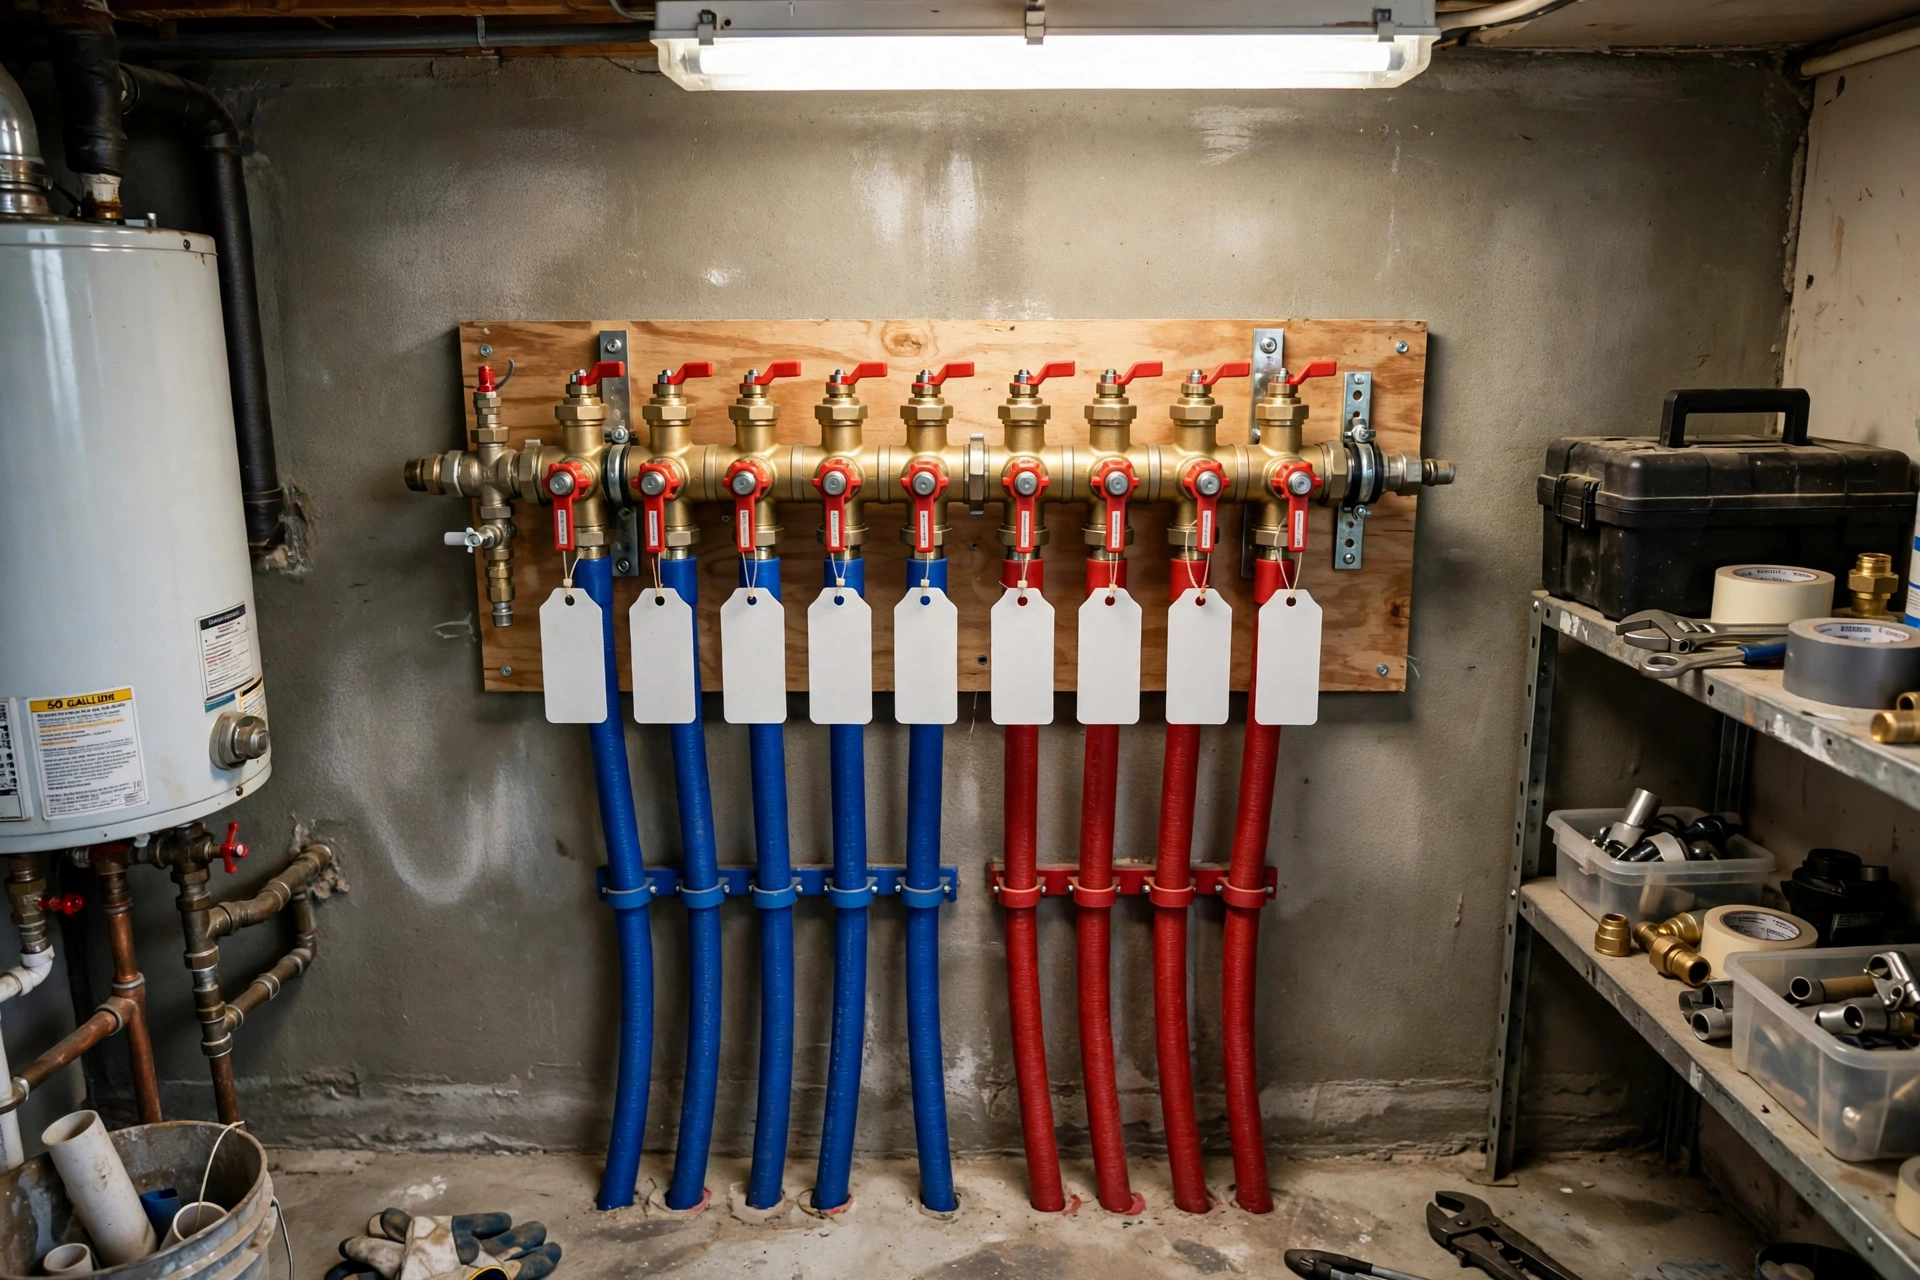
The cleanest way to build isolation zones is a manifold system, sometimes called home-run plumbing. Instead of one pipe branching repeatedly through the house, each fixture or zone gets its own dedicated line running directly from a central manifold, and each line leaves the manifold through its own labelled ball valve. The manifold usually sits near the water heater or the main incoming supply, in a cupboard or utility area, so every zone in the house can be shut off from a single, well-lit location.
Manifolds are standard in new PEX plumbing and increasingly common in retrofits, because PEX lines are flexible and can be run through joists and studs without joints in the wall. Each home-run line has no hidden joints to leak, and a fault in one line affects only the fixture it serves. The upfront cost is higher than a branched copper layout, because more pipe is used, but the saving appears the first time a leak is isolated in seconds instead of hours, and the first time a bathroom is repaired without draining the whole house.
Labelling Every Valve So Anyone Can Find It in Seconds
A valve that cannot be found is not a valve at all. Every zone valve needs a durable label that says what it controls in plain language — Kitchen cold, Upstairs bathroom hot, Garden taps — not a code or a plumber's shorthand that only one person understands. Labels should be fixed to the valve or the pipe beside it, printed rather than handwritten, and readable in poor light, because emergencies do not wait for daylight.
- Label each valve with the zone and the fixtures it controls.
- Use printed tags or engraved labels, not fading marker pen.
- Mark the closed position with a clear arrow or colour band.
- Keep a copy of the zone map inside the manifold cupboard door.
- Tell every adult in the home where the valves are and how they work.
Photograph the labelled manifold and the zone map and keep the photos on your phone as well as on paper in the cupboard. When a leak starts while you are away, you can talk a family member or a neighbour through the shutoff over the phone, pointing them to the exact valve by its label. A five-minute labelling job turns a plumbing system only one person understands into a system anyone in the house can operate.
Adding Isolation Zones to Older Homes Without Repiping Everything
Older homes rarely need a full repipe to gain isolation zones. A plumber can usually add ball valves at the natural branch points — where a bathroom branch leaves the main run, where the kitchen supply splits off, where the outdoor line exits the house — without opening long runs of wall. Access panels cut into drywall at those points, finished with a neat removable cover, give the valves a permanent home and make future service simple. The work is typically a day or two for a typical family home, not a major renovation.
Prioritise the branches that matter most if the budget is limited. Start with the bathroom above the most expensive room, then the kitchen, then the outdoor supply, which is the line most likely to freeze and burst. A zone valve on a single high-risk branch is worth more than a perfect plan that is never built. If the home has old galvanised or lead pipework, discuss replacement of the worst sections with the plumber at the same time, because disturbing very old pipes can dislodge scale and cause new leaks downstream.
Testing Your Isolation Zones Before You Ever Need Them
Valves that are never operated seize, and a seized valve fails at the worst possible moment. Test every zone valve twice a year: close it, confirm the fixtures in that zone lose water while the rest of the house keeps running, open it again, and check for drips around the valve body. The test takes a few minutes per valve and proves three things at once — that the valve closes, that it controls the zone you think it controls, and that the label is correct.
If a valve will not close with normal hand pressure, do not force it. Forcing a seized valve can snap the stem or crack the body and create a larger leak than the one you were preparing for. Close the main shutoff instead, note the failed valve, and have a plumber replace it. Keep a short written record of each test with the date, so a valve that is stiffening over time is replaced before it seizes completely.
Emergency Steps When a Pipe Fails Inside a Zoned Home
When water is escaping, the sequence is simple and it should be practised, not improvised. First, close the valve for the affected zone — the labelled valve nearest the leak — and confirm the flow stops. Second, if the zone valve does not stop it, close the main shutoff. Third, switch off electricity to the affected rooms at the breaker panel, but only if you can reach it without walking through standing water. Fourth, open the lowest tap in the zone to drain the remaining water, and move valuables and electronics away from the wet area.
Do not step into standing water to reach an electrical panel, and do not attempt to repair a burst pressurised pipe yourself beyond stopping the water. Once the flow is stopped, call a licensed plumber and describe which zone is isolated and what you observed, because that information helps them arrive with the right parts. Mop up what you safely can, photograph the damage for insurance, and leave wet plaster and ceilings alone until they have been assessed — a sagging ceiling full of water can come down without warning.
Plumbing Isolation Zone Questions Homeowners Ask
How many isolation zones does a home need?
Most family homes need four or five: one per bathroom, one for the kitchen and laundry, one for the upstairs branch, and one for outdoor supply. Keep zones small enough to be useful and large enough to be practical, and give any room with a history of leaks or expensive finishes below it its own zone.
What type of valve is best for an isolation zone?
A full-port ball valve with a lever handle is the best choice. It closes with a quarter turn, rarely seizes, and does not restrict flow when open. Avoid old gate valves and multi-turn stopcocks for isolation duty, because they seize after years without use and often fail when forced.
Can isolation zones be added to an old house?
Yes, usually without a full repipe. A plumber can add ball valves at the natural branch points where bathroom, kitchen, and outdoor supplies split off, with neat access panels for the valves. The work is typically a day or two, and the highest-risk branches should be done first if the budget is limited.
Should I label my water valves?
Yes, always. Label every valve in plain language with the zone and fixtures it controls, using printed or engraved tags that stay readable in poor light. Keep a copy of the zone map inside the manifold cupboard and a photo on your phone, so anyone in the home can find and close the right valve.
How often should isolation valves be tested?
Test every zone valve twice a year. Close it, confirm the right fixtures lose water while the rest of the house keeps running, open it again, and check for drips. If a valve will not close with normal hand pressure, do not force it — use the main shutoff and have a plumber replace it.
Final Thoughts: Faster Repairs Start With Valves You Can Reach
Plumbing isolation zones are one of the cheapest forms of insurance a home can have. A handful of ball valves, a manifold or a few well-placed branch valves, clear labels, and a zone map turn a burst pipe from a whole-house emergency into a local repair. The water stops in seconds, the rest of the house keeps running, and the plumber can work on one small section instead of draining the system. Map your zones, fit the valves, label them, test them twice a year, and the next leak will be an inconvenience instead of a disaster.