Exterior Door Frame Repair Methods for Fixing Loose Hinges and Preventing Repeated Alignment Problems
An exterior door that drags on the threshold or needs a shoulder to close is rarely broken. Usually the door itself is fine; the top hinge’s short screws have slowly chewed through the wood around them.
Exterior door frame repair for loose hinges means restoring a solid grip for the hinge screws, re-squaring the door, and anchoring the repair so the door’s weight stops working it loose again. Tighten the screws, rebuild stripped holes with glued dowels, swap one short top-hinge screw for a longer screw reaching the wall stud, and only then fine-tune with shims.
Why an Exterior Door Drops When Only Its Top Hinge Lets Go
A hinged door hangs like a lever, and the lever works against the top hinge most. Gravity pulls the lock-side corner down, peeling the top hinge away from the jamb while pushing the bottom hinge into it. Over years of swings, wind slams, and seasonal swelling, the top hinge screws enlarge their holes — which is why a sagging door shows its worst gap at the top of the lock side.
Exterior doors suffer more than interior doors: they are heavier, face weather directly, and are slammed by wind far more often. The repair must therefore fix the cause — screws that no longer grip solid wood — not just push the door back into place.
Reading the Reveal: What Uneven Gaps Around a Sagging Door Actually Mean
Close the door slowly and study the gap between door and frame, known as the reveal. A healthy reveal is even all the way around. Its pattern is your diagnosis:
- Wide gap at the top of the lock side, tight at the bottom: classic sag; the top hinge has loosened.
- Rubbing the lock-side jamb near the top: the door leans into the frame, or the top hinge leaf sits proud.
- Dragging on the threshold at the lock-side corner: the drop is severe enough to catch the sill.
- Gap even but the latch misses the strike plate: the door has shifted sideways, or the plate has moved.
- Whole frame bowed or pulling from the wall: the jamb itself needs attention, not just the hinges.
Lift test: open the door halfway and lift the handle side gently. If the top hinge leaf moves, that hinge is the culprit.
The Five-Minute Hinge Tightening Pass Most Homeowners Skip
Many sagging doors are fixed with a screwdriver alone, so start here. Wedge the door first, so its weight is not hanging on the hinge you tighten.
Support the door. Slide a wedge under the outer bottom corner.
Tighten from the top down. Tighten the jamb-side screws first, then the door side, using a hand screwdriver so you feel when a screw stops biting.
Note every screw that spins. A screw that turns forever has stripped its hole and needs a rebuild, not more turning.
Test after each hinge. Close the door and check the reveal and latch before moving on.
If every screw tightens and the door swings true, you are done — but recheck it after a month.
Stripped Screw Holes Rebuilt Three Ways: Toothpicks, Dowels, and Epoxy
A stripped screw hole is wood that no longer exists where the threads need it, so the repair is about putting solid material back.
The toothpick method is fastest. Coat several toothpicks, matchsticks, or golf-tee slivers in wood glue, pack them tightly into the hole, trim flush, let the glue cure for at least an hour, then drive the screw back in by hand. It costs almost nothing and suits a lightly stripped hole, but it may not hold for years on a heavy door.
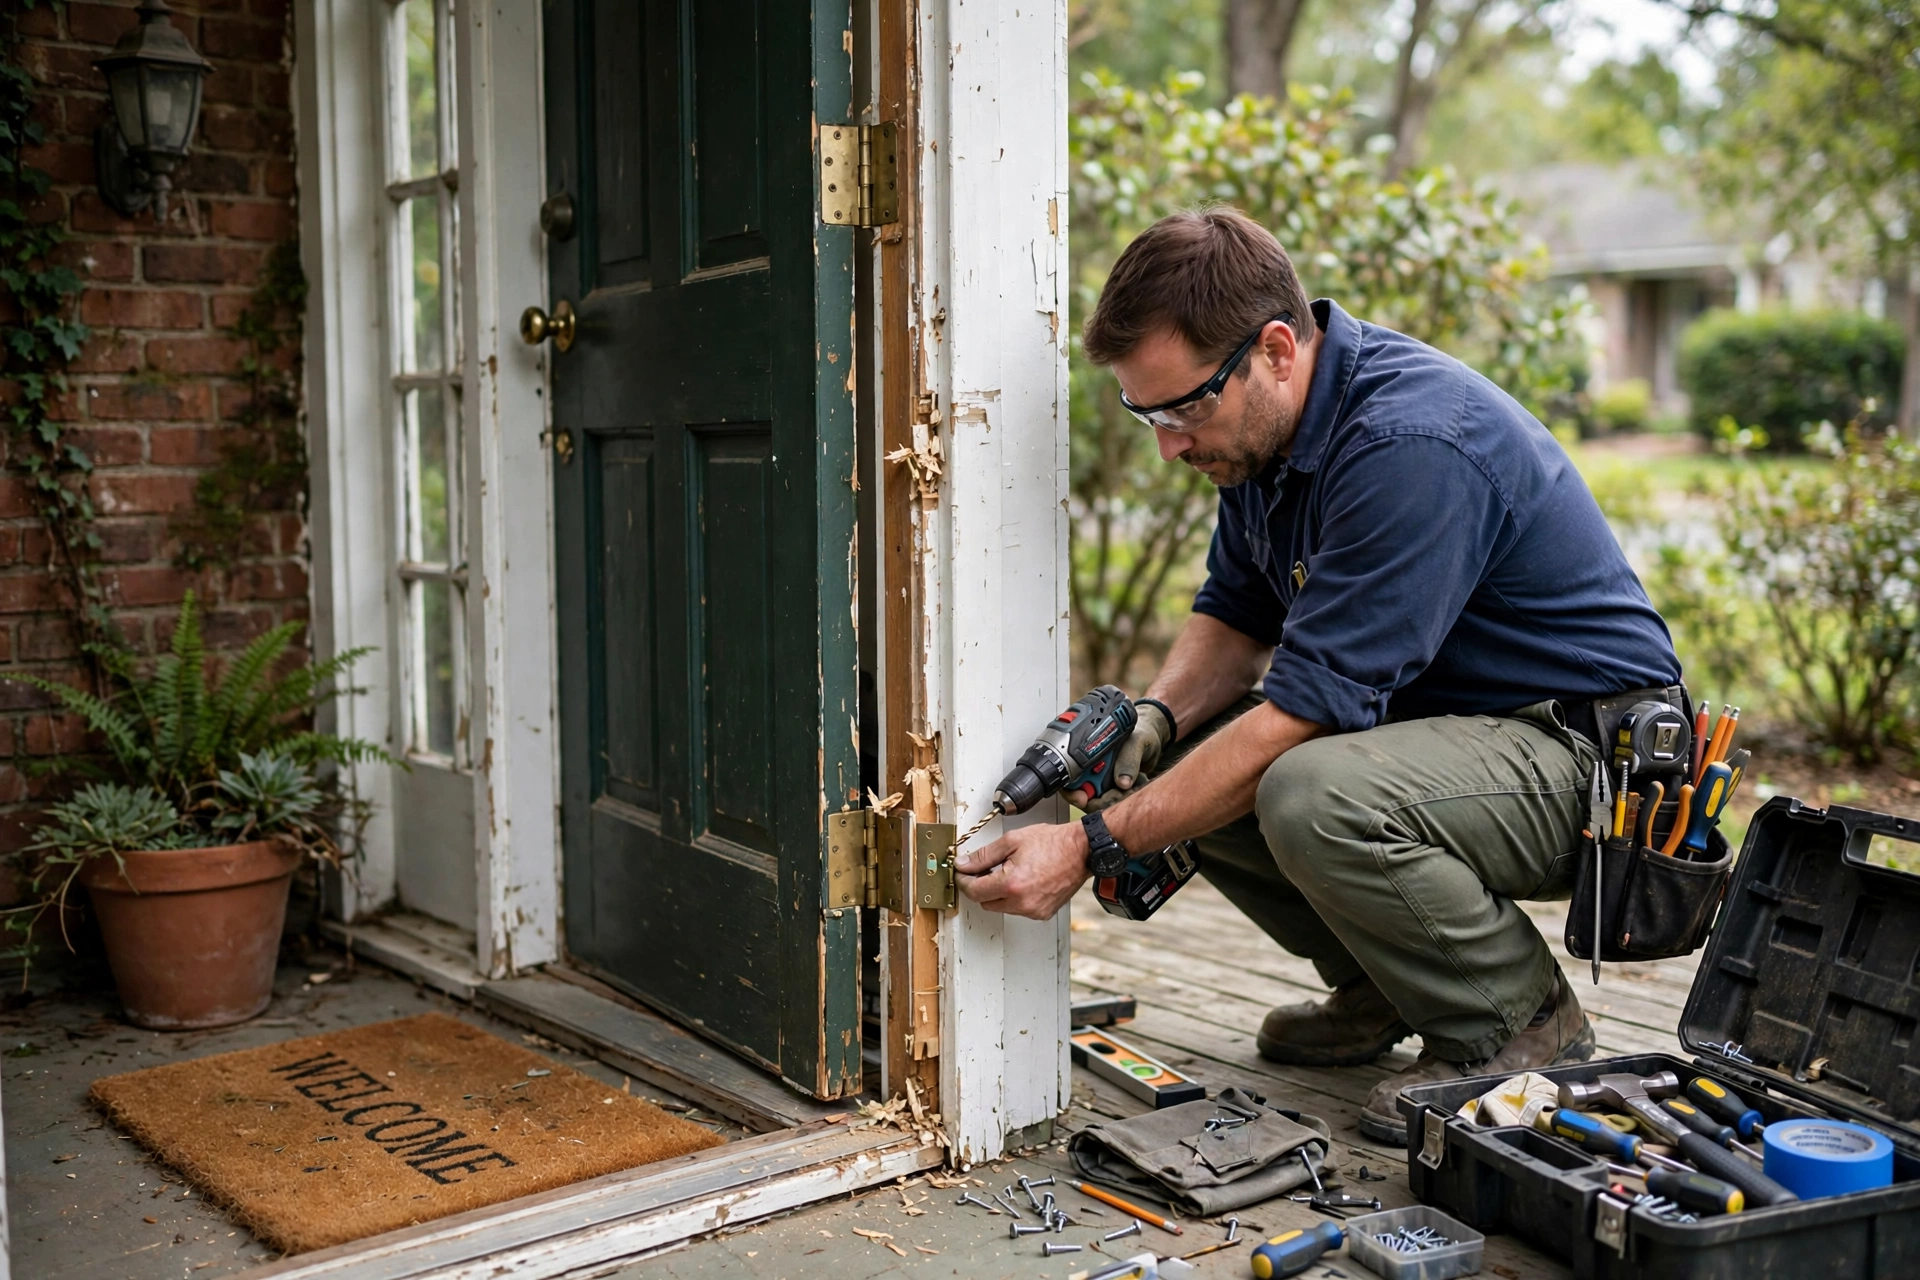
The hardwood dowel method is the most reliable all-round repair. Drill the stripped hole out to a uniform size, usually with a 3/8-inch bit, drilling only through the jamb. Coat a matching hardwood dowel in wood glue, tap it in flush, let it cure, then drill a small pilot hole and drive the screw in. The screw now bites into solid hardwood, often stronger than the original jamb timber.
The epoxy-and-dowel method is the heavy-duty option for badly chewed-out holes or soft, damp wood. Bedding the dowel in two-part epoxy hardens into a rock-solid base. It takes longer to cure and costs more, but it is the best choice when a toothpick repair has already failed. Always drill a pilot hole first, or the new plug can split.
The Long-Screw Anchor: Driving One Hinge Screw Into the Stud Behind the Jamb
The most effective trick in exterior door frame repair is also the cheapest: replace one short screw in the top hinge’s jamb leaf with a 3-inch wood screw. Standard hinge screws are often only 3/4 to 1 inch long, gripping nothing but the thin jamb. A 3-inch screw passes through the jamb and bites into the solid wall stud, anchoring the hinge to the house framing.
- Remove only the centre screw of the top hinge’s jamb leaf, leaving the others in place for support.
- Drive the 3-inch screw in slowly, checking the reveal as you go; it will pull the door back toward the frame.
- Stop as soon as the reveal looks even. Overtightening can bow the jamb inward and cause a new rub.
Match the screw head to the hinge plate recess: a proud head stops the door closing, so use the same head size and drive type as the original.
Hinge Shims and Knuckle Bends: Nudging a Door Back Into Square Without Cutting It
When the screws are solid but the door still rubs in one spot, a small adjustment usually beats a bigger repair. A hinge shim — thin cardboard, plastic, or purpose-made shim stock behind a hinge leaf — pushes that hinge, and therefore the door, slightly away from the jamb. The rule is counterintuitive: shimming the bottom hinge lifts the top lock-side corner. Add one shim at a time and test after each.
A knuckle bend is the finer tool for a door only slightly out. With the hinge pin driven up just enough to free the lower knuckles, a crescent wrench can gently bend the door-leaf knuckles a fraction toward or away from the lock side. Bend a little, refit the pin, and test.
When the Jamb Itself Has Moved: Shimming and Re-Fastening a Loose Door Frame
Sometimes the hinges are innocent and the frame is the problem. If the whole jamb wobbles when pushed, the trim has separated from the wall, or the reveal is uneven along the full height, the jamb has pulled away from the framing. Tightening hinge screws will not hold a door whose frame is moving.
Remove the interior casing trim on the hinge side carefully so it can be refitted. Replace slipped or crumbled shims with pairs driven from opposite directions so they lock together, near the hinge positions, and refasten the jamb to the stud with long screws through the shims, checking the reveal after each fixing. If the jamb timber is soft, cracked, or rotted at the bottom, that section needs replacing — a bigger job than a hinge repair.
Exterior Door Hinge Repair Choices at a Glance
What an Exterior Door Hinge Repair Costs in Materials and Hired Help
For a homeowner, this is one of the cheapest repairs in the house. A packet of 3-inch wood screws, a hardwood dowel, wood glue, and a few shims typically costs only a few dollars or pounds, and the tools are usually already owned. The real cost is time: a tightening pass takes minutes, a dowel repair an afternoon including curing, and a jamb re-shim a few hours. All figures here are estimates.
Hiring the work costs more, but not dramatically. A straightforward tightening and realignment visit is typically a small job, while a visit including dowel repairs and jamb re-fastening costs more, reflecting the carpenter’s time. A full jamb or door-and-frame replacement where rot has spread should be quoted in person.
Hinge Slip-Ups That Send a Door Back Out of Alignment Within Months
- Most repeat failures are not bad luck. They come from avoidable errors:
- Overtightening with a power driver, stripping the remaining good wood.
- Skipping the pilot hole in a new dowel plug, which splits the plug.
- Replacing every hinge screw with a long screw at once, bowing the jamb out of square.
- Planing the door before checking hinges and frame, removing wood that cannot be put back.
- Filling a stripped hole with wood filler alone, too soft to hold a screw under a heavy door’s load.
- Rehanging a hinge on damp or rotted jamb timber without treating the damaged wood first.
- Forgetting the strike plate: after lifting a sagging door, the latch may need its plate adjusted a millimetre.
A Seasonal Hinge Check That Keeps an Exterior Door Aligned for Years
Prevention is almost free: catch looseness early, before stripped holes develop. Twice a year, in spring and autumn when humidity shifts most, run this five-minute check:
- Open the door halfway and lift the handle side gently; movement at a hinge means a screw is working loose.
- Tighten any screw that has backed out, by hand, and note which hinge it was.
- Oil the hinge pins with a drop of silicone lubricant, wiping away excess.
- Check the reveal with the door closed, and look for fresh rub marks on the frame or threshold.
- Inspect the bottom of the jamb and threshold for damp, peeling paint, or soft wood.
Two habits protect the repair itself. Avoid letting the door slam in the wind where possible, and repaint or reseal the jamb and threshold whenever the finish breaks down, because dry wood holds screws far longer.
When a Sagging Exterior Door Belongs in a Carpenter’s Hands, Not Yours
Most hinge repairs are safe, satisfying DIY, but some signs mean the job has outgrown a screwdriver. Call a carpenter if the jamb timber is rotted through, the frame has cracked, or the door has dropped because the wall or floor beneath it has moved — multiple sticking doors, new cracks in nearby plaster, or a sloping floor can point to foundation movement no hinge repair will fix. A fire door, or a multi-point lock that no longer engages, deserves professional attention.
Exterior Door Hinge and Frame Repair Questions Homeowners Ask Before Picking Up a Screwdriver
Can I fix a sagging exterior door without taking it off its hinges?
Yes, in most cases. Tightening screws, swapping in a long stud screw, and adding a shim can all be done with the door hanging, provided you wedge the door’s weight first.
How long should a glued dowel repair cure before I rehang the hinge?
Follow the glue manufacturer’s guidance, but allow at least an hour for a small dowel plug and overnight for the strongest result on a heavy exterior door. Driving a screw into uncured glue pushes the plug out of position.
Will a 3-inch screw damage anything behind my door frame?
It should not when used correctly: it passes through the jamb and bites into the wall stud directly behind it. Drive slowly, stop if you meet unexpected resistance, and do not use a screw so long it passes through the stud and out the other side of the wall.
Why does my exterior door stick only in summer?
Wood swells with humidity, so a door that fits in winter can bind in a humid summer, especially if the finish has worn thin. If the reveal is even and the hinges are tight, the cause is seasonal swelling, and improving the door’s seal and finish usually helps more than adjusting the hinges.
Should I replace all three hinges or just the loose one?
Replace only what is worn. A hinge with a bent leaf, a rattling worn pin, or pitting rust should be replaced, ideally with a matching size and finish so the mortises still fit. Replacing sound hinges adds cost and risks new alignment problems.
My latch misses the strike plate after the repair — what now?
This is normal and usually a sign the repair worked: lifting the door moved the latch bolt relative to the plate. Check whether the bolt hits high or low, then adjust the strike plate by a millimetre or two, by filing its opening slightly or shifting the plate in its mortise.
A Door That Closes Cleanly Again: Your Next Step After the Repair
The best test of an exterior door frame repair is simple: close the door with one finger and listen for the latch clicking home without a push, lift, or shoulder. Start with the tightening pass, rebuild stripped holes with dowels, anchor the top hinge into the stud, and only then fine-tune with shims.