Best Building Envelope Improvements for Reducing Air Leakage in Older Residential Houses
The best building envelope improvements for reducing air leakage in older residential houses start at the top and bottom of the home: seal the attic floor and the rim joists first, then tighten windows, doors, and wall penetrations, and only then add insulation. Older houses were rarely built with a continuous air barrier, so heated air escapes through the attic while cold air is pulled in at the basement. Sealing those two zones, guided by a blower door test, typically delivers the largest comfort and energy gains for the lowest cost.
Why Older Houses Leak So Much Air in the First Place
Most houses built before the 1980s were framed before airtightness was a building-code priority. Balloon framing, common until the mid-1950s, left wall cavities open from the basement to the attic, giving air a clear vertical highway. Later houses often have unsealed top plates, gaps where plumbing and wiring pass through floors, and a sill plate sitting loosely on masonry. Decades of settling and remodelling have widened those gaps further.
Insulation alone cannot fix this. Batts and loose-fill insulation slow heat moving by conduction, but air passes straight through them. When wind pushes against the house and warm air rises inside it, air finds every crack around a pipe, a wire, a chimney chase, or a recessed light. That is why an older home can have a full attic of insulation and still feel draughty. Air leakage commonly accounts for a substantial share of heating and cooling energy in older houses, and the U.S. Department of Energy credits comprehensive air sealing combined with insulation with roughly 10 to 20 percent savings on heating and cooling, with leaky older homes at the high end of that range.
How Air Leaks Through an Older Home’s Envelope
Air moves through an older envelope mainly because of the stack effect. Warm indoor air is lighter than cold outdoor air, so it rises and escapes through gaps in the attic floor and around the chimney. As it leaves, it creates slight negative pressure low down, pulling cold air in through the basement, the rim joists, and foundation cracks. Wind adds a second force, pushing air in on the windward side and drawing it out on the leeward side.
That pattern explains why the most visible leaks are rarely the most important ones. A draughty window is easy to feel, but the attic hatch, the plumbing chase behind a bathroom wall, and the gap between the chimney and the framing can each move far more air.
Start With a Blower Door Test and a Room-by-Room Leak Hunt
Before buying a single tube of caulk, get the house measured. A blower door test uses a calibrated fan fitted into an exterior doorway to depressurise the home and measure leakage, usually reported as air changes per hour at 50 pascals (ACH50). Homes built before 1980 commonly test at 10 to 15 ACH50, while modern targets are closer to 3 to 5 ACH50. The test typically costs a few hundred dollars, and a test-in and test-out pair proves what the sealing work achieved.
A good auditor will walk the house with you while the fan runs, using a smoke pencil or an infrared camera to show exactly where air is moving. That walk matters more than the number, because two houses can share the same ACH50 and need completely different work. Ask for a written list of leaks ranked by size and keep it as the work plan. You can also check yourself on a cold, windy day with a damp hand or a lit incense stick near these spots:
Attic hatch and pull-down stairs, recessed lights, and ceiling fixtures on the top floor.
Baseboards, electrical outlets, and switches on exterior walls, including interior walls in balloon-framed houses.
The rim joist and sill plate in the basement, around the chimney, and where pipes and wires enter the house.
Window sashes, door frames, the basement door, and any disused vents, flues, or wall registers.
Sealing the Attic Floor: The Highest-Return Envelope Upgrade
If you can only afford one envelope improvement, seal the attic floor. Warm air rises, so every gap in the ceiling below the attic is an exit, and the attic is usually the single largest source of leakage in an older home. Warm, moist air leaking into a cold attic also feeds condensation, mould, and ice dams, so sealing the attic floor improves durability as well as comfort.
Start by pulling back insulation so you can see the attic floor. Seal plumbing and wiring penetrations and gaps around wall top plates with caulk for small cracks and canned spray foam for larger gaps. The chimney needs metal flashing with fire-rated sealant, never ordinary foam against hot masonry. Recessed lights need rated airtight covers or replacement with sealed LED fixtures. Finish with the attic hatch: weatherstrip its edges and add an insulated cover or a rigid-foam cap so it seals as tightly as the ceiling around it. Only then top up attic insulation, commonly to R-38 to R-49 in many regions, keeping soffit vents clear with baffles.
Rim Joists, Sill Plates, and Basement Walls: Stopping Cold Air at the Bottom
The rim joist is the band of framing that sits on top of the foundation wall, and in many older houses it was never sealed or insulated at all. Because the stack effect pulls replacement air in low, a leaky rim joist feeds the whole cycle: cold air enters at the basement, warms as it rises, and escapes at the attic. Sealing this zone often makes ground-floor rooms noticeably warmer.
The method is straightforward in an unfinished basement. Cut rigid foam board to fit each rim-joist bay snugly, then seal all four edges with canned spray foam so no air can pass around the board. Seal the long gap between the sill plate and the top of the foundation wall with caulk or a sill sealant along the full perimeter. In a crawl space, the same approach applies, with attention to the access door and any vents that no longer serve a purpose. Also repoint cracked mortar, seal wall penetrations, and weatherstrip the basement door like an exterior door. Fix any damp first, since sealing will not cure bulk water entry.
Windows, Doors, and Wall Penetrations: Tightening the Middle of the Envelope
Windows and doors deserve attention, but keep them in proportion. They are the leaks you feel most, yet they are rarely the largest by volume, so they are ideal second-stage work once the attic and rim joist are sealed. Start with the frame, not the glass. Remove loose or shrunken caulk around exterior trim, re-caulk with a paintable exterior sealant, and replace worn weatherstripping on operable sashes. For double-hung windows, the meeting rail and the bottom sash are the usual culprits.
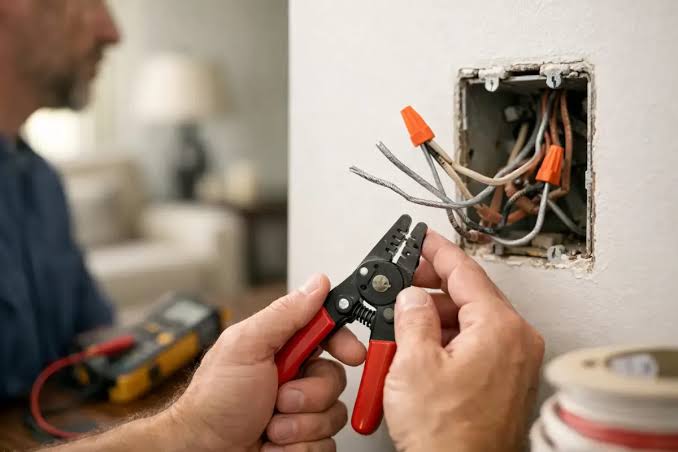
Exterior doors need a sweep at the bottom and compression weatherstripping around the jamb, adjusted so the door closes firmly. Check the gap between the door frame and the rough opening too: in older houses this is often an unsealed void hidden behind trim, fillable with low-expansion foam. Fit foam gaskets behind outlet and switch plates on exterior walls, seal around plumbing escutcheons and dryer vents, and caulk where pipes and cables enter through the siding. In balloon-framed houses, also look for open wall cavities and disused registers connecting the basement to the attic.
Insulation That Works With Air Sealing, Not Instead of It
Once the envelope is sealed, insulation can finally do the job it was rated for. The order matters: seal first, then insulate. Adding insulation over leaks wastes money, because air moving through insulation strips away its effective R-value and can carry moisture into cold cavities where it condenses.
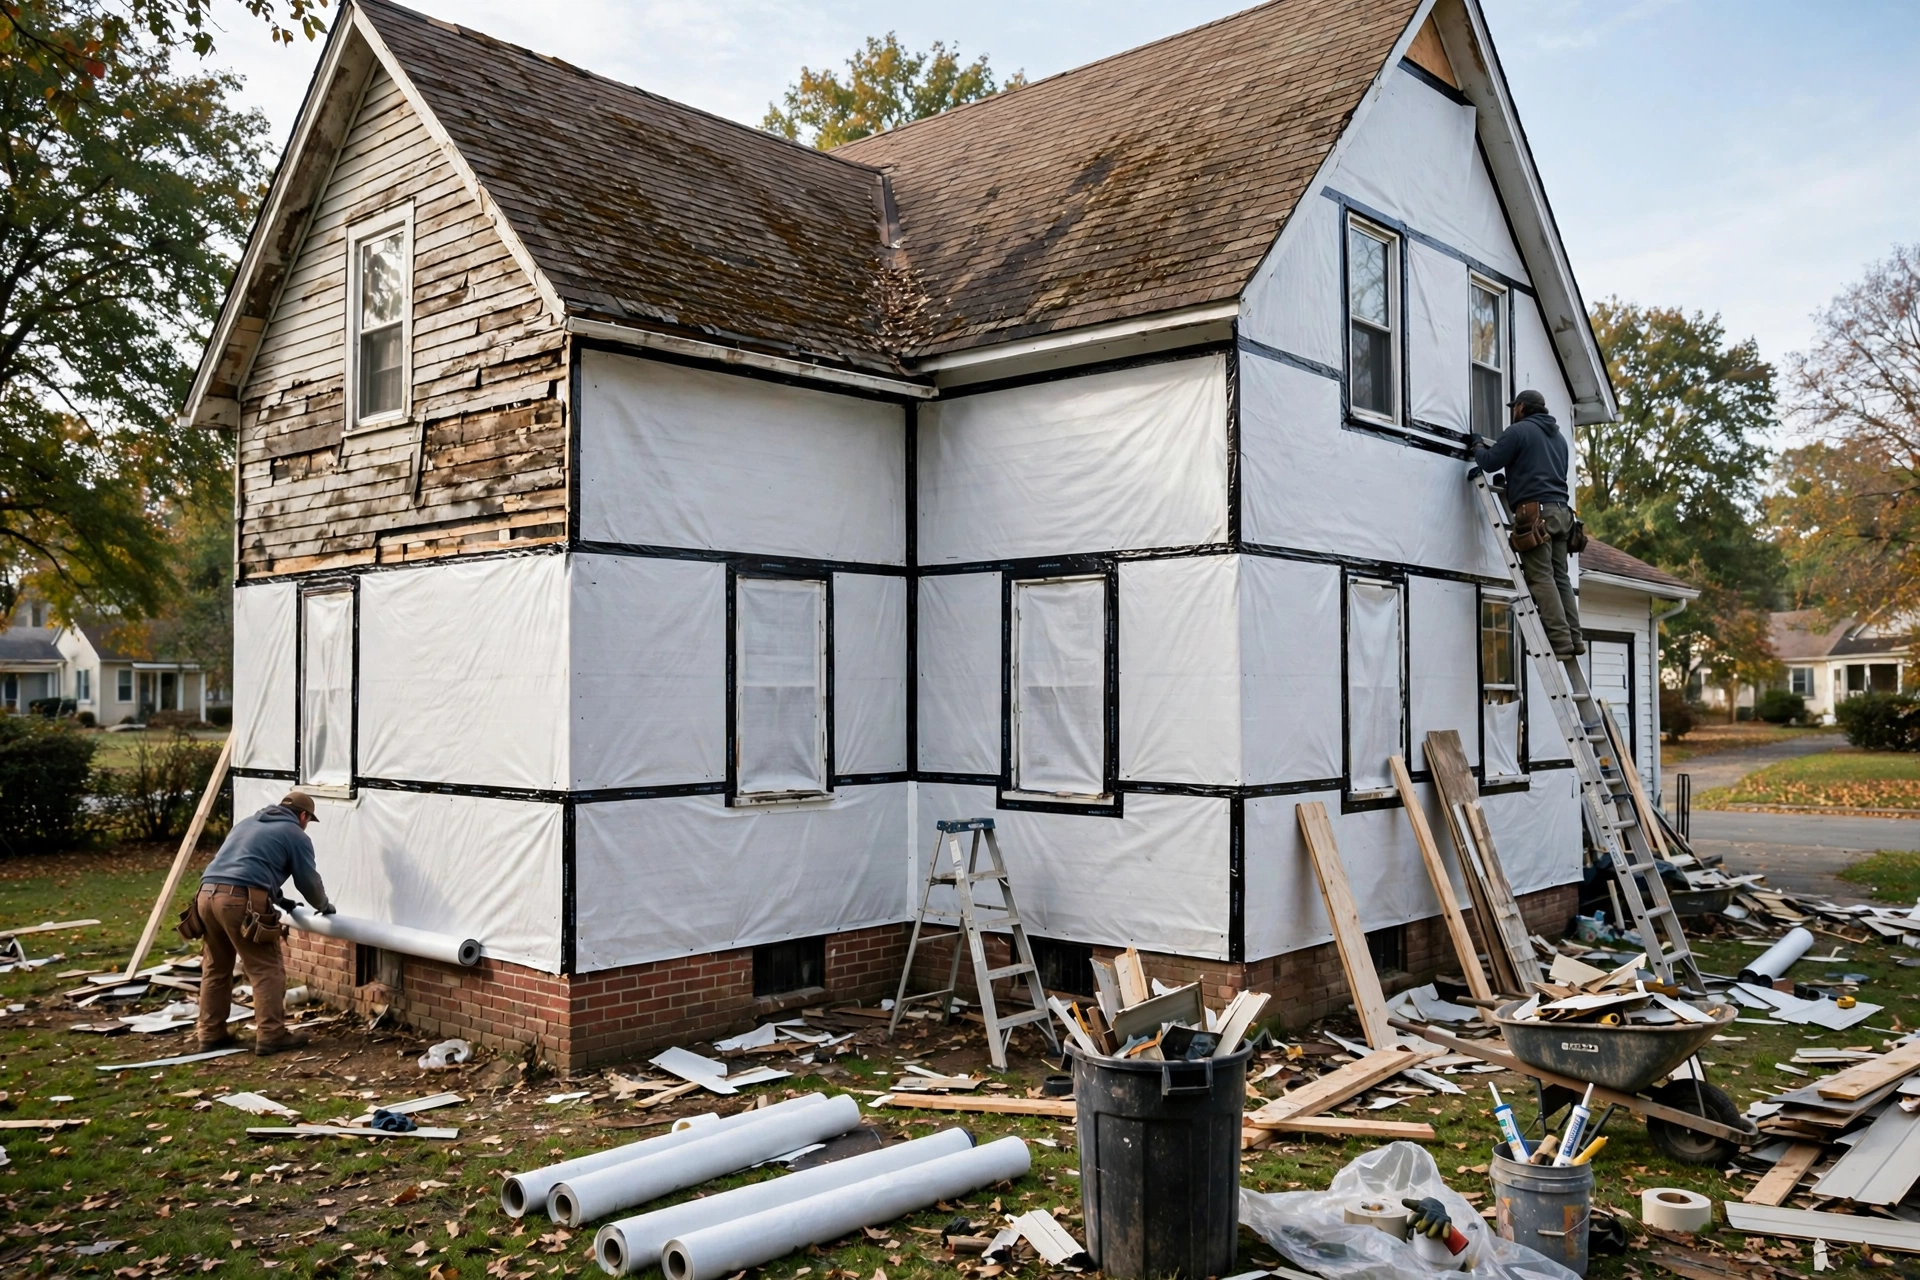
In walls, dense-pack cellulose or fibreglass blown into empty cavities through small drilled holes is the least disruptive option, because it avoids stripping plaster or siding. It adds insulation and modest air resistance, but it is not a substitute for sealing the top and bottom plates and the rim joist. Never insulate a cavity with knob-and-tube wiring, active moisture, or a history of leaks until a professional has cleared it, and in a heritage home, removing original siding or plaster to add exterior insulation may need permission.
Ventilation, Moisture, and Combustion Safety After You Tighten an Older House
Tightening an older house changes how it breathes, and that change needs managing rather than fearing. Most older homes are so leaky that even thorough sealing leaves plenty of natural ventilation, but once the blower door number falls sharply, deliberate ventilation becomes part of the project. A bathroom extractor that vents outside, a kitchen rangehood that exhausts rather than recirculates, and a heat-recovery ventilator in a very tight house keep indoor air fresh without reopening the leaks you just sealed.
Keep indoor relative humidity roughly in the 30 to 50 percent range in winter and fix plumbing leaks promptly. Combustion safety is the one area where professional help is not optional: gas furnaces, boilers, and water heaters that draw combustion air from inside the house can backdraft if the house becomes much tighter, spilling exhaust gases indoors. Have a qualified technician check combustion appliances and test for spillage and carbon monoxide after the work is finished. Fit a chimney damper that seals when a fireplace is not in use, and never seal a flue still in service. If the house has asbestos, lead paint, vermiculite insulation, or mould, stop and bring in a licensed specialist before disturbing any of it.
Final Thoughts: Is a Tighter Envelope Worth It for Your Older Home?
For most older houses, yes, and the case is strongest where the house is draughty, rooms vary in temperature, and heating bills feel out of proportion to the size of the home. The work is unglamorous, mostly hidden, and far cheaper than new windows or a new heating system, yet it improves every other upgrade that follows. Start with a blower door test, seal the attic floor and the rim joists, tighten the windows and doors, and then insulate.
Building Envelope Air Leakage FAQs for Older Houses
How much can air sealing save on heating and cooling in an older house?
Comprehensive air sealing combined with insulation is commonly credited with roughly 10 to 20 percent savings on heating and cooling, with leaky older homes at the higher end. The exact saving depends on climate, fuel prices, and how leaky the house was before the work.
What is the first envelope improvement to make in an older home?
Seal the attic floor first, then the rim joists and sill plate. Those two zones drive the stack effect that pulls cold air in at the bottom and pushes warm air out at the top. Windows and doors come next, followed by insulation once the air barrier is continuous.
How do I know if my older house has serious air leakage?
Look for draughts at baseboards and outlets, rooms that are hard to heat, and ice dams on the roof. A blower door test gives a firm answer: older homes commonly test at 10 to 15 air changes per hour at 50 pascals, against a modern target closer to 3 to 5.
Can I air seal an older house myself?
Yes, for accessible work such as caulking windows and doors, weatherstripping, sealing the attic hatch, and foam-sealing rim joists in an unfinished basement. Leave chimney chases, combustion appliances, balloon-frame cavities, and any work involving asbestos, lead paint, or vermiculite to a qualified professional.
Should I replace my windows before sealing air leaks?
Usually not. Sealing the attic and rim joists and weatherstripping existing windows normally delivers more saving per dollar than replacement windows. Replace windows when the frames are rotten, the glass has failed, or you are remodelling anyway, and seal the rough opening properly during installation.
How long does air sealing last in an older house?
Caulk and spray foam typically last many years on clean, dry surfaces protected from sunlight and movement. Weatherstripping wears faster and may need replacement every few years. Re-check the attic hatch, door sweeps, and window seals each autumn.