How to Design a Household Utility Distribution Map Before Starting a Major Residential Renovation
The most expensive tool in a renovation is not the saw — it is the guess. A contractor who cuts into a wall without knowing what is behind it can sever a live cable, puncture a water main, or slice through a gas line in seconds, and each of those mistakes costs far more than the job it was meant to start. A household utility distribution map removes the guessing. It is a single drawing, built on the floor plan of the house, that shows where every electrical circuit, water pipe, gas line, drain, and duct actually runs. The short answer is that you build it before demolition by tracing circuits, locating pipes with detectors and a thermal camera, and drawing everything onto one plan that every trade can read. This guide shows how to make that map and how to use it through the whole renovation.
Most older homes have no useful utility records. The original plans, if they exist at all, show where things were supposed to go, not where the builder actually put them, and decades of alterations have added circuits and pipes that appear on no drawing. That is why the map must be built from the house as it stands, by testing and tracing, rather than copied from paperwork. A map built from evidence is trusted on site; a map copied from an old plan is not.
Why a Renovation Without a Utility Map Costs More Than It Should
Demolition without a map is a lottery. A wall that looks empty can hide a live cable feeding the room next door, a soil stack serving the bathroom above, or a gas pipe running to the cooker. Hitting any of them stops the job, brings in an emergency call-out, and adds a repair bill that dwarfs the saving of skipping the survey. Worse, a nicked cable or a cracked pipe that is not noticed at the time can fail weeks later, after the new finishes are in place.
The map also saves money in the opposite direction. When every trade can see where the services run, they stop opening walls to look for them, stop routing new work around imaginary obstacles, and stop duplicating each other’s investigations. The electrician knows where the spare capacity is, the plumber knows where the stacks are, and the builder knows which walls can come down safely. A day spent mapping typically saves several days of cautious, blind work later.
What Goes on a Household Utility Distribution Map
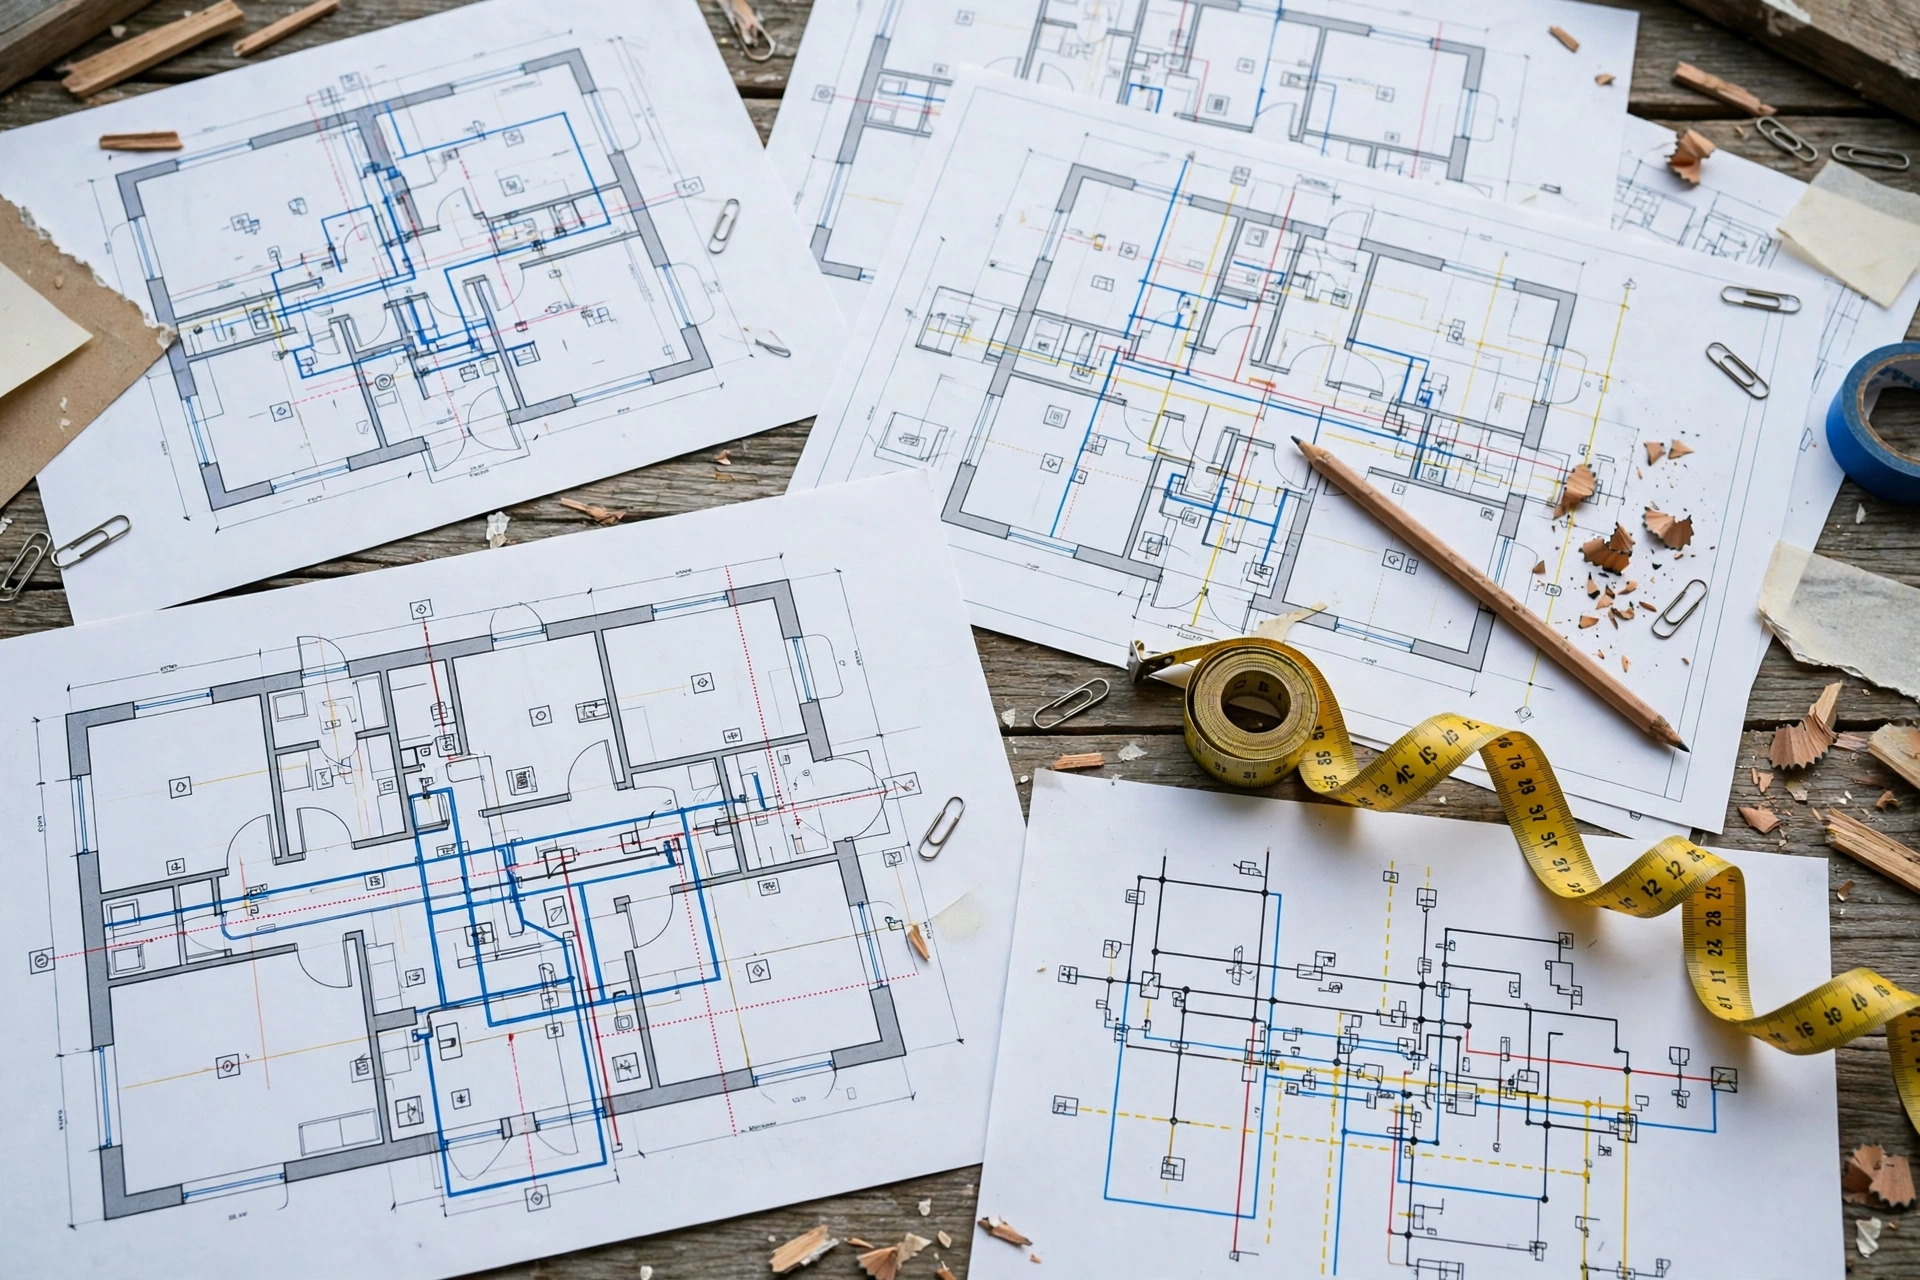
A good map has five layers, one for each system in the house. The electrical layer shows the consumer unit, every circuit, and what each breaker controls, room by room. The water layer shows the incoming main, the stopcock, hot and cold runs, and every valve. The gas layer shows the meter, the shut-off, and every appliance connection. The drainage layer shows soil stacks, waste runs, and the main drain. The HVAC layer shows ducts, vents, returns, and the heating plant. Each layer sits on the same floor plan, so the relationships between systems are visible at a glance.
The map also records the points that matter in an emergency: the main electrical isolator, the water stopcock, the gas shut-off valve, and the location of any hidden junction boxes or access panels. Those points should be marked clearly enough that a stranger could find them in the dark. A map that only shows pipes and forgets the shut-offs is only half a map, and the missing half is the one you need at midnight when a pipe bursts.
Tracing Electrical Circuits Room by Room
Circuit mapping is the most systematic part of the job, and it starts at the consumer unit. With a plug-in circuit tracer, a non-contact voltage tester, and a partner, work through the house room by room: plug the transmitter into an outlet, scan the breakers to find the one that carries the signal, then label both the breaker and the outlet with the same number. Hardwired fixtures — lights, smoke detectors, the doorbell transformer — are traced the same way, and every result is written onto the plan.
Two details make the difference between a useful circuit map and a confusing one. First, test with the appliances running, so that a circuit feeding a fridge or a washing machine shows up as an active load rather than an empty socket. Second, note the oddities: the breaker that serves two rooms, the socket that is on the lighting circuit, the spur that was added for a previous extension. Those oddities are exactly what a renovation electrician needs to know before touching the board, and they are never on the original plans.
- Work with a partner — one at the consumer unit, one moving through the rooms with the tester.
- Label every breaker and every outlet with the same number as you identify it.
- Test with appliances running so hidden loads show up on the map.
- Note every oddity: shared breakers, spurs, and sockets on lighting circuits.
- Never open the consumer unit cover unless you are qualified — mapping only needs the outside of the breakers.
Safety comes first throughout this work. The consumer unit carries high-amperage lines, so wear safety glasses and insulated gloves, keep the area well lit, and stop immediately if the board shows rust, scorching, or a humming noise — those are signs for a licensed electrician, not a DIY survey. Most circuit mapping needs nothing more than the breakers themselves, and the cover should stay on unless a qualified person is doing the work.
Finding Water, Waste, and Gas Lines Before You Cut
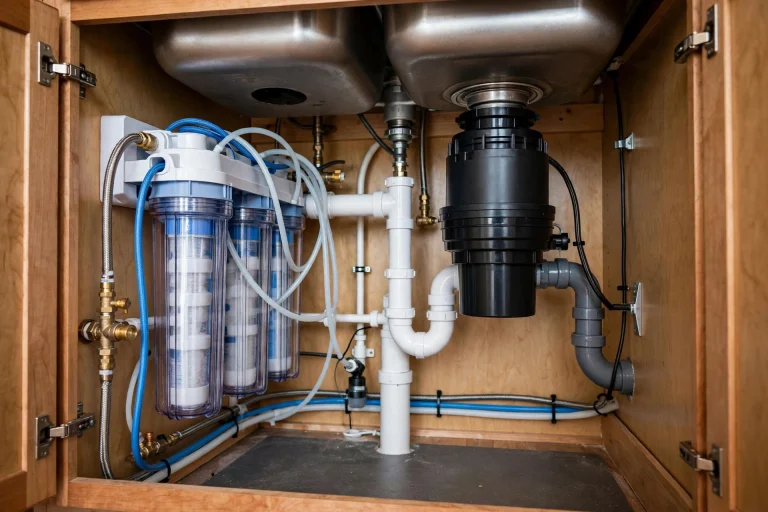
Pipes are harder to trace than cables because they do not carry a signal you can follow with a tracer. The practical approach combines several methods. A thermal imaging camera, hired for a day, shows hot water pipes clearly when the heating has been running for an hour, and cold supplies show as cool lines in a warm wall. A stud finder with pipe detection, and a careful listen with a stethoscope or a glass against the wall while a tap runs, will confirm the routes the camera suggests.
Gas lines need extra care. They must never be guessed at, and they must never be cut on the strength of a detector reading alone. If a gas run is suspected in a wall that is due for demolition, have a Gas Safe engineer confirm its route and isolate it before work starts. The same caution applies to the main water supply: find the stopcock, test that it actually turns, and mark its position on the map before anyone picks up a saw.
Mapping HVAC Ducts, Vents, and Returns
Ducts and vents are the largest hidden services in the house, and they are the easiest to damage by accident because they run through the same ceiling voids and wall cavities that demolition targets. Map them by following the visible evidence: every supply grille and return vent marks the end of a run, and the duct between them can usually be traced by tapping the ceiling, by looking in the loft or basement where the runs are exposed, and by following the trunk line from the air handler or furnace.
Record the size and material of each run as well as its route. A flexible duct that has been crushed by insulation, a rigid duct that has come apart at a joint, and a return that is undersized for the room it serves are all worth noting, because a renovation is the cheapest moment to fix them. Note also where ducts pass through fire-rated walls, since those penetrations need proper sealing and must not be disturbed without a plan.
| Mapping tool | What it finds | What it costs to hire |
|---|---|---|
| Circuit tracer | Which breaker feeds each outlet | Low, a day’s hire |
| Thermal camera | Hot and cold pipe runs in walls | Moderate, a day’s hire |
| Stud and pipe detector | Studs, pipes, and live cables | Low, buy or hire |
| Non-contact voltage tester | Live cables before cutting | Low, a basic tool |
Drawing the Map So Every Trade Can Read It
The map is only useful if the people on site can read it at a glance. Start with a clean floor plan of each level — a printed copy, an old plan traced over, or a simple measured sketch. Draw each system in a different colour: red for electrical, blue for cold water, orange for hot water, yellow for gas, green for drainage, purple for HVAC. Use a simple legend and label every circuit number, valve, and shut-off in plain words rather than codes.
Keep one master copy in the house and give every trade a copy of their own layer. A digital version, even a photograph of the hand-drawn plan, is worth keeping alongside the paper one, because paper gets lost on a building site and a phone photograph does not. Update the master copy the same day any change is made, and date every revision so nobody works from last week’s map by mistake.
Using the Map to Sequence Demolition Safely
Demolition is where the map earns its keep. Before any wall comes down, the crew checks the map for what is inside it, isolates the circuits and supplies that serve it, and confirms with a detector that the wall is dead. Only then does the cutting start. Walls that carry a soil stack, a gas line, or a main cable are sequenced last, after the services have been rerouted, rather than first, when a mistake would flood or black out the house.
The map also sets the order of the trades. Demolition comes first, then rough framing, then electrical and plumbing rough-in, then drywall, then finishes — and each trade works from the same drawing, so the electrician does not drill through the plumber’s new pipe and the plasterer does not bury the junction box the electrician needs. A shared map is the cheapest form of coordination a renovation can buy.
- Check the map and isolate every circuit and supply before cutting any wall.
- Confirm with a detector that the wall is dead, even when the map says it is.
- Sequence walls carrying stacks, gas, or main cables last, after rerouting.
- Give every trade the same drawing so no one works from a different version.
- Photograph each opened wall and add the photos to the map file.
The photographs matter because demolition always reveals surprises — a pipe where the map said there was none, a cable that takes a different route than expected. Each surprise should be added to the map the same day it is found, with a note and a photograph. A map that is updated as the work goes on stays trustworthy; a map that is frozen on demolition day becomes a historical document within a week.
Updating the Map as the Renovation Changes the House
A renovation changes the house, and the map must change with it. Every new circuit, every moved pipe, every added vent should be drawn onto the master copy before the wall that hides it is closed. The best moment to record a new run is while it is still visible — a photograph of the open wall, a note of the route, and a line on the plan takes five minutes and saves hours of searching later.
The finished map is also the most useful document a homeowner can hand to the next owner. A house with a current utility map sells faster and is cheaper to maintain, because every future tradesperson starts with answers instead of exploratory holes. Keep the final map with the house documents, alongside the photographs of the open walls and the certificates for the electrical and gas work. It is the record of what was done, and the guide to everything that comes next.
| Map layer | What it shows | Who uses it most |
|---|---|---|
| Electrical | Circuits, breakers, outlets | Electrician, homeowner |
| Water and gas | Mains, valves, appliance runs | Plumber, gas engineer |
| Drainage | Stacks, wastes, main drain | Plumber, builder |
| HVAC | Ducts, vents, plant | HVAC installer |
| Emergency points | Isolators and shut-offs | Everyone on site |
Household Utility Map Questions to Settle Before Demolition Day
Settle these before the first wall comes down and the job will run far more smoothly.
Do I really need a map for a small renovation?
Yes, even for one room. A single wall can hide a live cable or a water pipe, and the cost of hitting it is the same whether the job is large or small. A one-room map takes an afternoon and protects the whole job.
Can I map the utilities myself?
Most of it, yes. Circuit tracing, pipe location with a thermal camera, and drawing the plan are all within reach of a careful homeowner. Gas lines and anything inside the consumer unit should be left to a qualified engineer — those are the parts where a mistake is dangerous.
What if the original plans are missing?
Then the map is built from the house itself, which is the reliable way in any case. Original plans show intent, not reality, and decades of alterations make them unreliable. Trace, test, and photograph, and the map you build will be more accurate than any old drawing.
How do I keep the map accurate during the work?
Update it the same day a change is made, photograph every open wall, and date each revision. Give every trade the current version and collect the old ones, so nobody works from an out-of-date copy by mistake.
Should the map be digital or on paper?
Both. A paper copy on site is what the trades actually use, and a digital photograph or scan is the backup that survives the building site. Keep the master digital file with the house documents when the work is finished.
Final Thoughts: The Map Is the Cheapest Insurance Your Renovation Can Buy
A household utility distribution map is not glamorous work. It is an afternoon with a tester, a camera, and a pencil, and it produces a drawing that nobody frames. But it is the document that stops a saw from cutting a live cable, that tells a plumber where the stack is without opening three walls, and that lets every trade work from the same facts. Build it before demolition, update it as the work goes on, and keep it with the house — it will pay for itself many times over, starting on the first day of the job.