How to Restore Aging Concrete Surfaces Without Undertaking Complete Structural Replacement
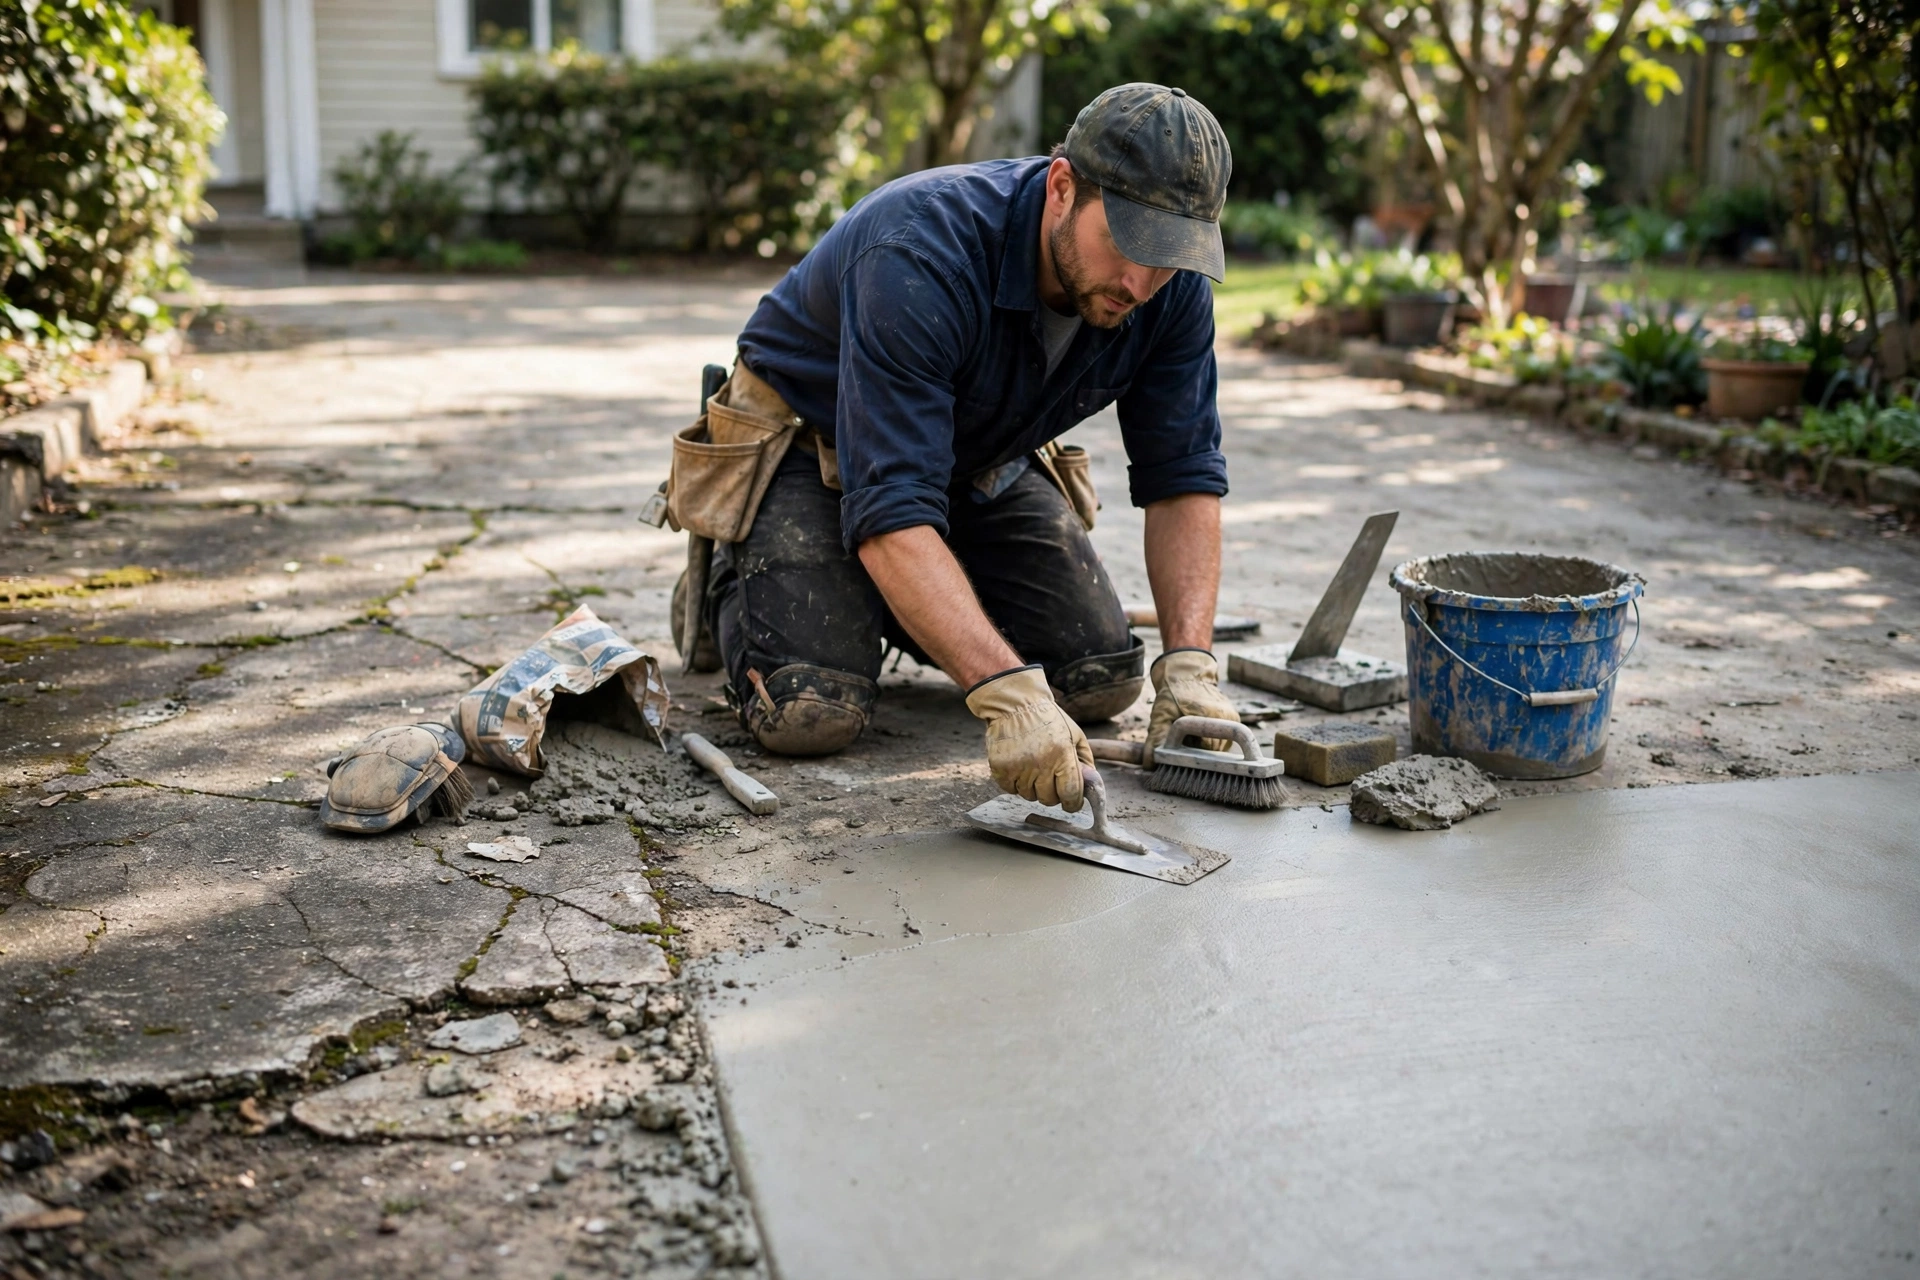
Old concrete rarely fails all at once. It fades, stains, and wears down a little each year until one day the driveway or patio looks tired, rough, and far older than the house it serves. Many homeowners assume the only answer is to break it all out and pour a new slab, but that is the most expensive and disruptive option, and in most cases it is unnecessary. When the structure underneath is still sound, the surface can be restored with cleaning, repair, and a bonded overlay that gives the concrete a new skin.
The direct answer is that aging concrete can be restored without replacement by testing the slab for structural soundness, cleaning and profiling the surface so a new layer can bond, repairing cracks and spalled areas, applying a polymer-modified resurfacer or decorative overlay, and sealing the finished surface. Resurfacing typically costs a fraction of full replacement and can add ten to twenty years of service life. This guide explains how to judge whether your slab is a candidate, which system suits the damage you have, and how to apply it so the new surface stays bonded.
What Counts as Aging Concrete Worth Saving
Not every old slab is worth saving, but most are. Surface wear such as fading, staining, light scaling, and hairline cracks usually means the top few millimetres have weathered while the body of the slab remains strong. These are exactly the problems an overlay is designed to fix. A slab that is still level, drains properly, and shows no sign of movement is almost always a good candidate for restoration rather than replacement.
- Hairline cracks under 6 millimetres wide that have not moved or widened over a season.
- Light surface scaling, pitting, or discoloration that is confined to the top layer.
- Worn or faded finishes on driveways, patios, pool decks, and walkways.
- A slab that is level, with no sinking, heaving, or rocking underfoot.
- Concrete that sounds solid when tapped, rather than hollow or drummy.
How to Tell Whether Your Slab Is Sound Enough to Restore
Testing the slab takes less than an hour and saves you from paying for an overlay that will fail. Walk the surface and mark every crack, noting its width and whether the two sides sit at the same height. A crack that has one side higher than the other, or that keeps widening, usually signals movement in the base, and an overlay will simply crack along the same line. Tap the surface with a hammer or a length of pipe and listen: a solid ring means sound concrete, while a hollow drummy sound suggests the top layer has separated from the slab below.
Check for the warning signs that rule restoration out. Large areas of deep spalling, exposed aggregate over wide patches, or concrete that crumbles when scraped usually mean the slab itself is failing. Water pooling in the same place after rain points to settlement or a failed base, and a slab that rocks when you stand on a corner has lost support underneath. If you find any of these, get a professional assessment before spending money on resurfacing, because the honest answer may be partial replacement of the worst sections rather than an overlay over the whole area.
Repairing Cracks and Spalled Areas Before the Overlay
An overlay is only as strong as the surface beneath it, so repairs come first and cannot be rushed. Widen hairline cracks slightly with a crack chaser or angle grinder so the repair material can key in, then clean out dust and loose material with a wire brush and compressed air. Fill the cracks with a flexible concrete crack filler or a polymer-modified repair mortar, and let it cure fully before moving on. Spalled areas need the loose concrete chipped back to sound material, after which a repair mortar can be trowelled in and levelled flush with the surrounding surface.
Control joints deserve attention too. These are the grooves sawn or formed into the slab to control where it cracks, and they must be honoured in the new surface rather than filled over. Mark their positions before you start, and re-cut them into the overlay while it is still workable, or the new layer will crack at random instead. Any oil stains should be degreased thoroughly, since oil prevents bonding, and previous coatings such as paint or sealer must be removed by grinding, because an overlay cannot bond to a sealed or painted surface.
Choosing Between Resurfacers, Overlays, and Coatings
Three families of products cover most restoration jobs, and the right one depends on the damage and the finish you want. A cementitious resurfacer is a thin polymer-modified mortar, typically 3 to 13 millimetres thick, that is trowelled or squeegeed over the slab to create a smooth, uniform surface. It is the most affordable option, suits driveways and patios with light to moderate wear, and can be coloured or textured for a fresh look.
A decorative overlay adds pattern and colour on top of the same idea: stamped overlays mimic stone or tile, stained overlays give a mottled natural look, and microtoppings provide a thin, smooth finish for interior floors and pool decks. These cost more and need more skill, but they transform the appearance far more than a plain resurfacer. Acrylic and epoxy coatings are the third option: thinner still, they seal and colour the surface but add little strength, so they suit lightly worn concrete that mainly needs protection and a new appearance rather than structural renewal.
Before committing to the whole slab, test your chosen system on a small, inconspicuous patch. Apply the resurfacer exactly as you would on the main job, let it cure fully, and then check the bond by tapping it and trying to lift an edge with a scraper. A test patch that stays firmly bonded tells you the preparation was right, while one that lifts or sounds hollow warns you to grind more thoroughly or to change products before you have spent money on the full area.
Applying the Overlay in Six Steps
Clean the slab thoroughly with a pressure washer and degreaser, then let it dry to a slightly damp state before starting.
Profile the surface by grinding or shot blasting so the overlay has a rough texture to grip.
Repair cracks and spalled areas with polymer-modified mortar and allow the repairs to cure.
Mix the resurfacer exactly to the manufacturer’s instructions, in small batches you can apply before it stiffens.
Spread the material with a squeegee or trowel to an even thickness, working in sections and keeping a wet edge.
Finish the surface with a broom, trowel, or stamp as planned, re-cut control joints, and protect the area from traffic while it cures.
Sealing and Curing for a Longer Life
Curing and sealing decide how long the restoration lasts. Keep the new surface damp and protected from sun and wind for the first day or two, and keep all traffic off it until the manufacturer states it is ready, usually 24 to 48 hours for foot traffic and longer for vehicles. Once cured, apply a quality concrete sealer, which protects the overlay from water, stains, de-icing salts, and freeze-thaw damage. A sealer also deepens the colour of decorative finishes and makes the surface easier to clean.
Reseal every two to three years, or sooner if water no longer beads on the surface, and clean the slab regularly so grit does not grind into the finish. Avoid using metal-bladed snow shovels on a resurfaced driveway, and use sand rather than harsh de-icing chemicals in winter where possible. With that modest maintenance, a professionally installed overlay typically lasts ten to fifteen years or more, and a well-kept one can reach twenty.
When Restoring Aging Concrete Is the Wrong Call
Restoration has clear limits, and recognising them saves money. If the slab is sinking, heaving, or rocking, the base has failed, and no surface layer will fix it; the affected sections need to be lifted, the base repaired, and the concrete replaced. The same applies to concrete with deep structural cracks running through its full depth, widespread crumbling, or steel reinforcement that is corroding and pushing the surface apart. In those cases, an overlay will crack, delaminate, or fail within a season or two.
Contamination is another deal-breaker. Concrete soaked in oil over many years, or coated with a sealer that cannot be removed, may never bond properly, and a test patch will usually reveal the problem before you commit to the whole job. If a contractor promises to resurface a slab without testing it, checking the base, or discussing control joints, find another contractor. The cheapest restoration is the one done once, on a slab that was honestly assessed first.
Final Thoughts: A New Surface Without a New Slab
Restoring aging concrete is one of the best-value projects a homeowner can take on: a sound slab, a properly prepared surface, and a bonded overlay can make a tired driveway or patio look new for a fraction of the cost of replacement, with far less mess and disruption. The work succeeds or fails on the preparation, so test the slab honestly, repair what needs repairing, and do not skip the profiling, curing, or sealing. Start with a small test area, prove the bond, and then restore the rest with confidence.
Aging Concrete Restoration FAQs
Can I resurface concrete that has cracks?
Yes, if the cracks are hairline, stable, and less than about 6 millimetres wide. Repair them first with a flexible filler or polymer-modified mortar. Cracks that are moving, widening, or have one side higher than the other usually signal base movement, and resurfacing will not fix that.
How long does resurfaced concrete last?
A well-installed overlay typically lasts ten to fifteen years, and often longer with regular sealing and maintenance. Its life depends on the condition of the original slab, the quality of the preparation, and the climate it faces.
How much does concrete resurfacing cost?
Costs vary by system and region, but resurfacing commonly runs at roughly a third to a half of full replacement, since there is no demolition, hauling, or new pour. Decorative stamped or stained overlays cost more than a plain resurfacer.
Can I resurface my concrete myself?
Small patios and walkways are realistic DIY projects with a bagged resurfacer and careful preparation. Large driveways, stamped finishes, and any slab with structural doubts are better left to a professional with grinding and application equipment.
How soon can I drive on resurfaced concrete?
Most overlays accept foot traffic within 24 to 48 hours, but vehicles usually need longer, often three to seven days depending on the product and the weather. Always follow the manufacturer’s curing times rather than guessing.
Will the new surface match the old concrete?
No, and it is not meant to: the overlay covers the whole slab with a fresh, uniform finish. That is part of the appeal, since it hides stains, patches, and discoloration in one layer, though the colour will weather slightly over time like any concrete.